Editing Sony A7II RAW files in Luminar
I’ve covered working with Fuji RAW files in Luminar before here on the blog, but I haven’t talked too much about using it with RAW files from other cameras. I had been going through some old images for another project, and I came across some images that I had taken with the Sony A7II which I had borrowed from a friend at the time. So, I tried some of the images in Luminar, and I was pleasantly surprised.
To give you an idea of the process, I made a little video of editing a RAW file in Luminar from start to finish. The conversion is clean and sharp. While images are a little flat, there is an easy way to fix that by using a LUT file, which I discussed in the video. You can download the LUT that I used here.
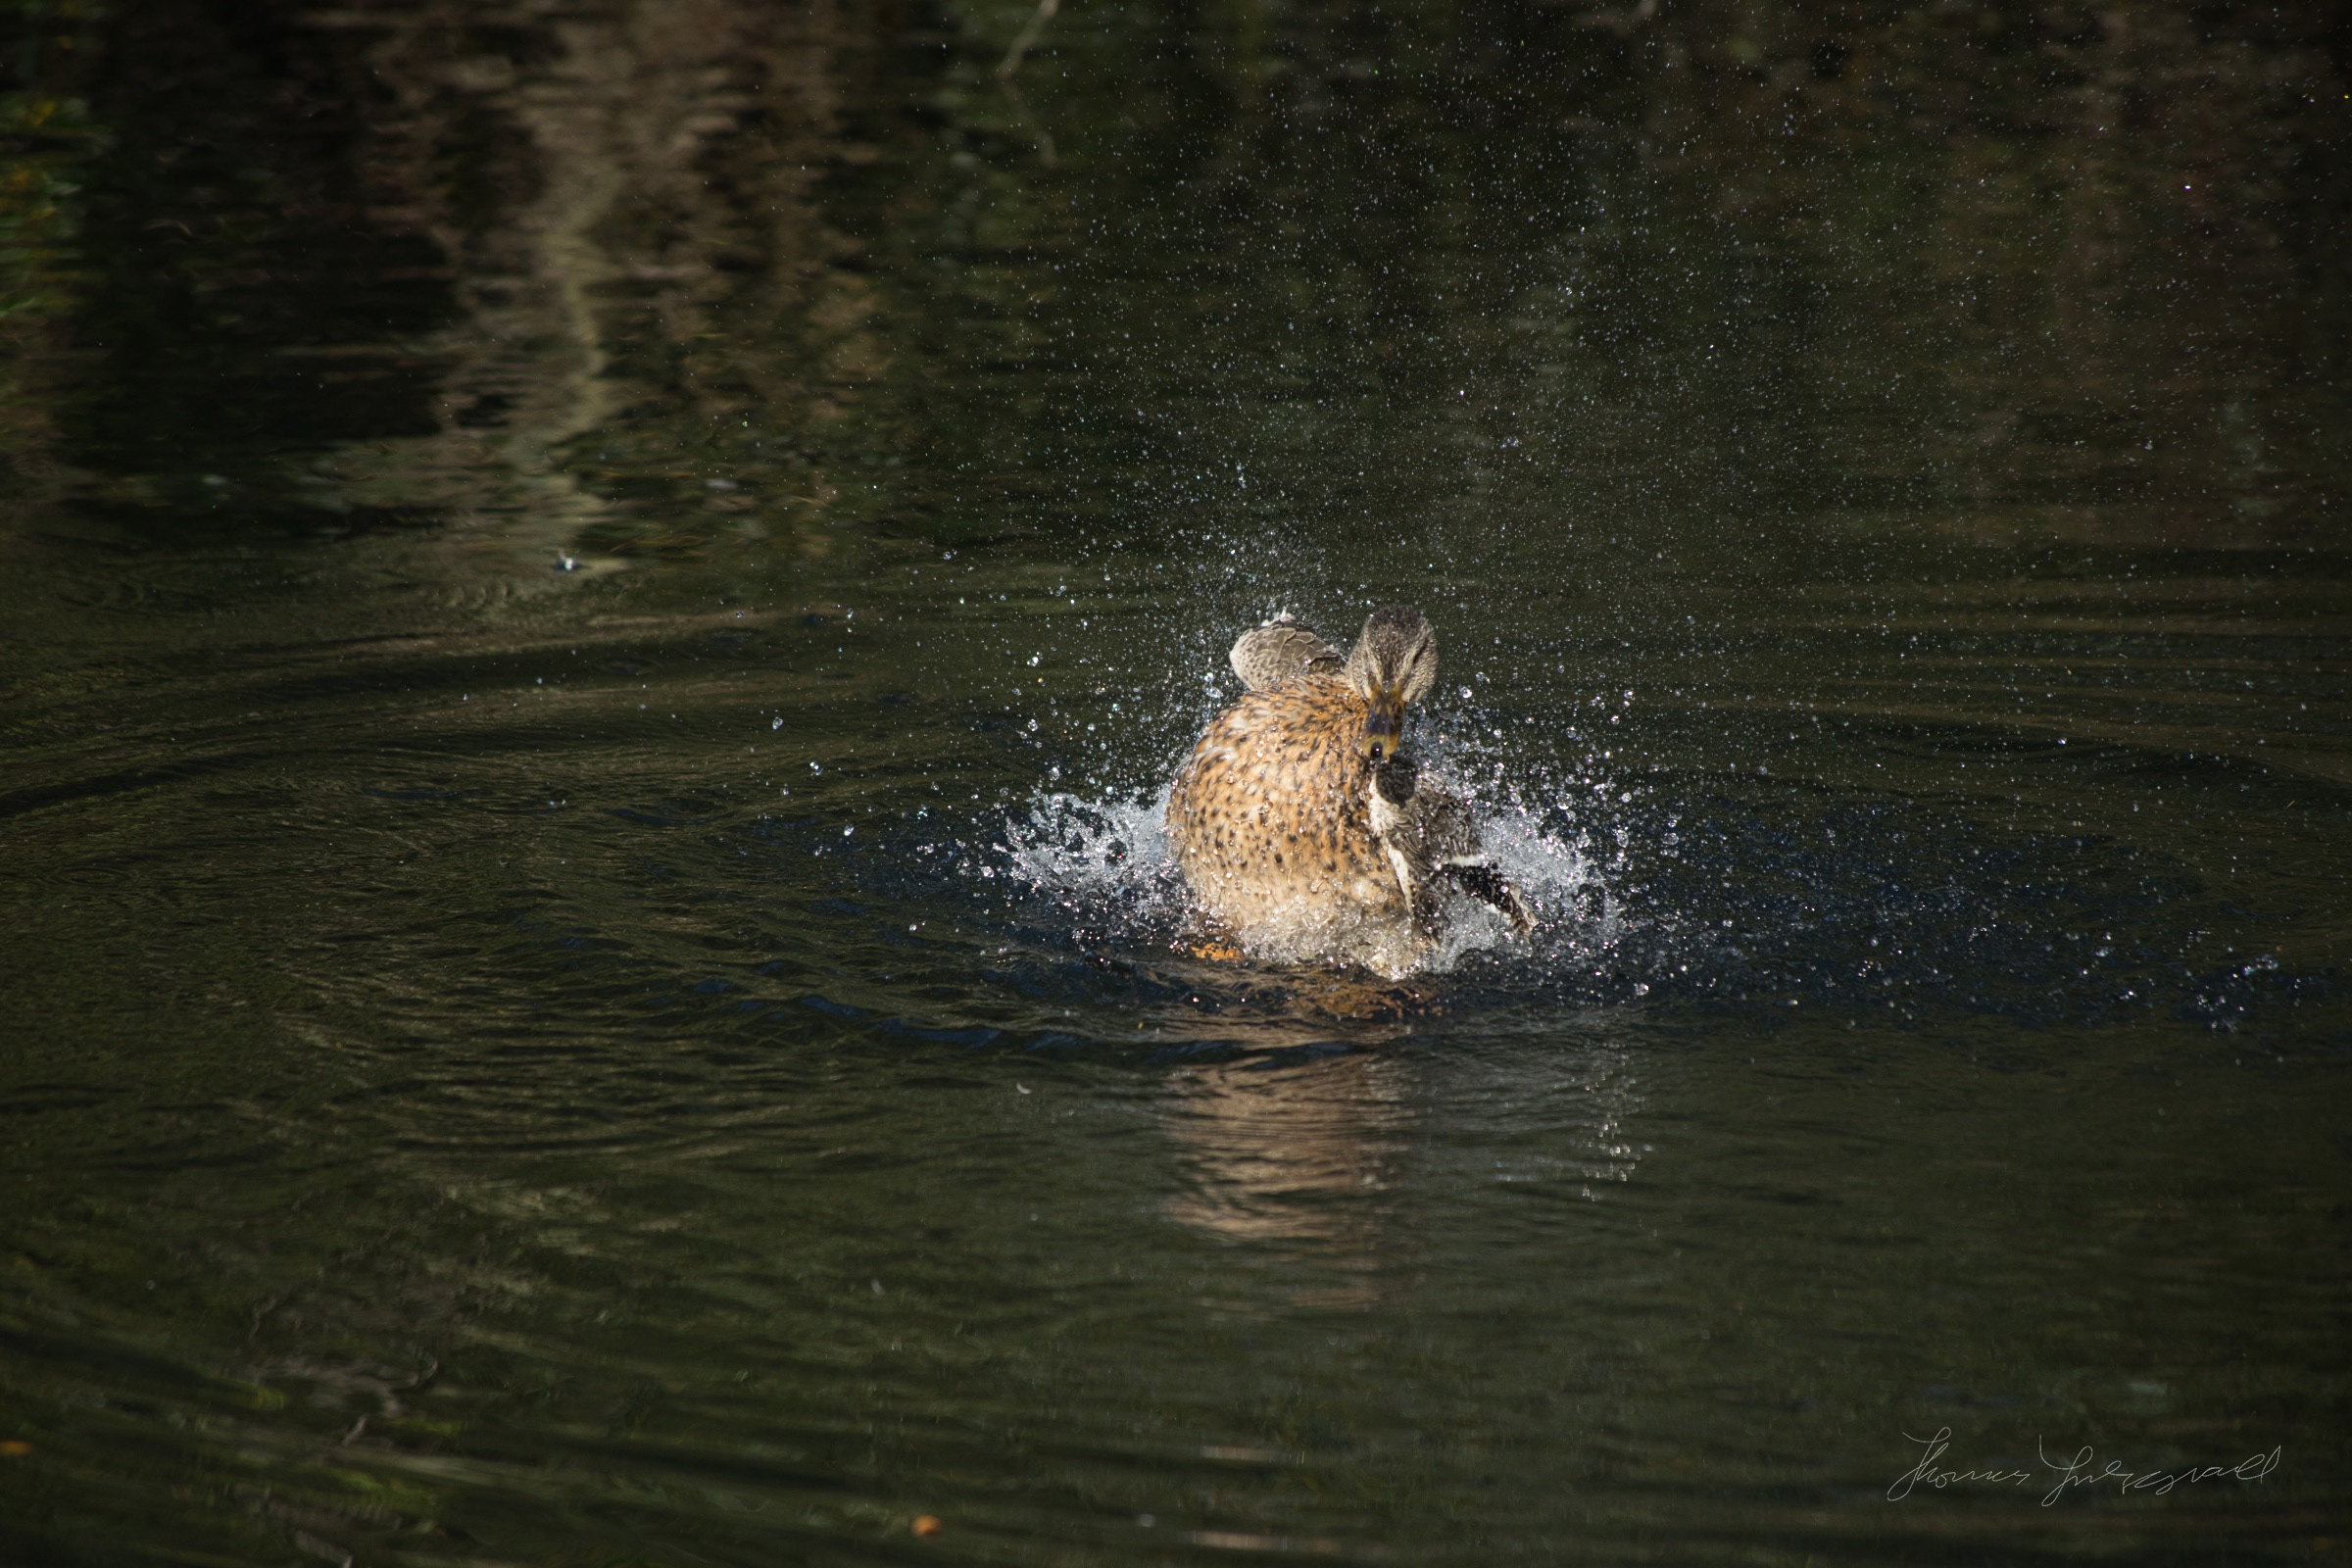
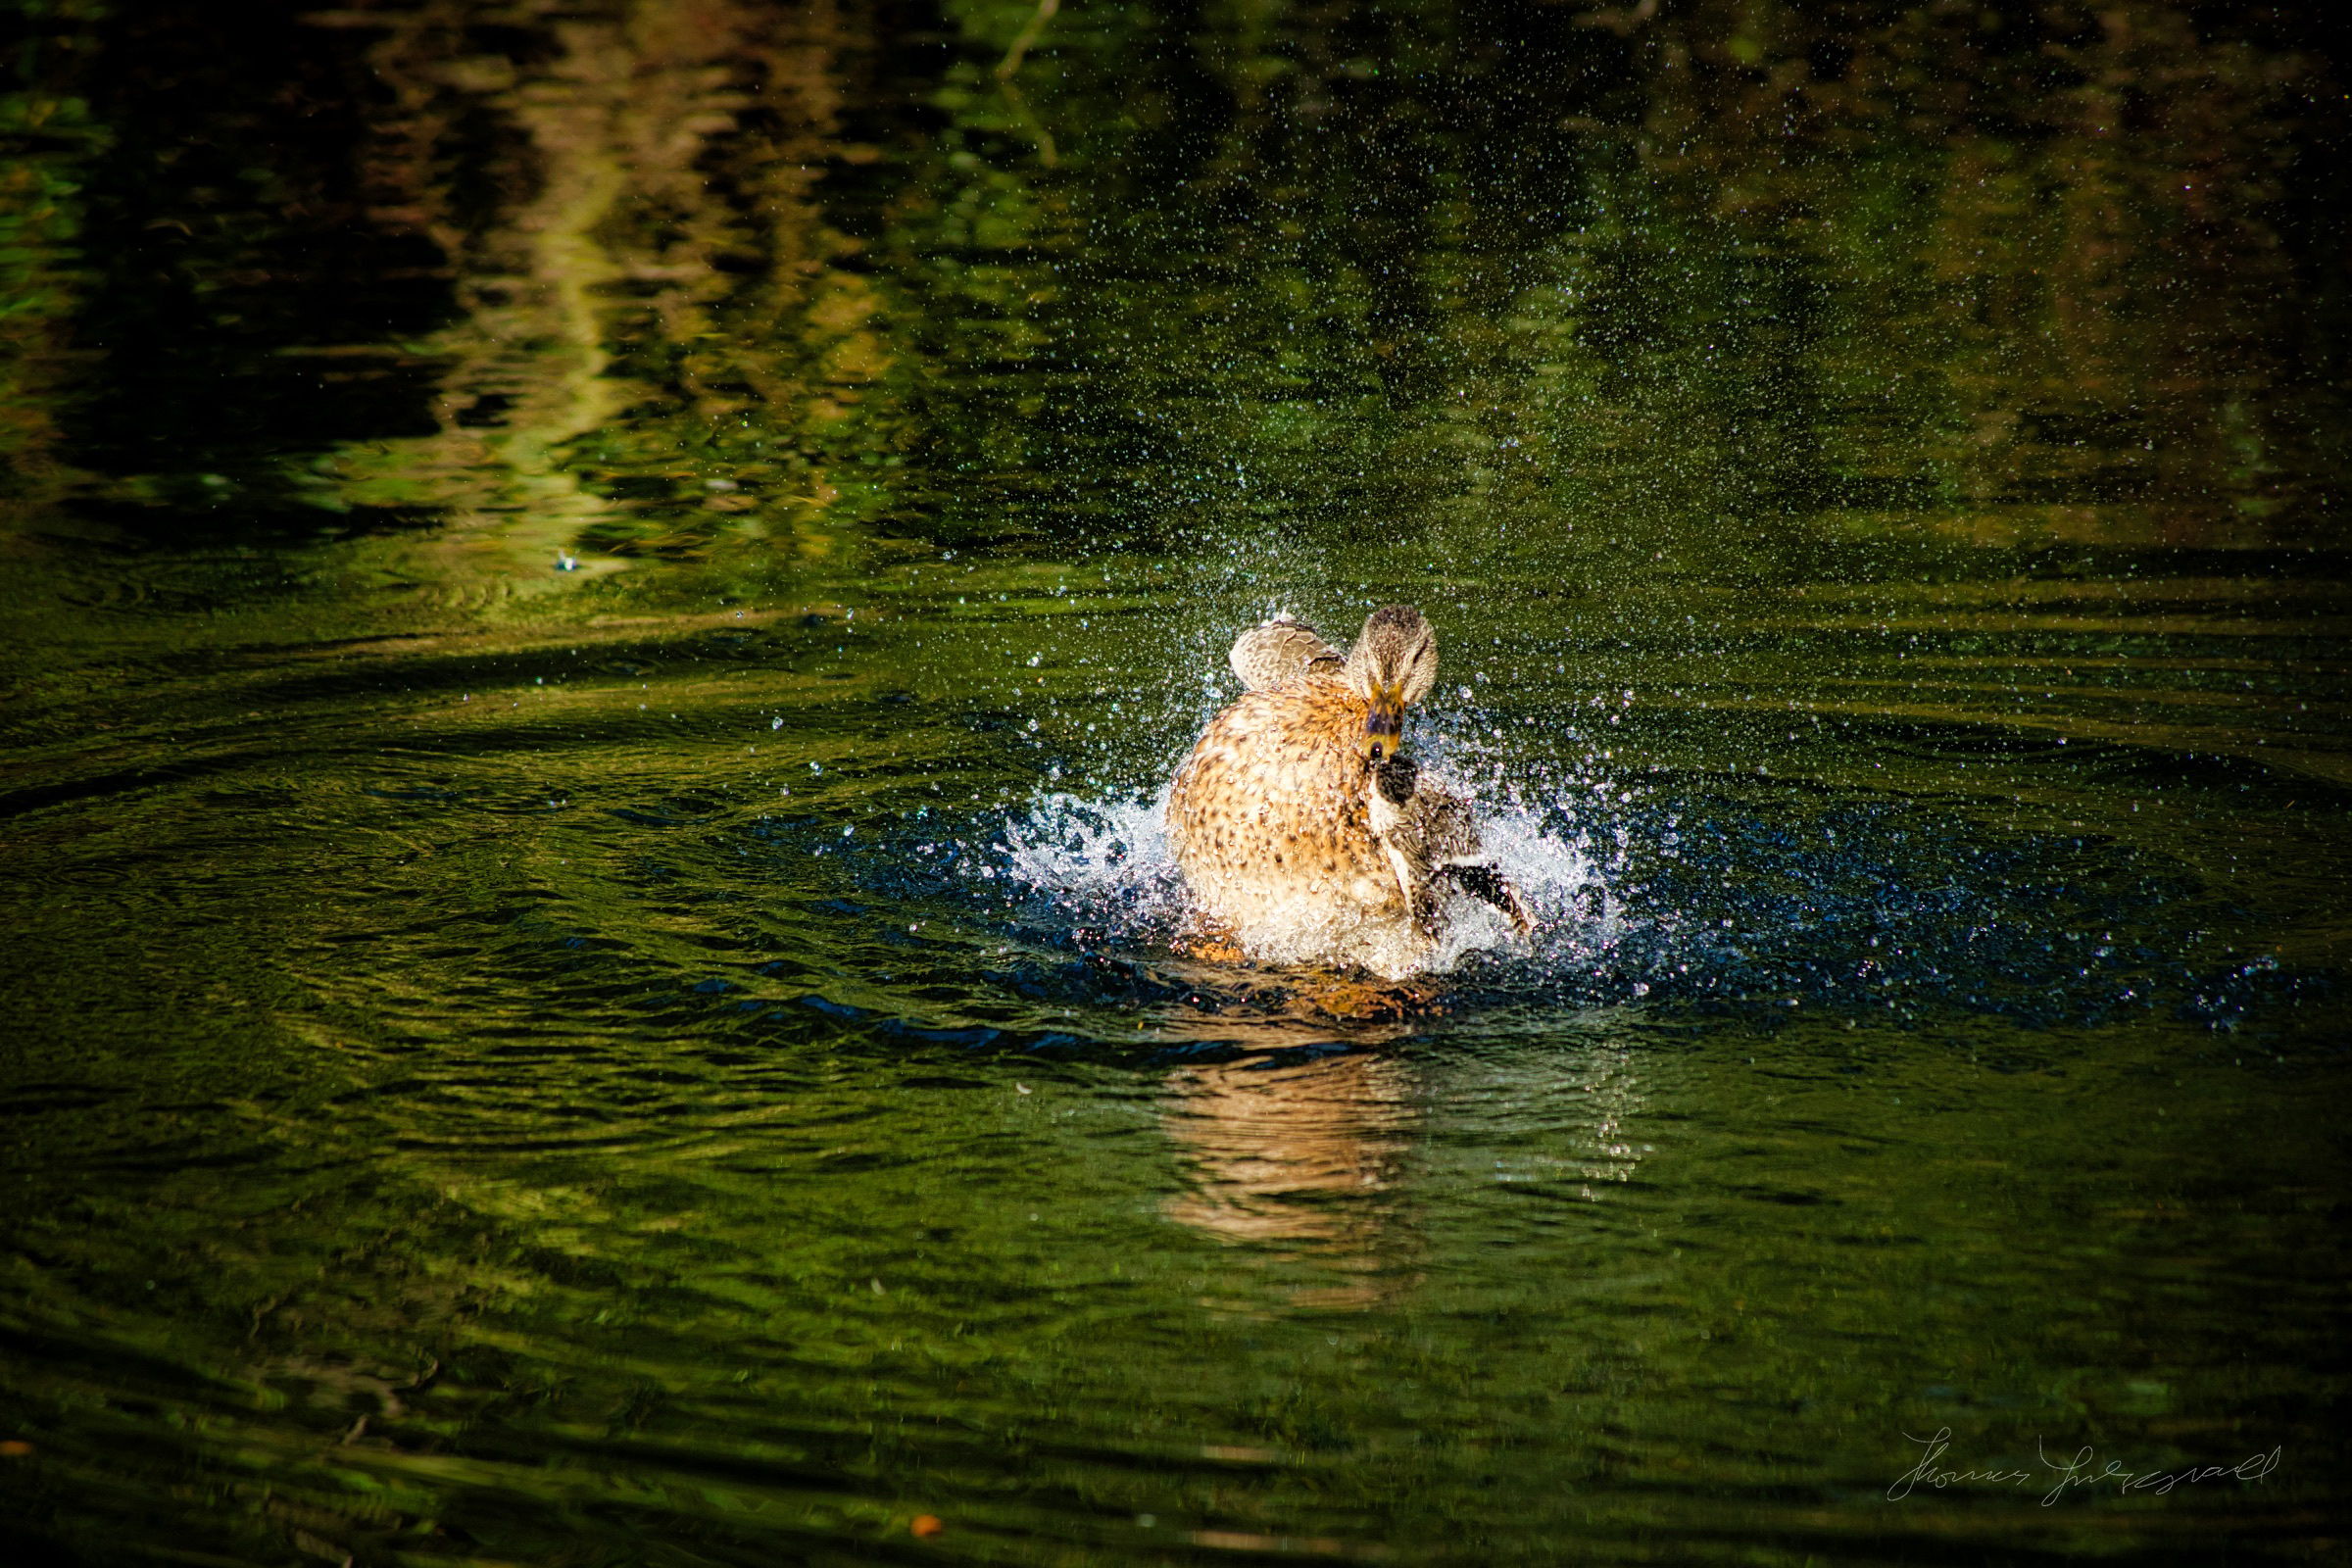
Here’s the original image, and the finished version.
By the way, I’m really trying to grow my YouTube channel - I’m almost at 1500 subscribers, which isn’t a lot, but every little helps, So if you found this useful, please like the video as it helps it get found on YouTube and if you have the time, stop by and subscribe to my channel!.
Help support the blog
You can see more of my photography and keep up to date by following me on social media and checking out my other websites:
- My Portfolio
- My Streets of Dublin Project
- Follow me on Twitter
- Follow me on Instagram
- My Facebook Page
- My Patreon Page
I also have a number of digital products available for sale:
- LUTs (For Video and Still Applications)
- Lightroom Presets
- Fuji X-Trans Processing Guides
- Sony A6000 Guide
- Photo Textures
The Gear I use Regularly
- Camera: Fuji X-Pro 2
- Camera: Sony A6000
- My Favourite Nikon Lens: Nikkor 28-300mm
- Vlogging Camera: Canon G7X Mark II
- Screencasting Microphone: Blue Yeti


