Adobe February Lightroom Updates - New Features in Lightroom Classic 9.2
Adobe has just released its latest round of Lightroom updates, with new versions across the Lightroom ecosystem. I want to focus on the new version of Lightroom Classic today though, and one of the new features in particular. But first, here’s an overview of what’s new:
New Features
The new features in Lightroom classic 9.2 are as follows:
- Improved Raw Default Settings (this is a big new feature. More on this below)
- PSB File Support
- More GPU Acceleration - Lens Corrections and Transform Adjustments are now GPU accelerated
- eGPU powered Enhance Details - You can now use an eGPU for the enhanced details function.
- Secondary Display Selection - Lets you choose which monitor you want to use as your secondary display when you have more than two monitors.
- Auto Sync Improvements - Interface is changed so that now when you have Autosync on it is clearer, with the aim of helping prevent unintentional batch edits.
- Lightroom Classic Sync FAQ - A link in the progress bar to an FAQ document to help photographers understand how the syncing process works.
New Display Options
Improved Raw Default Settings
This is probably the biggest new feature of this release of Lightroom, and its pretty cool. Previously you had the ability to store settings as defaults for a selected camera but there wasn’t really any interface for this. The new options make this much easier to manage, and make it much more flexible.
In the preferences, under the presets tab, there is a new section for managing defaults. Here you can set a master setting, as well as add specific settings for each camera model you own.
The available settings are: Adobe Default, Camera Default, and Preset. The Adobe defaults is basically the same as it is now. Preset, as you might imagine, lets you set a preset as a default. You can also do this on a per-camera basis by creating a new default in this interface.
New Raw Defaults Options
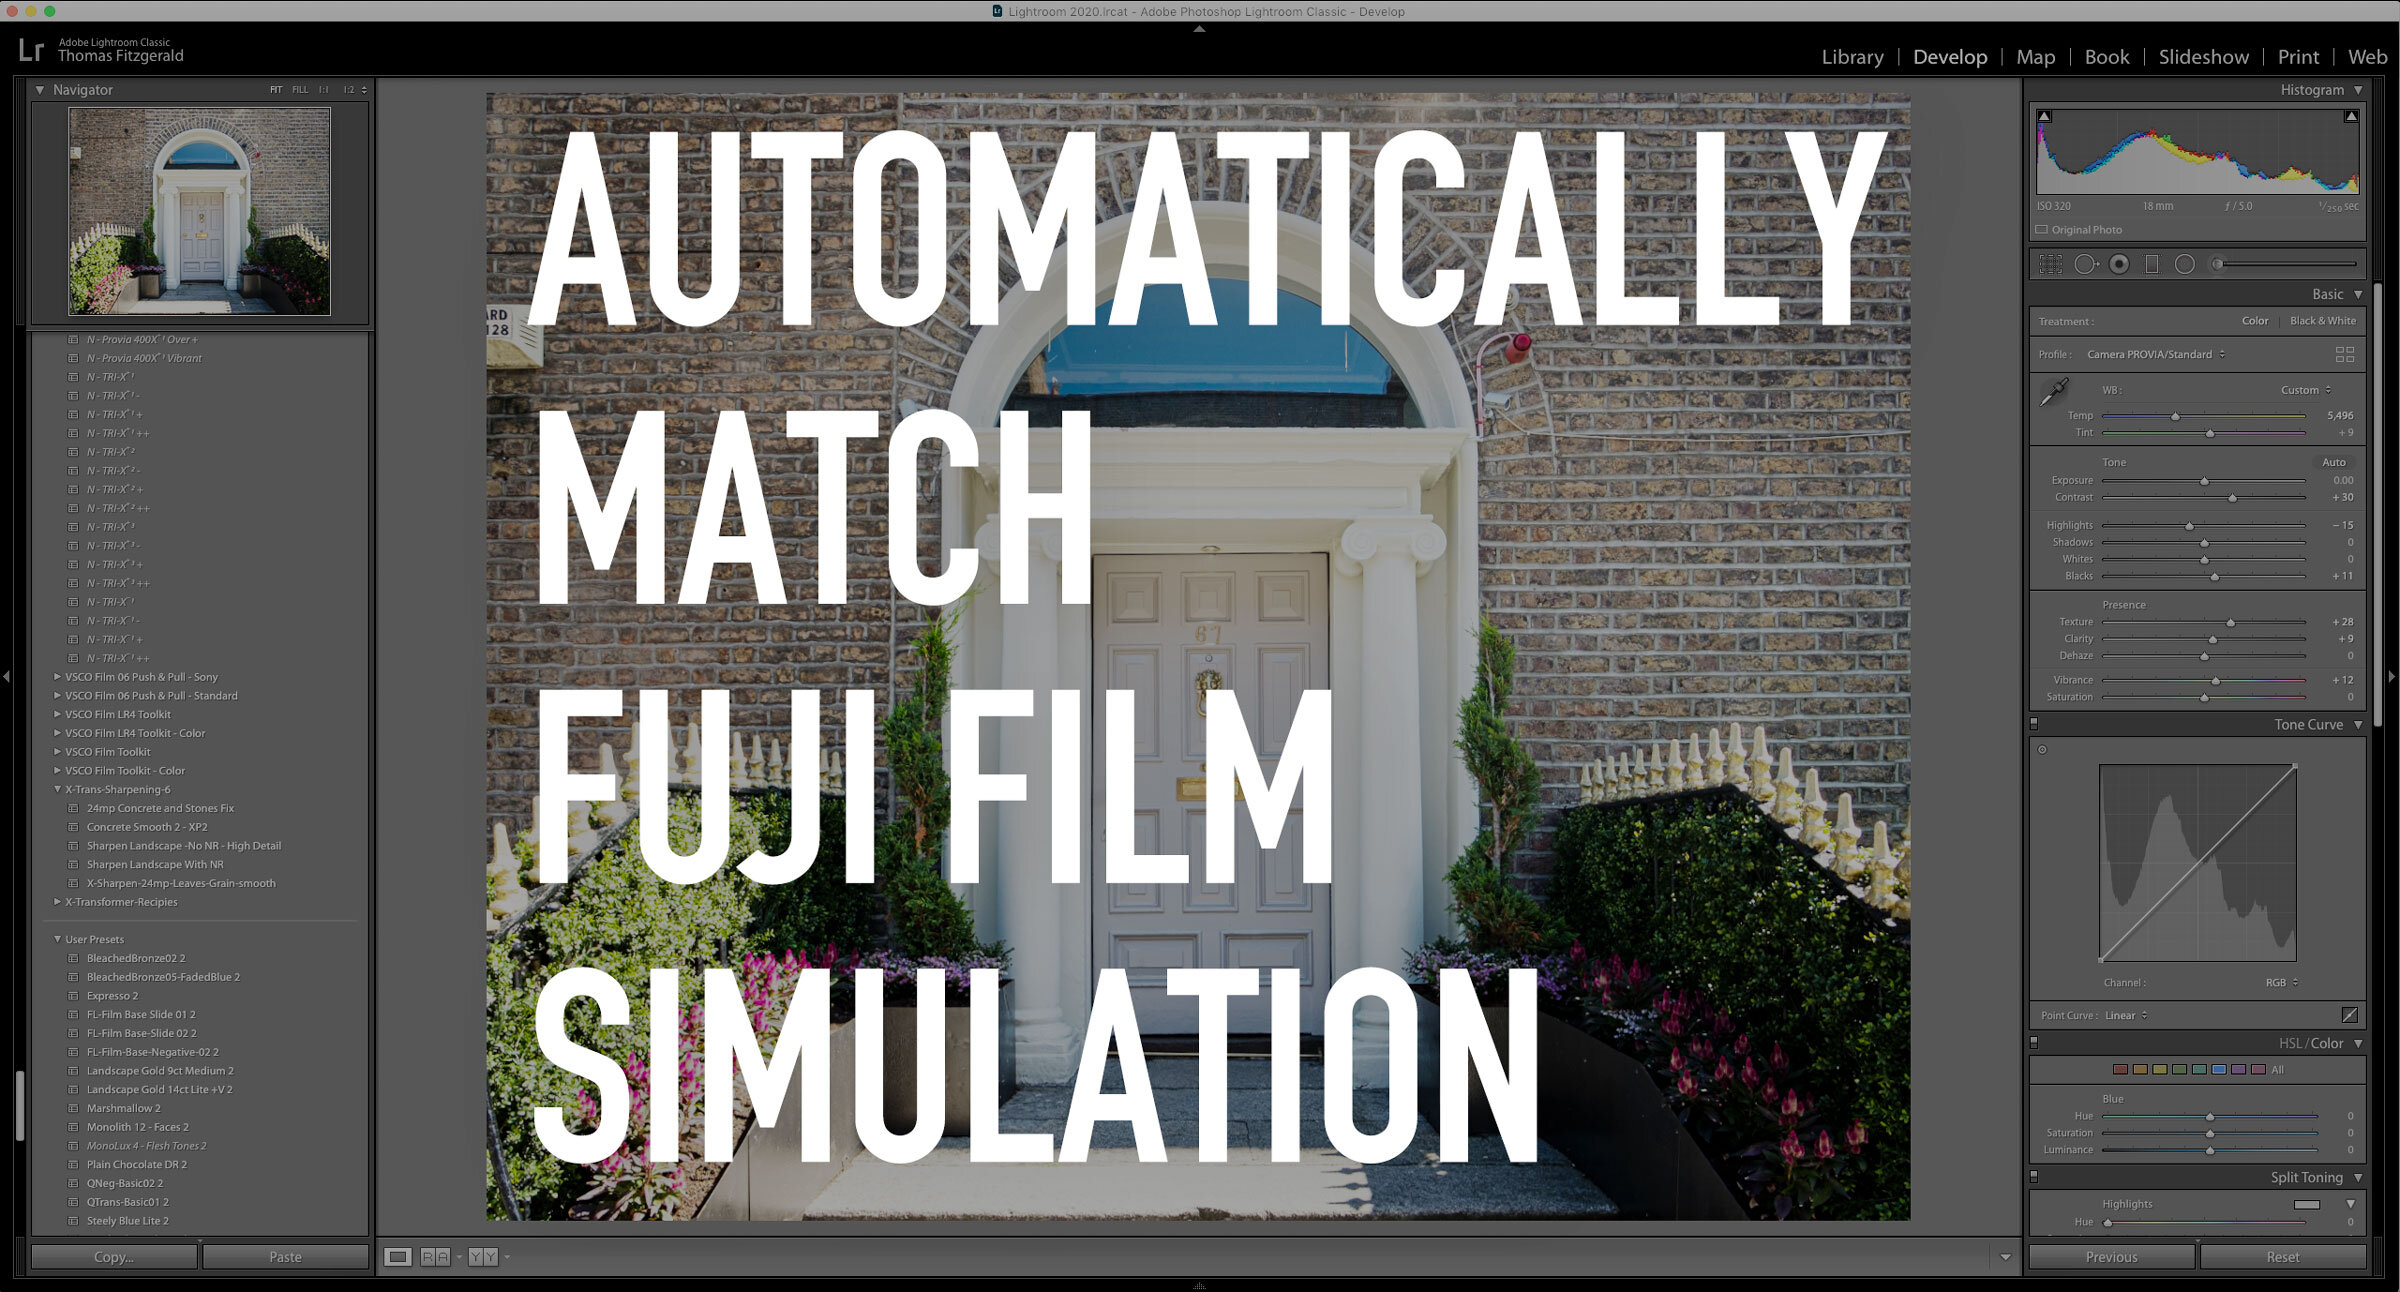
The really interesting option though is “Camera Settings”. This will try and match the camera profile to the one you used with when you took the photo. So if you used a “portrait” picture mode setting on your camera for one shot, and a “landscape” setting for another, Lightroom will apply the corresponding picture profiles if available (if you have camera settings as the default for your camera model, or globally). I haven’t tested this yet, but that’s the theory anyway.
This is something people have wanted for a long time, and I’m glad to see it being implemented. Capture One kind of does this for Fuji files, so I don’t know if that spurred on Adobe to implement something similar or if it’s a coincidence, but if it did, it shows you the important of competition in the file, regardless of which software you use.
These options are also availabe in Camera Raw (in Photoshop)
Help Support the Blog
Patreon
If you like what you see here and you find this useful, then you can help support this blog and help me keep making great content like this by supporting me on Patreon for as little as $1 a month. There are a number of options available with different rewards, such as behind the scenes content, special Patreon only videos and more. Check out my Patreon Page for more details, and a big thanks to everyone already supporting this blog on Patreon.
Buy me a coffee!
If you’d rather not use Patreon, but still want to say thanks or help, then you can feed my caffeine habit and buy me a coffee via PayPal with a one off donation to my PayPal tip jar.
Lightroom Presets and Capture One Styles
If you use either of these applications, then check out my range of custom made Looks in the form of presets for Lightroom, and Styles for Capture One.
Join our Facebook Group
If you want to discuss anything you’ve read here on my website, or saw on my youtube channel, or if you want to share images you’ve created using any of my techniques or presets, then I’ve started a new Facebook Group just for that.


