How to Create ISO Adaptive Presets in Lightroom 9.3
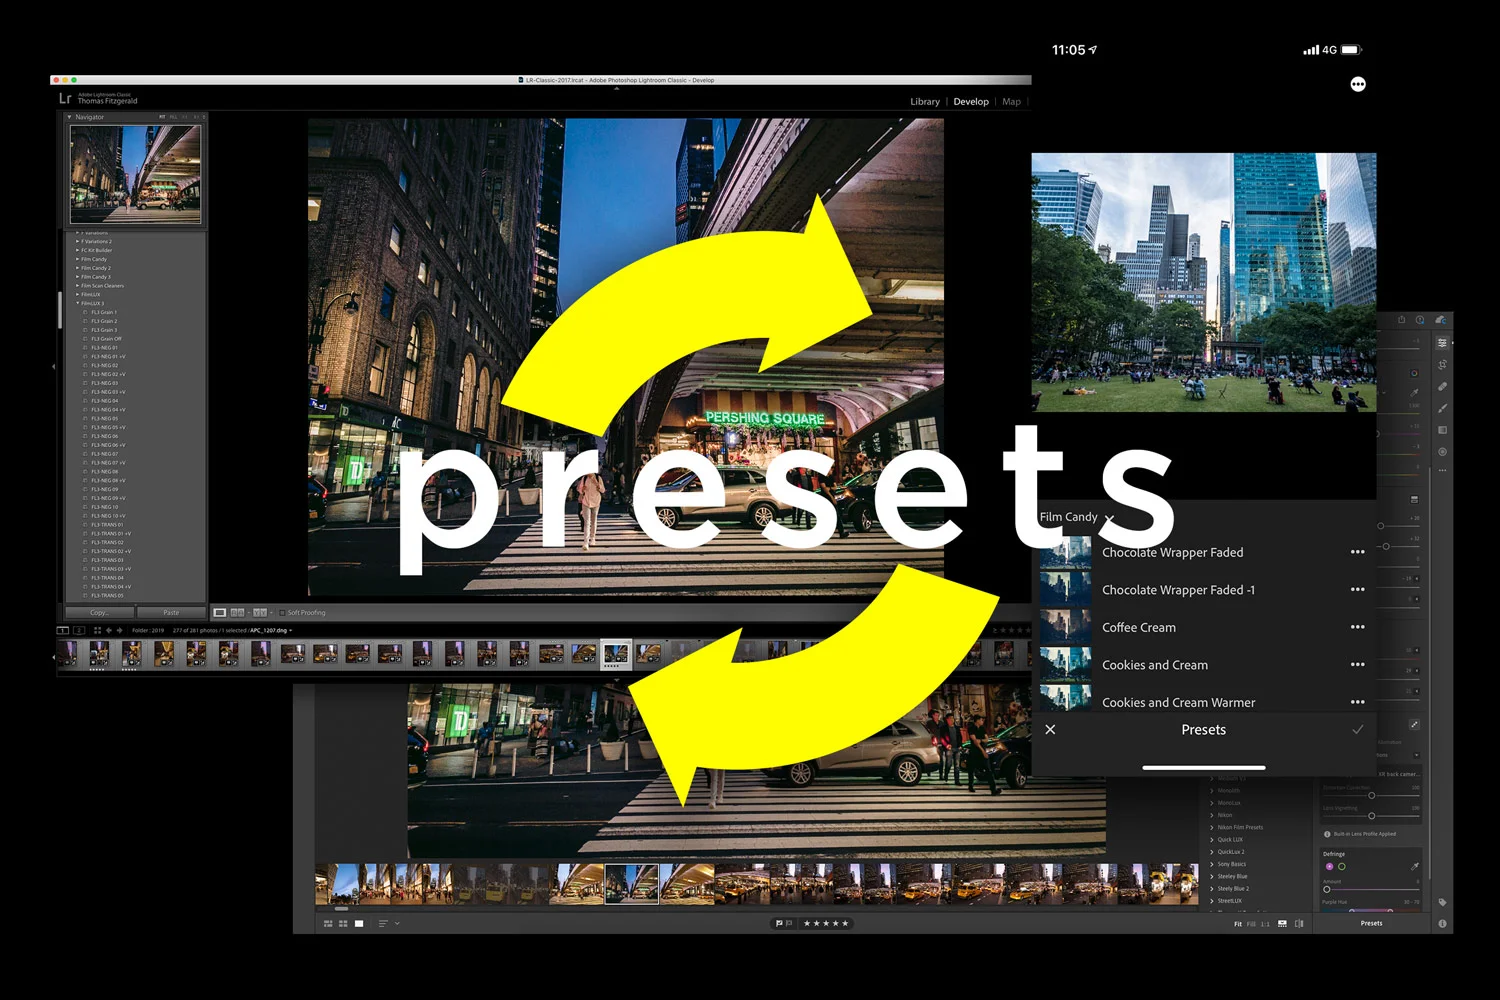
One of the interesting new features added to the latest version of Lightroom is the ability to create ISO adaptive presets. What this means is that you can create presets that will change their settings depending on the ISO of the image to which they’re applied. Creating these is actually pretty straight forward, but there are a few things you should consider.
How to create an Adaptive ISO Preset
To create one of these new Adaptive ISO presets in Lightroom, you simply select two or more images of different ISO settings from which to create your presets, and then when creating a new preset check the box for creating an adaptive ISO preset. Here are the instructions step by step:
Step 1 - Select and Prepare Your Source Images
Make sure you have your images ready from which to create the presets. You will need at least two images of different ISO values (you can have more than two). You then need to apply the settings to each image, including changes between the two for anything you want to change with the ISO setting
For example, if you wanted to create a preset for sharpening and noise reduction, that had different values depending not he ISO settings, then set these settings on your source images. If you want to have other settings that don’t change with the ISO value, then make sure that these settings are the same on all your source images. For example, if you wanted to add contrast to the sharpening and noise reduction settings but wanted it to be constant, then make sure that this value is the same between images. For demonstration purposes, here are the settings I’m going to use in this demo:
| ISO | Noise Reduction | Sharpening Amount |
|---|---|---|
| 100 | 0 | 40 |
| 800 | 20 | 30 |
Step 2 - Create Your Preset
From the Filmstrip in the Develop module, select both images. Make sure both are selected and then go to the top of the preset browser and click on the + button and choose Create Preset.
This will bring up the New Develop Preset dialog. Check the settings that you want to save, and uncheck any setting that you don’t want to be part of the preset. At the bottom of the window, make sure to check the option that says: Create ISO Adaptive Preset.
Once you click Create this will create your new adaptive preset.
How does this work if you apply to a different ISO value?
So you may be wondering what happens if you apply the preset to an image with a different ISO value form one of the ones that you stored in the preset. Well, if it’s between the two values, the adjustments get interpolated. If it’s outside the rage, then it stays whatever the nearest is.
What does this mean in practical terms?
let’s say you created a preset with a different value for Luminance noise reduction. You used two images, one ISO100 and the other ISO800. For ISO 100 you set the noise reduction value to zero, and for ISO 800 you set it to 20.
If you then apply this to an image at ISO400 it will set the noise reduction value on that image to 10. The same will apply to any settings you have stored as part of the preset.
In this same example, if you apply the preset to an image of ISO1600 it will just use the ISO800 value of 20.
The upshot of this is that you don’t need to use every conceivable ISO value as source images to create your ISO presets. Just use images at either end of the scale and it will interpolate the rest. Of course you can use more than one.
A Valuable feature
ISO Adaptive presets are a pretty valuable new feature, and makes the creation of certain types of presets much more convenient for end users. But where I think these will be most valuable is with the new(ish) defaults system in Lightroom. As you can now set your defaults for specific camera models to be based on presets, having those presets vary by ISO is highly valuable. It takes a little planning to set up, but once you do it can save you a lot of time with your workflow.
Join our Facebook Group
If you want to discuss anything you’ve read here on my website, or saw on my youtube channel, or if you want to share images you’ve created using any of my techniques or presets, then I’ve started a new Facebook Group just for that.
FYI, The group is moderated and you must agree to the rules in order to be accepted.
Help Support the Blog
This blog is pretty much my day job now and I work to bring you my own take on photography, both tutorials and tips, as well as inspiration from my own art. I support this work, and my YouTube channel entirely either via sales of my eBooks and Lightroom presets, or the kind support of my readers. (I also have some affiliate ads). Running all this isn’t cheap, and so If you like what you see and you want to help keep this all going, there are a number of ways you can do so:
- If you’re interested in buying Capture One but haven’t yet bought your own copy yet, then by going through my affiliate link I’ll get a small commission!
- You can buy any of my Capture One Styles through my online store!
- If you’re buying anything on Amazon, you can help by using my affiliate link: Amazon US or Amazon UK.
- You can support me on Patreon. If you like what I do here and find the information useful, then you can help by subscribing to me on Patreon. As well as helping keep this blog going with even more useful news, tips, tutorials and more, members also get special Patreon only feed, which gives you behind the scenes content, as well as monthly downloads (for the top tier), for only €2 or €5 a month Stop by and check it out.
- Buy me a coffee / Tip Jar. If you want to support the blog but don't want to sign up for Patreon, you can buy me a coffee via PayPal with a one off donation to my PayPal tip jar.
You can see more of my photography and keep up to date by following me on social media and checking out my other websites:


