How to get a subject to fit in the frame if you're too close by using the Brenizer method

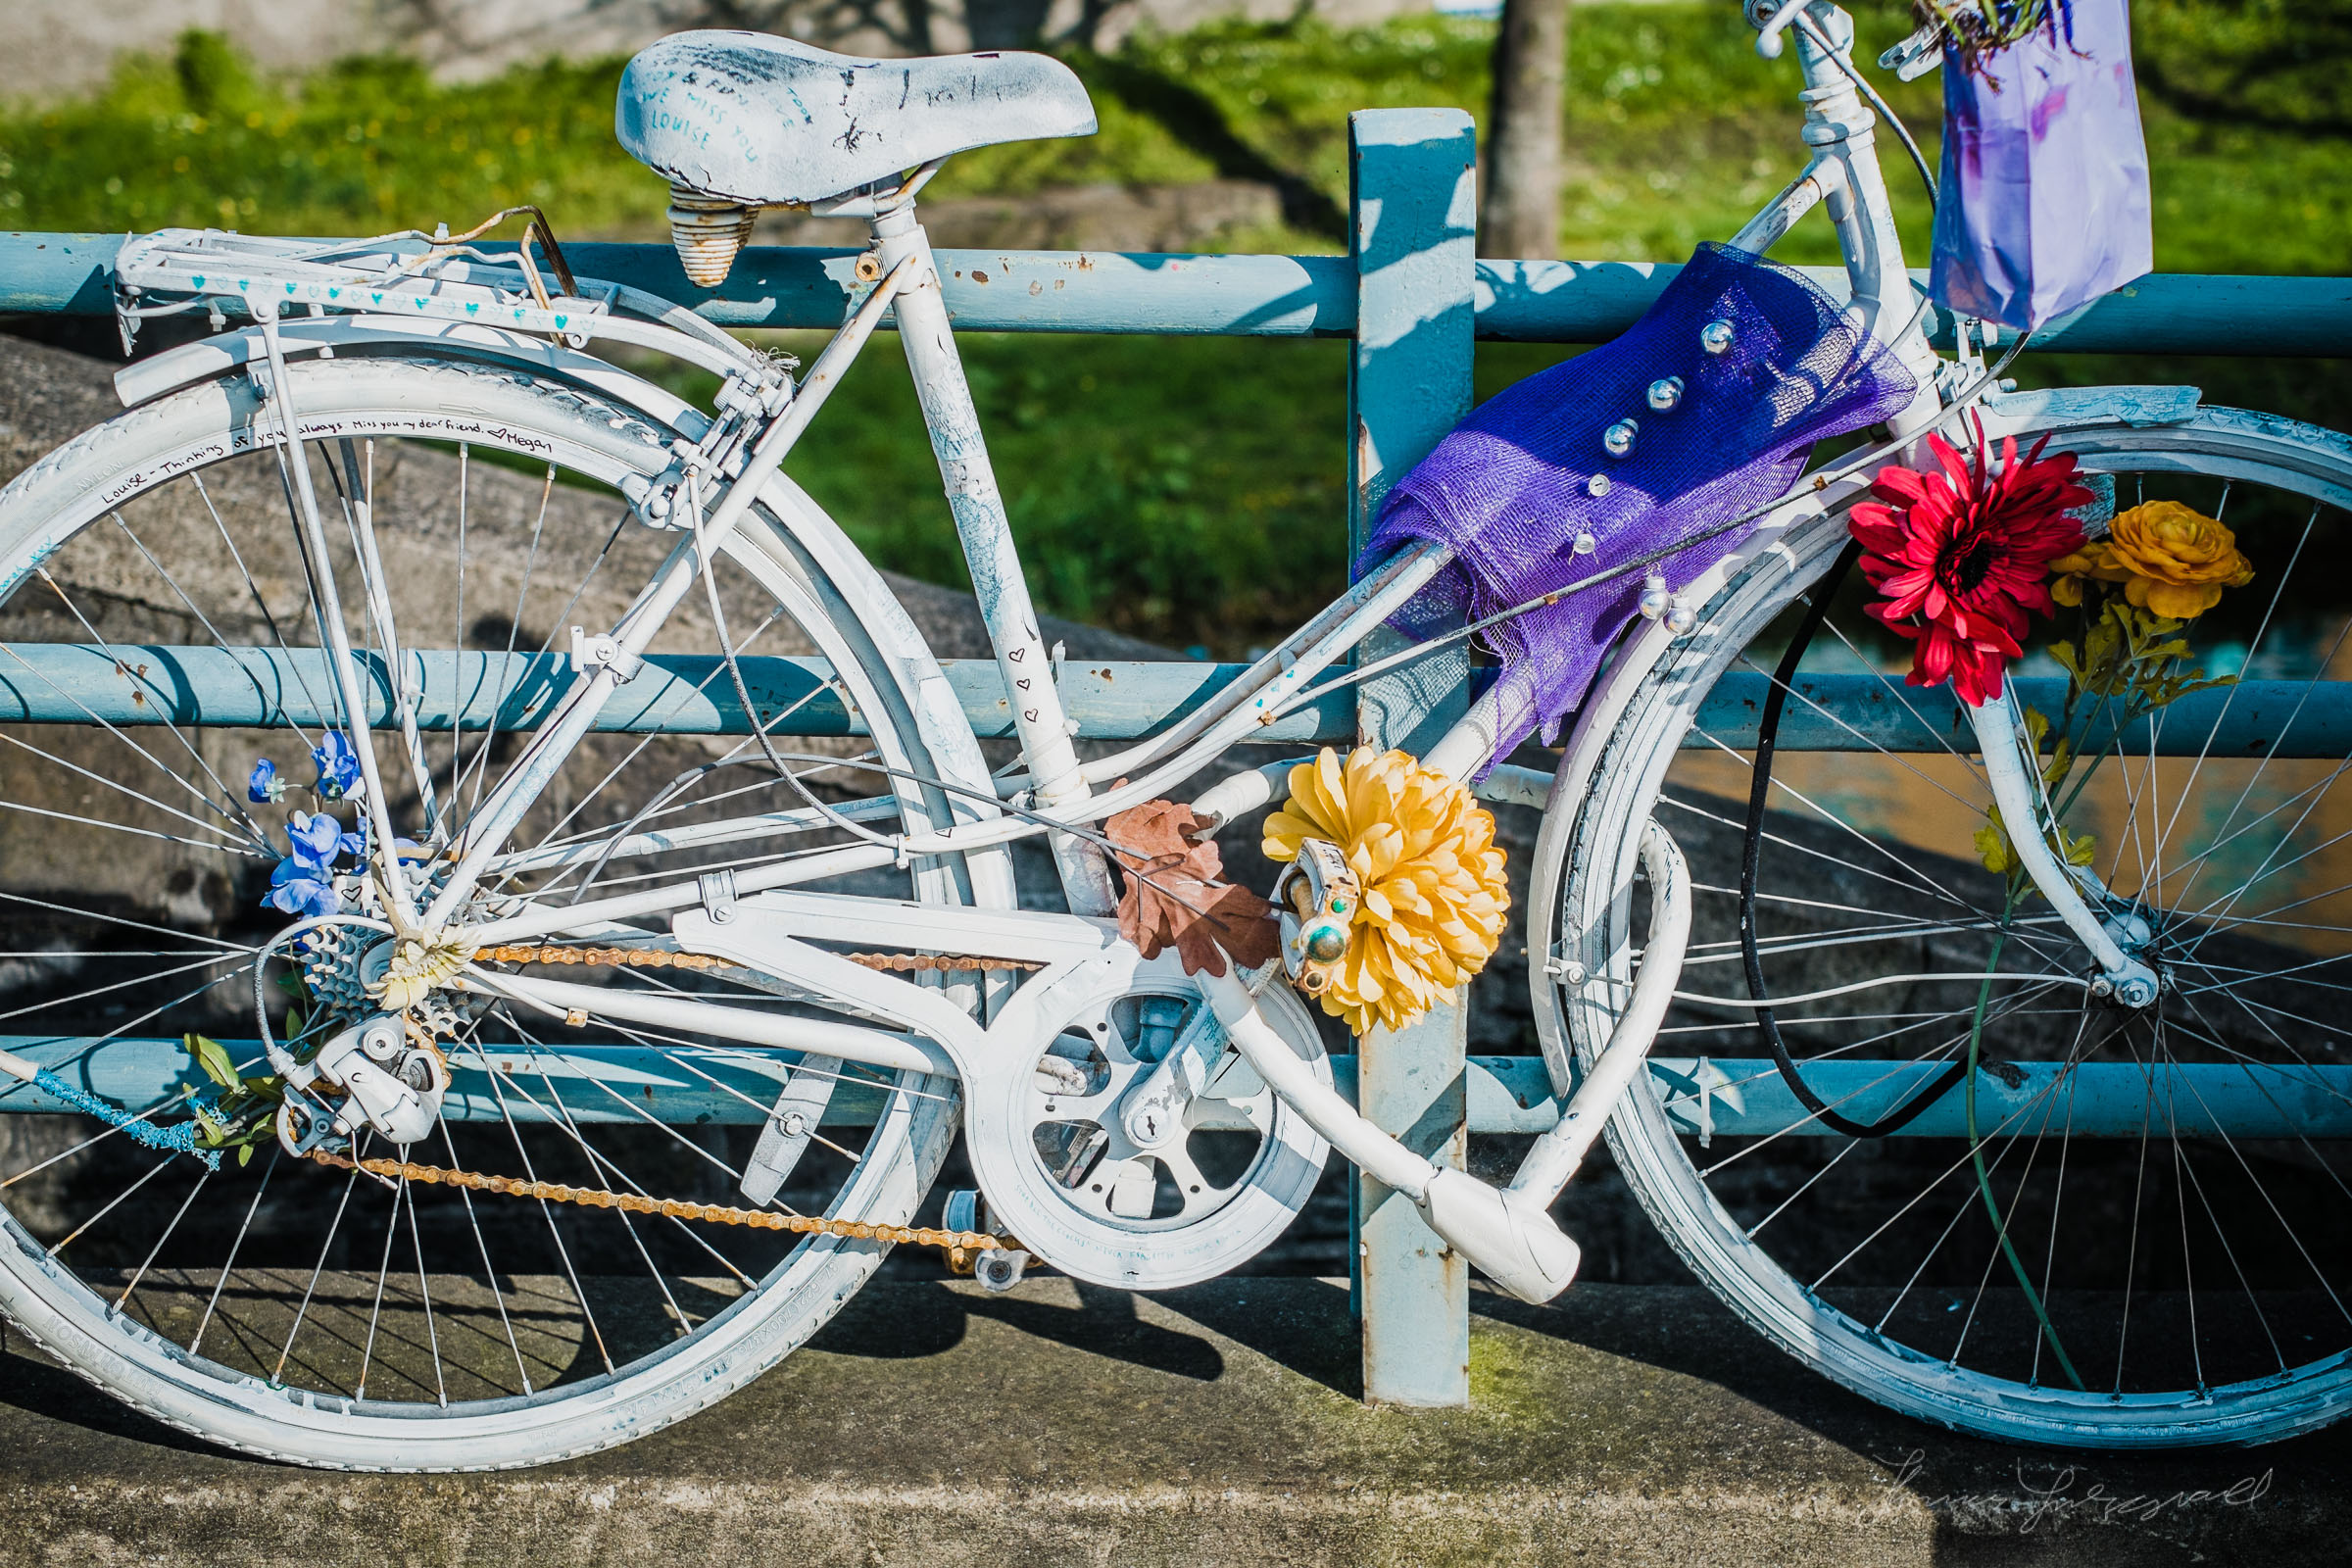
Here’s a problem I had the other day, that I’m sure you’ve come across at some point. I was walking along and I saw this cool painted bike chained to the railings by the canal where I was walking. It was a great subject and I really wanted to get a photo of it, but I only had my 35mm lens with me on my Fuji XE1. This unfortunately wouldn’t fit the bike in frame. This was as wide as I could get.
The obvious solution would have been to back up, but right behind me was a very busy road and I didn’t fancy walking into it. The solution is actually pretty simple: take a whole bunch of photos and then stitch them together in Photoshop. This might sound like a lot of work, but Photoshop’s merge to panorama does most of the work for you. I actually remembered this method because I’d recently discovered the wonderful work of Ryan Brenizer. Ryan is a New York based wedding Photographer and he uses the same technique to get super shallow depth of field wide angle shots. Because the look is so distinctive it’s been called the Brenizer method after Ryan for developing the technique.
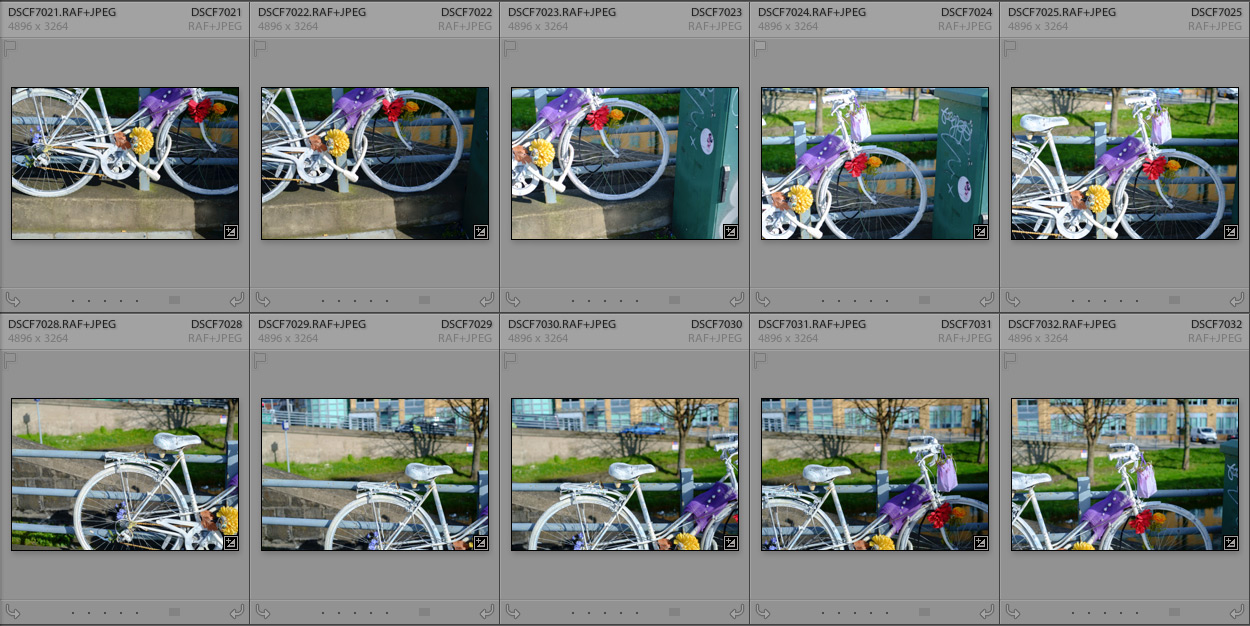
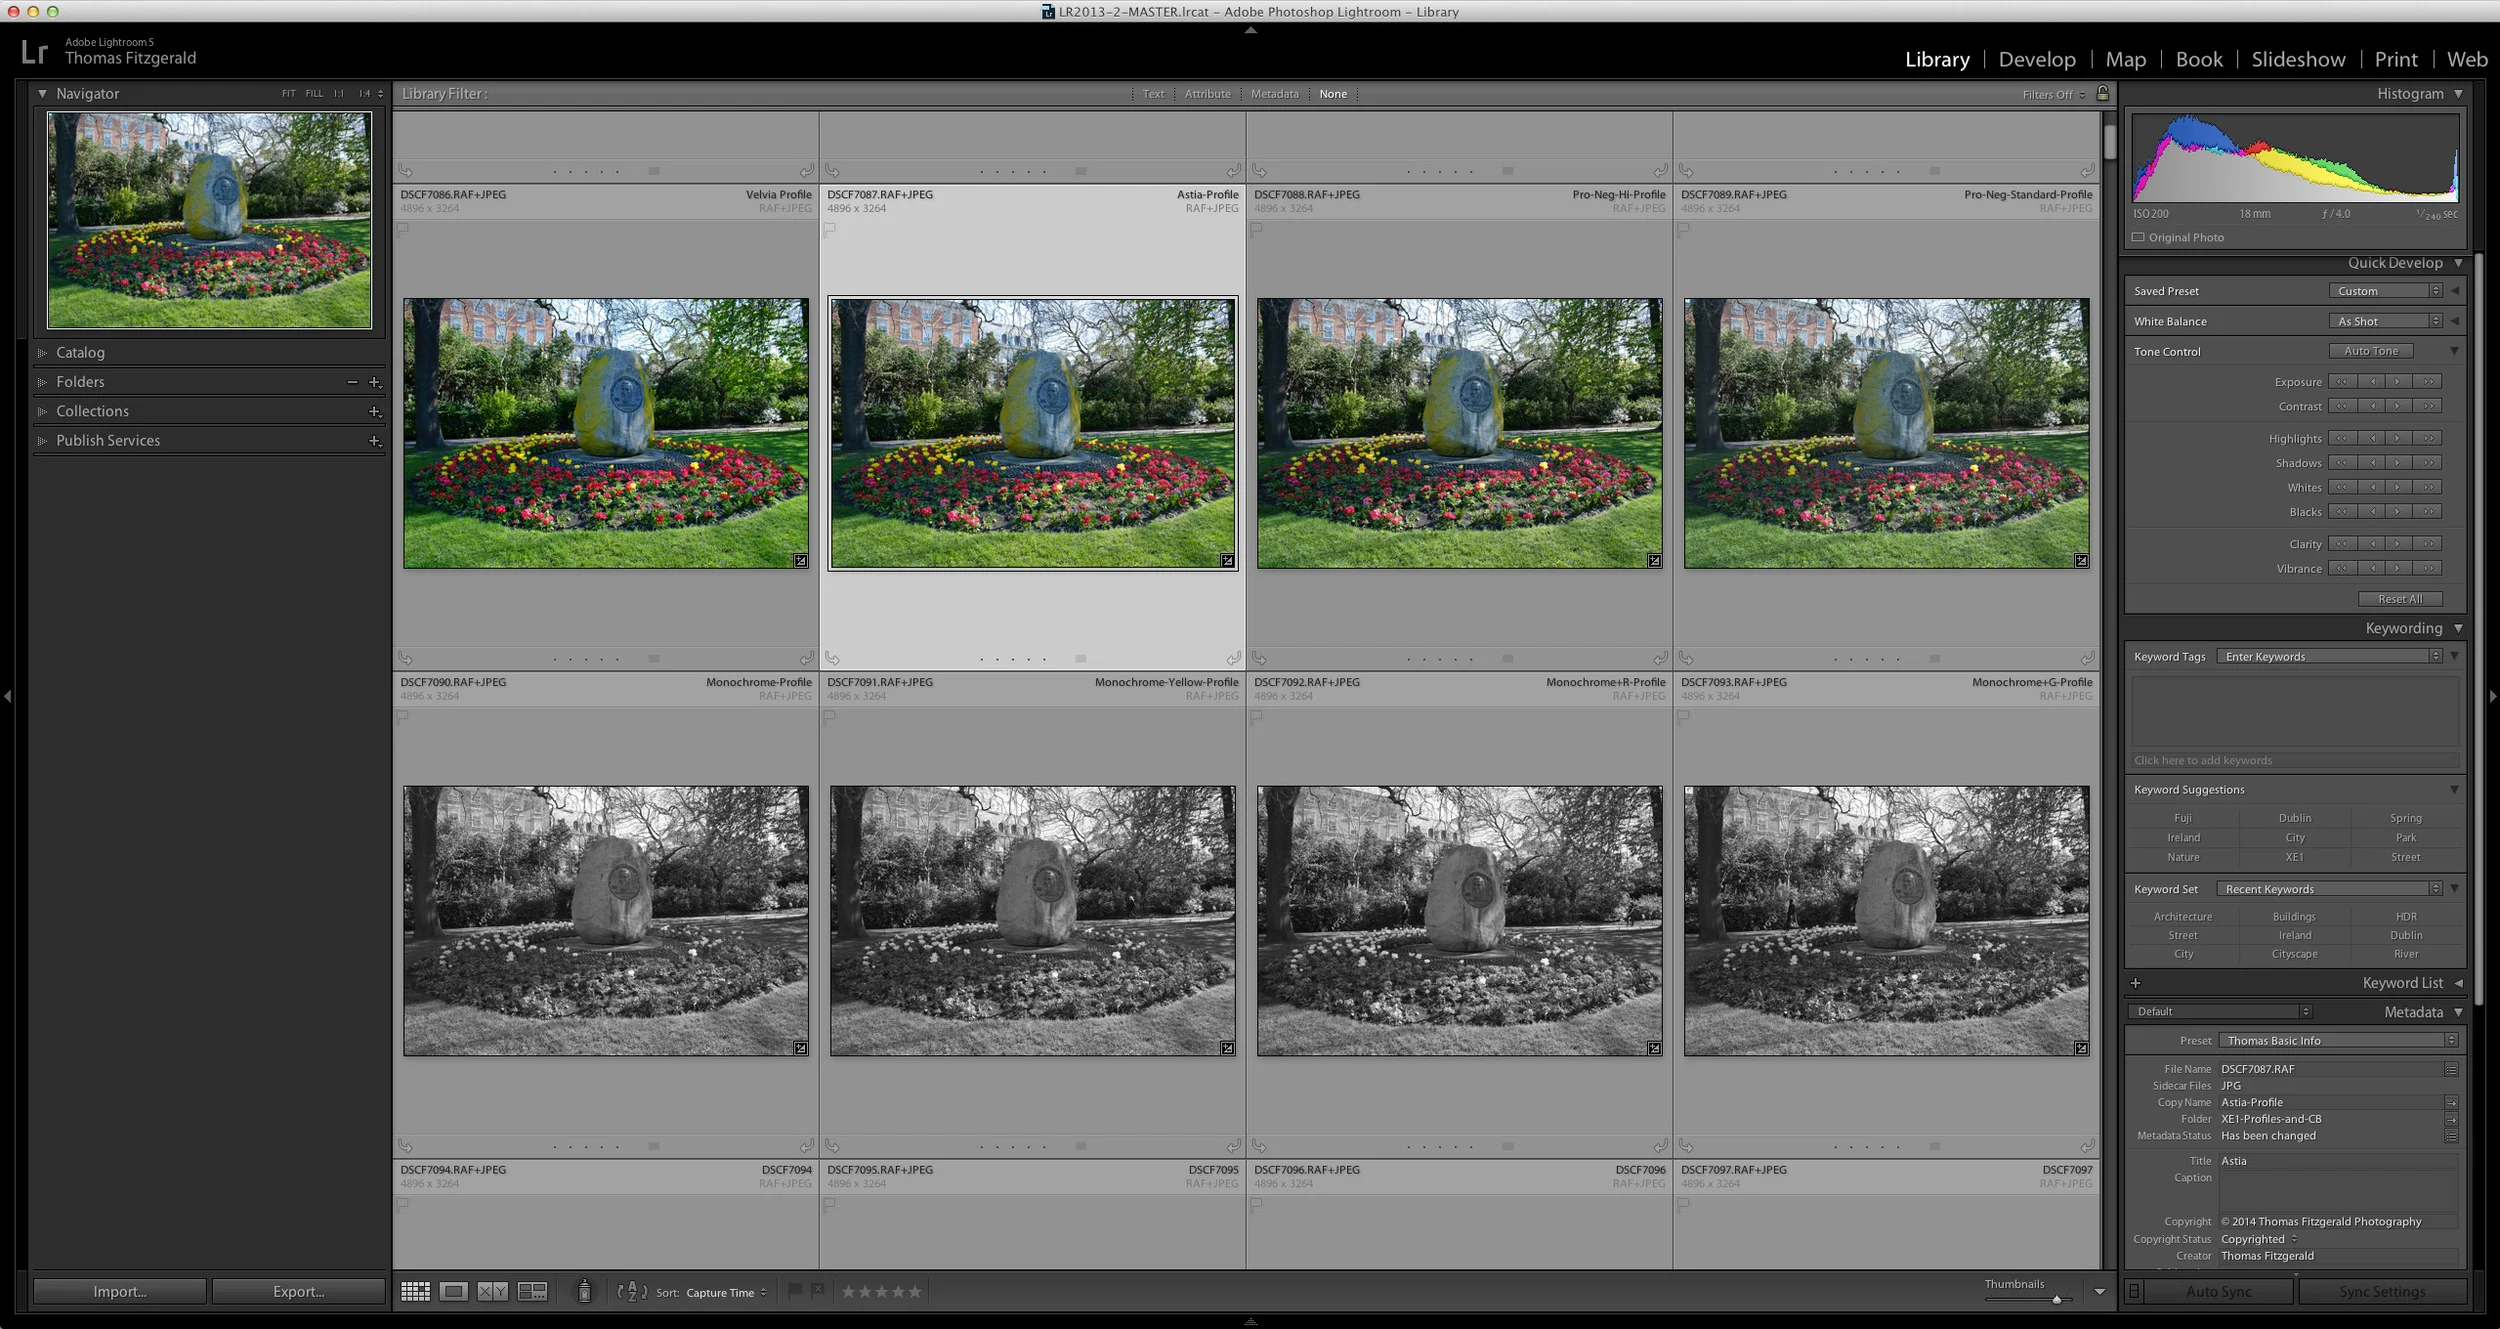
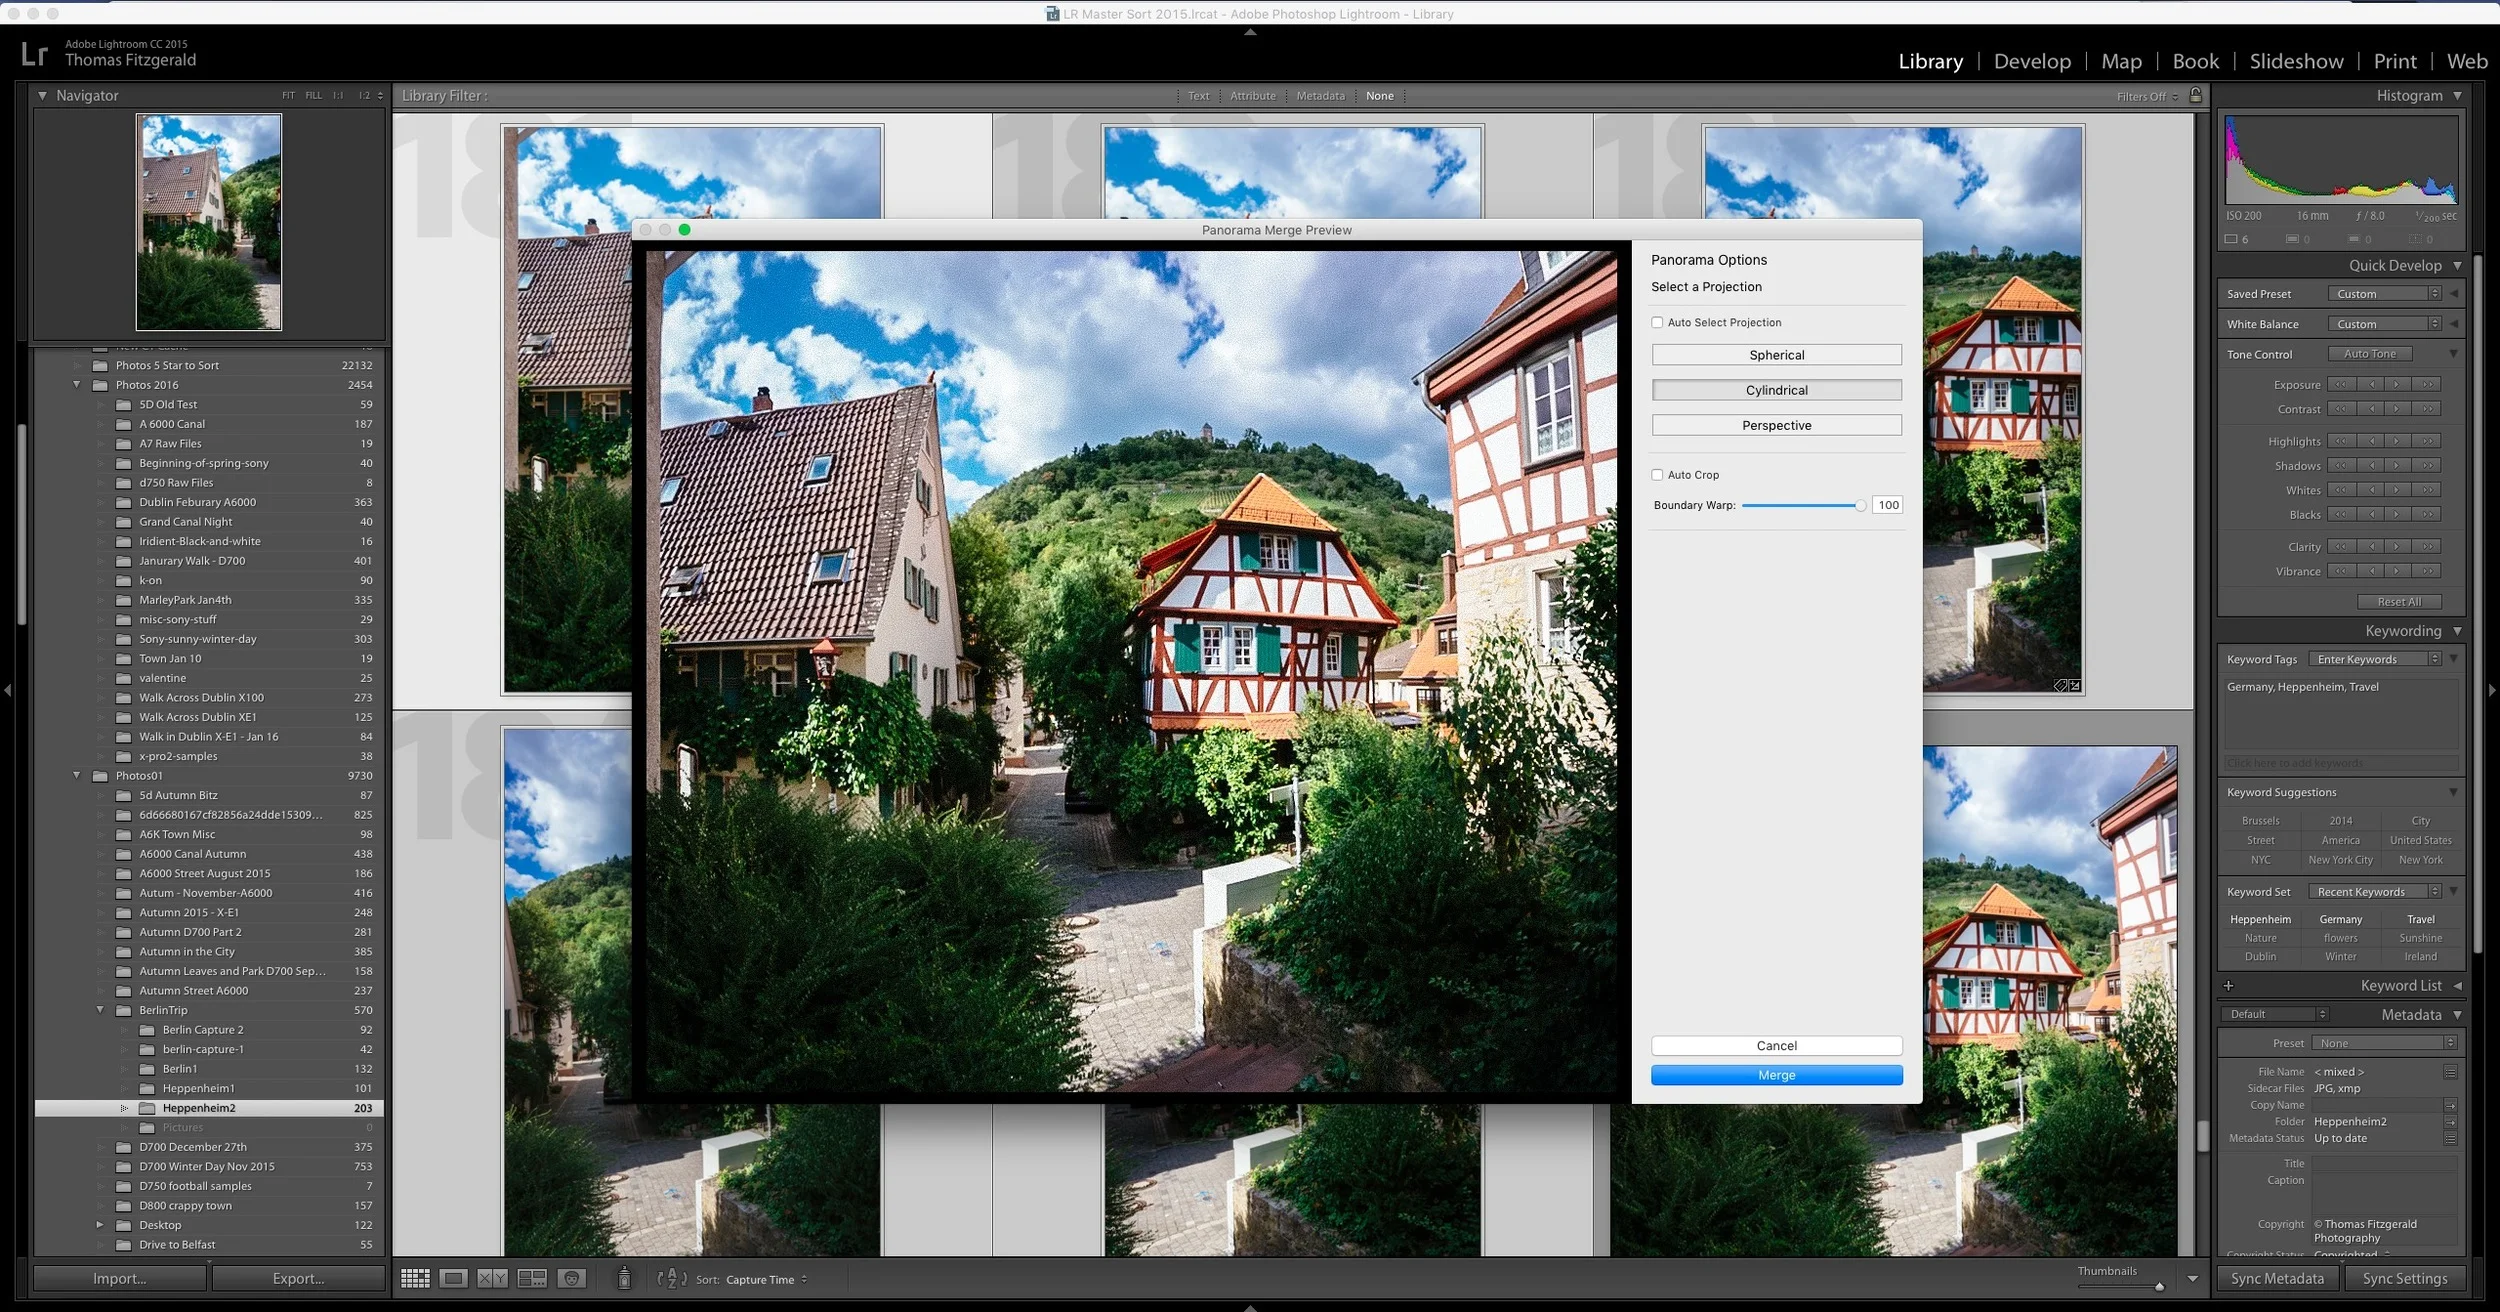
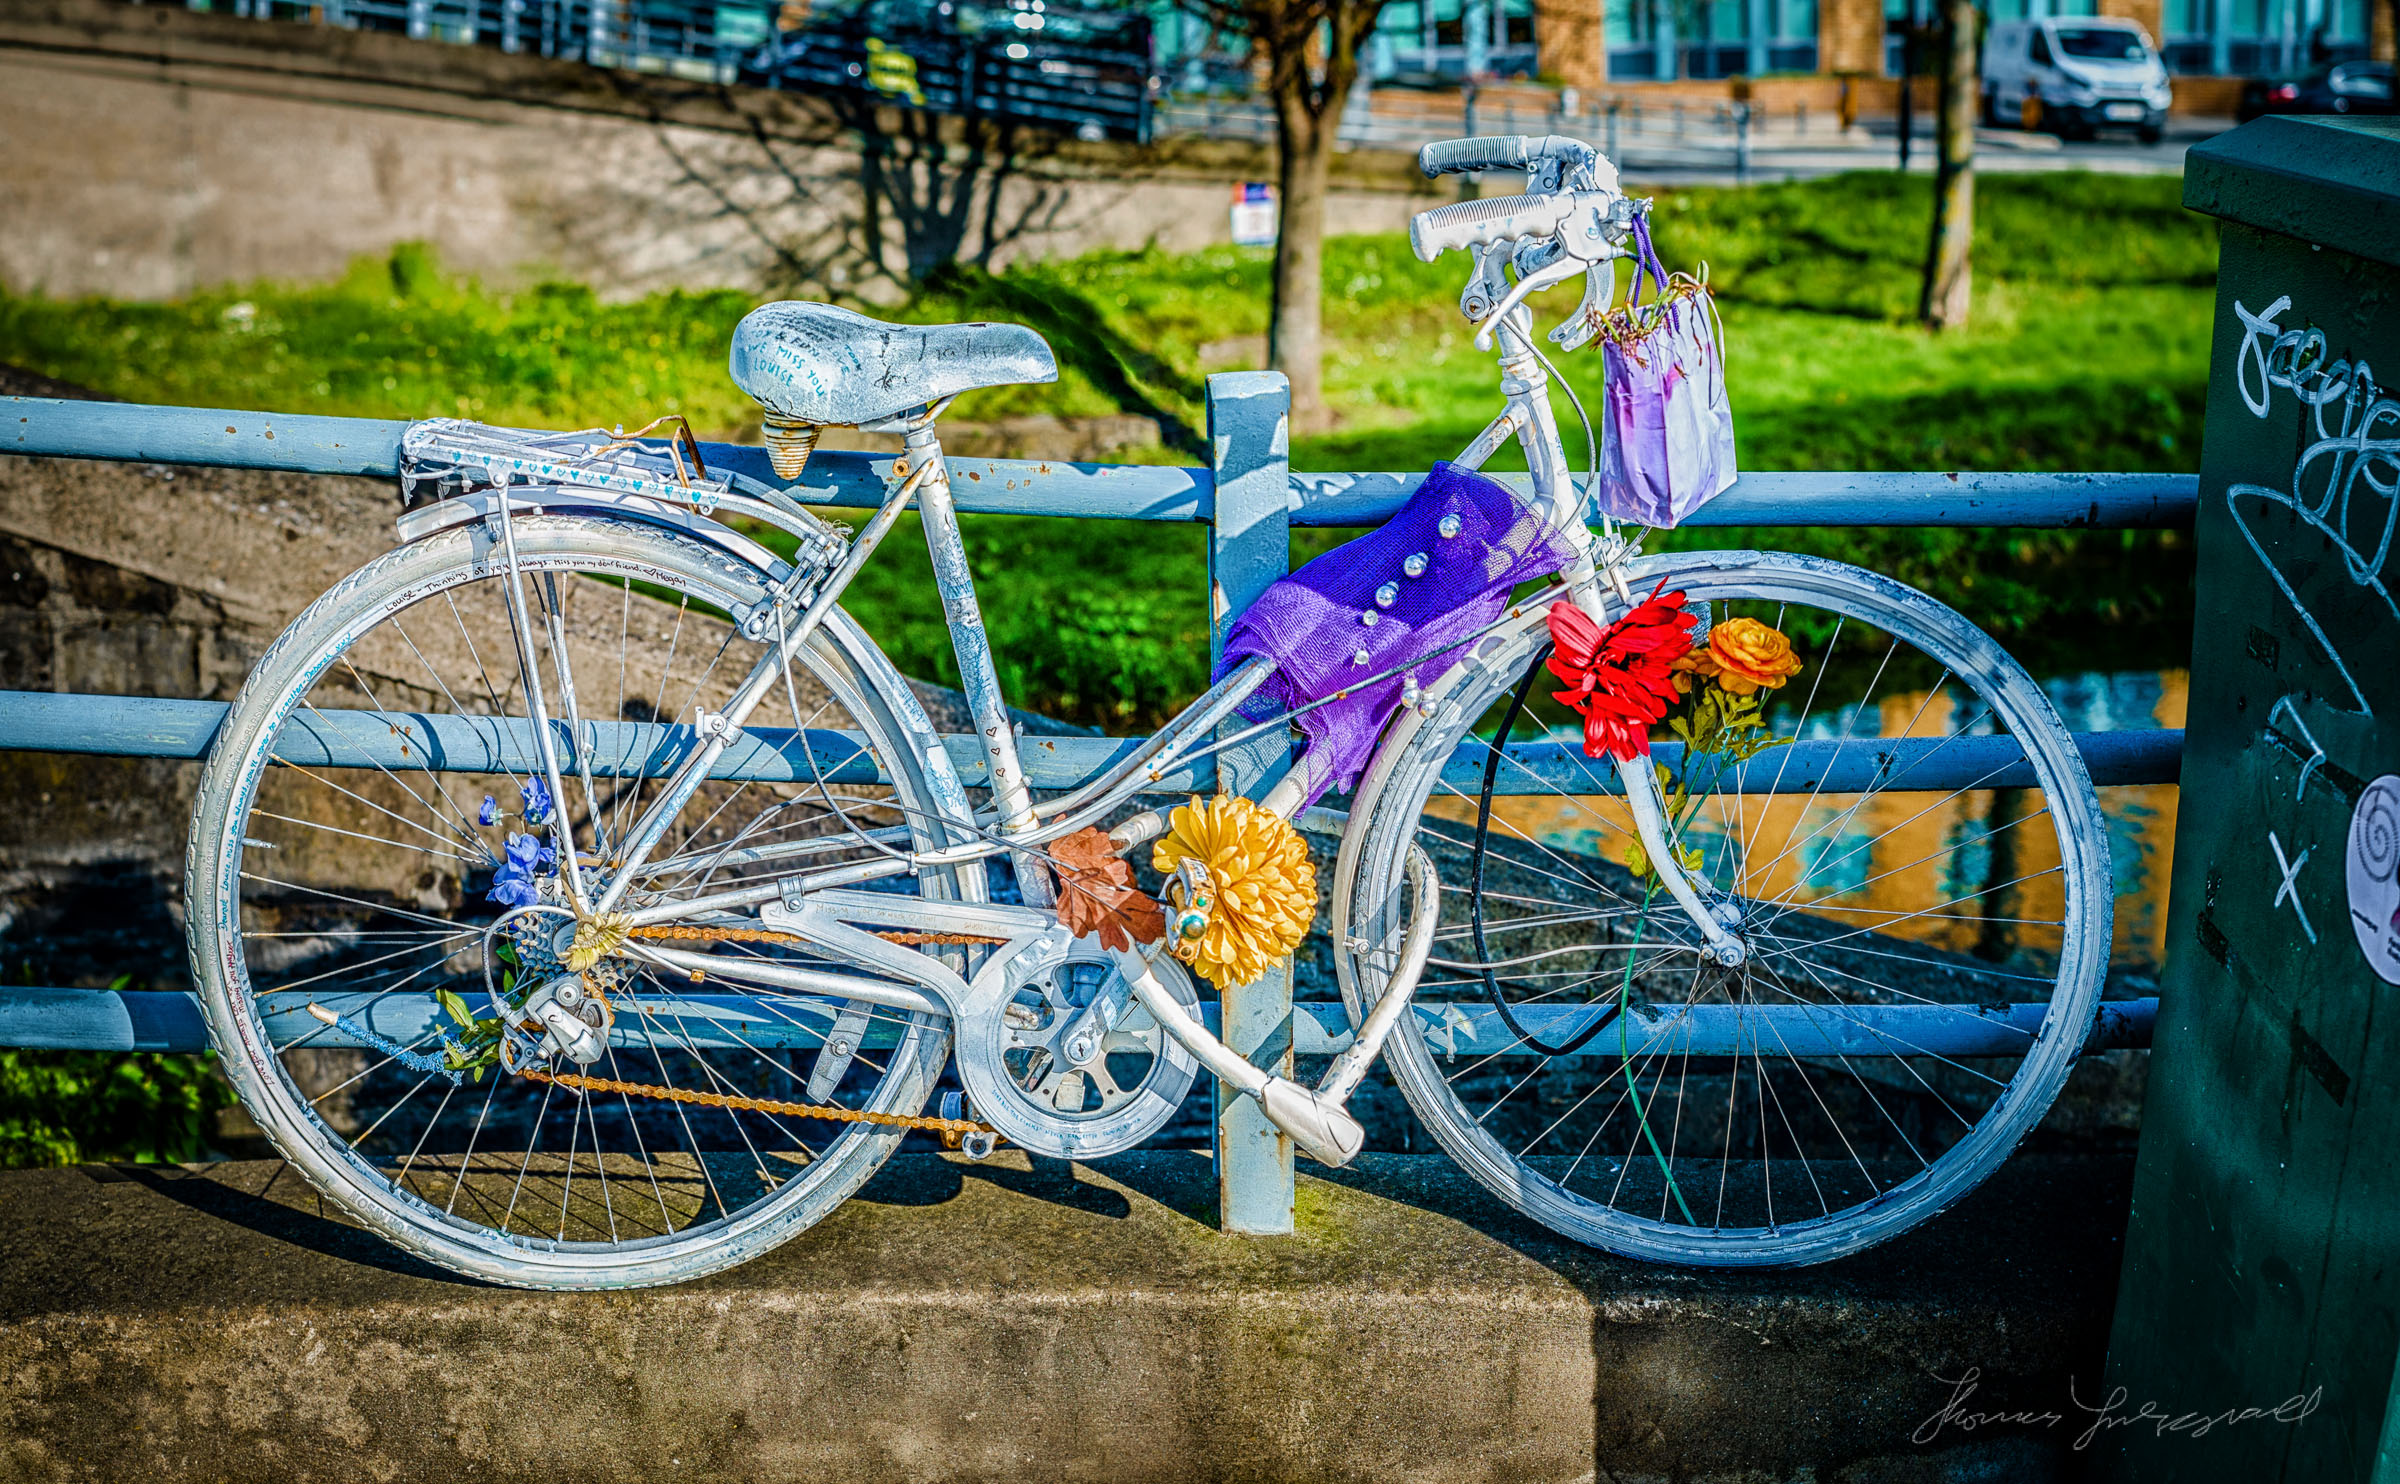
Anyway, I wasn’t using it for the shallow depth of field, I just wanted to get the bike in shot. I locked my focus and began shooting away. I took a about 14 shots in total. I then brought them into Lightroom and made sure the exposure and calibration were all ok. Then I just selected them and used the “Merge to panorama in Photoshop” command from Lightroom, which sent the images over to photoshop for merging. The processing actually took quite a while, but the result was worth it. There were a few anomalies in the merging so I had to do some manual tweaking and re-layering to fix them, but the end result is good enough.
I added some further effects using Color Efex Pro to bring out the wonderful texture of the bike. Here’s the finished result (again)
Like I said, it may sound like a lot of work but it really isn’t. And at that particular moment, there was no other way I could have gotten the shot given the limited space.
Please Help Support This Site
I am a fine art Photographer and do not shoot commercially. If you like what you read here and want to help support the site, then please consider buying a Print, checking out my new Lightroom Presets