A Slightly Unconventional use of Lightroom's Merge Panorama Function
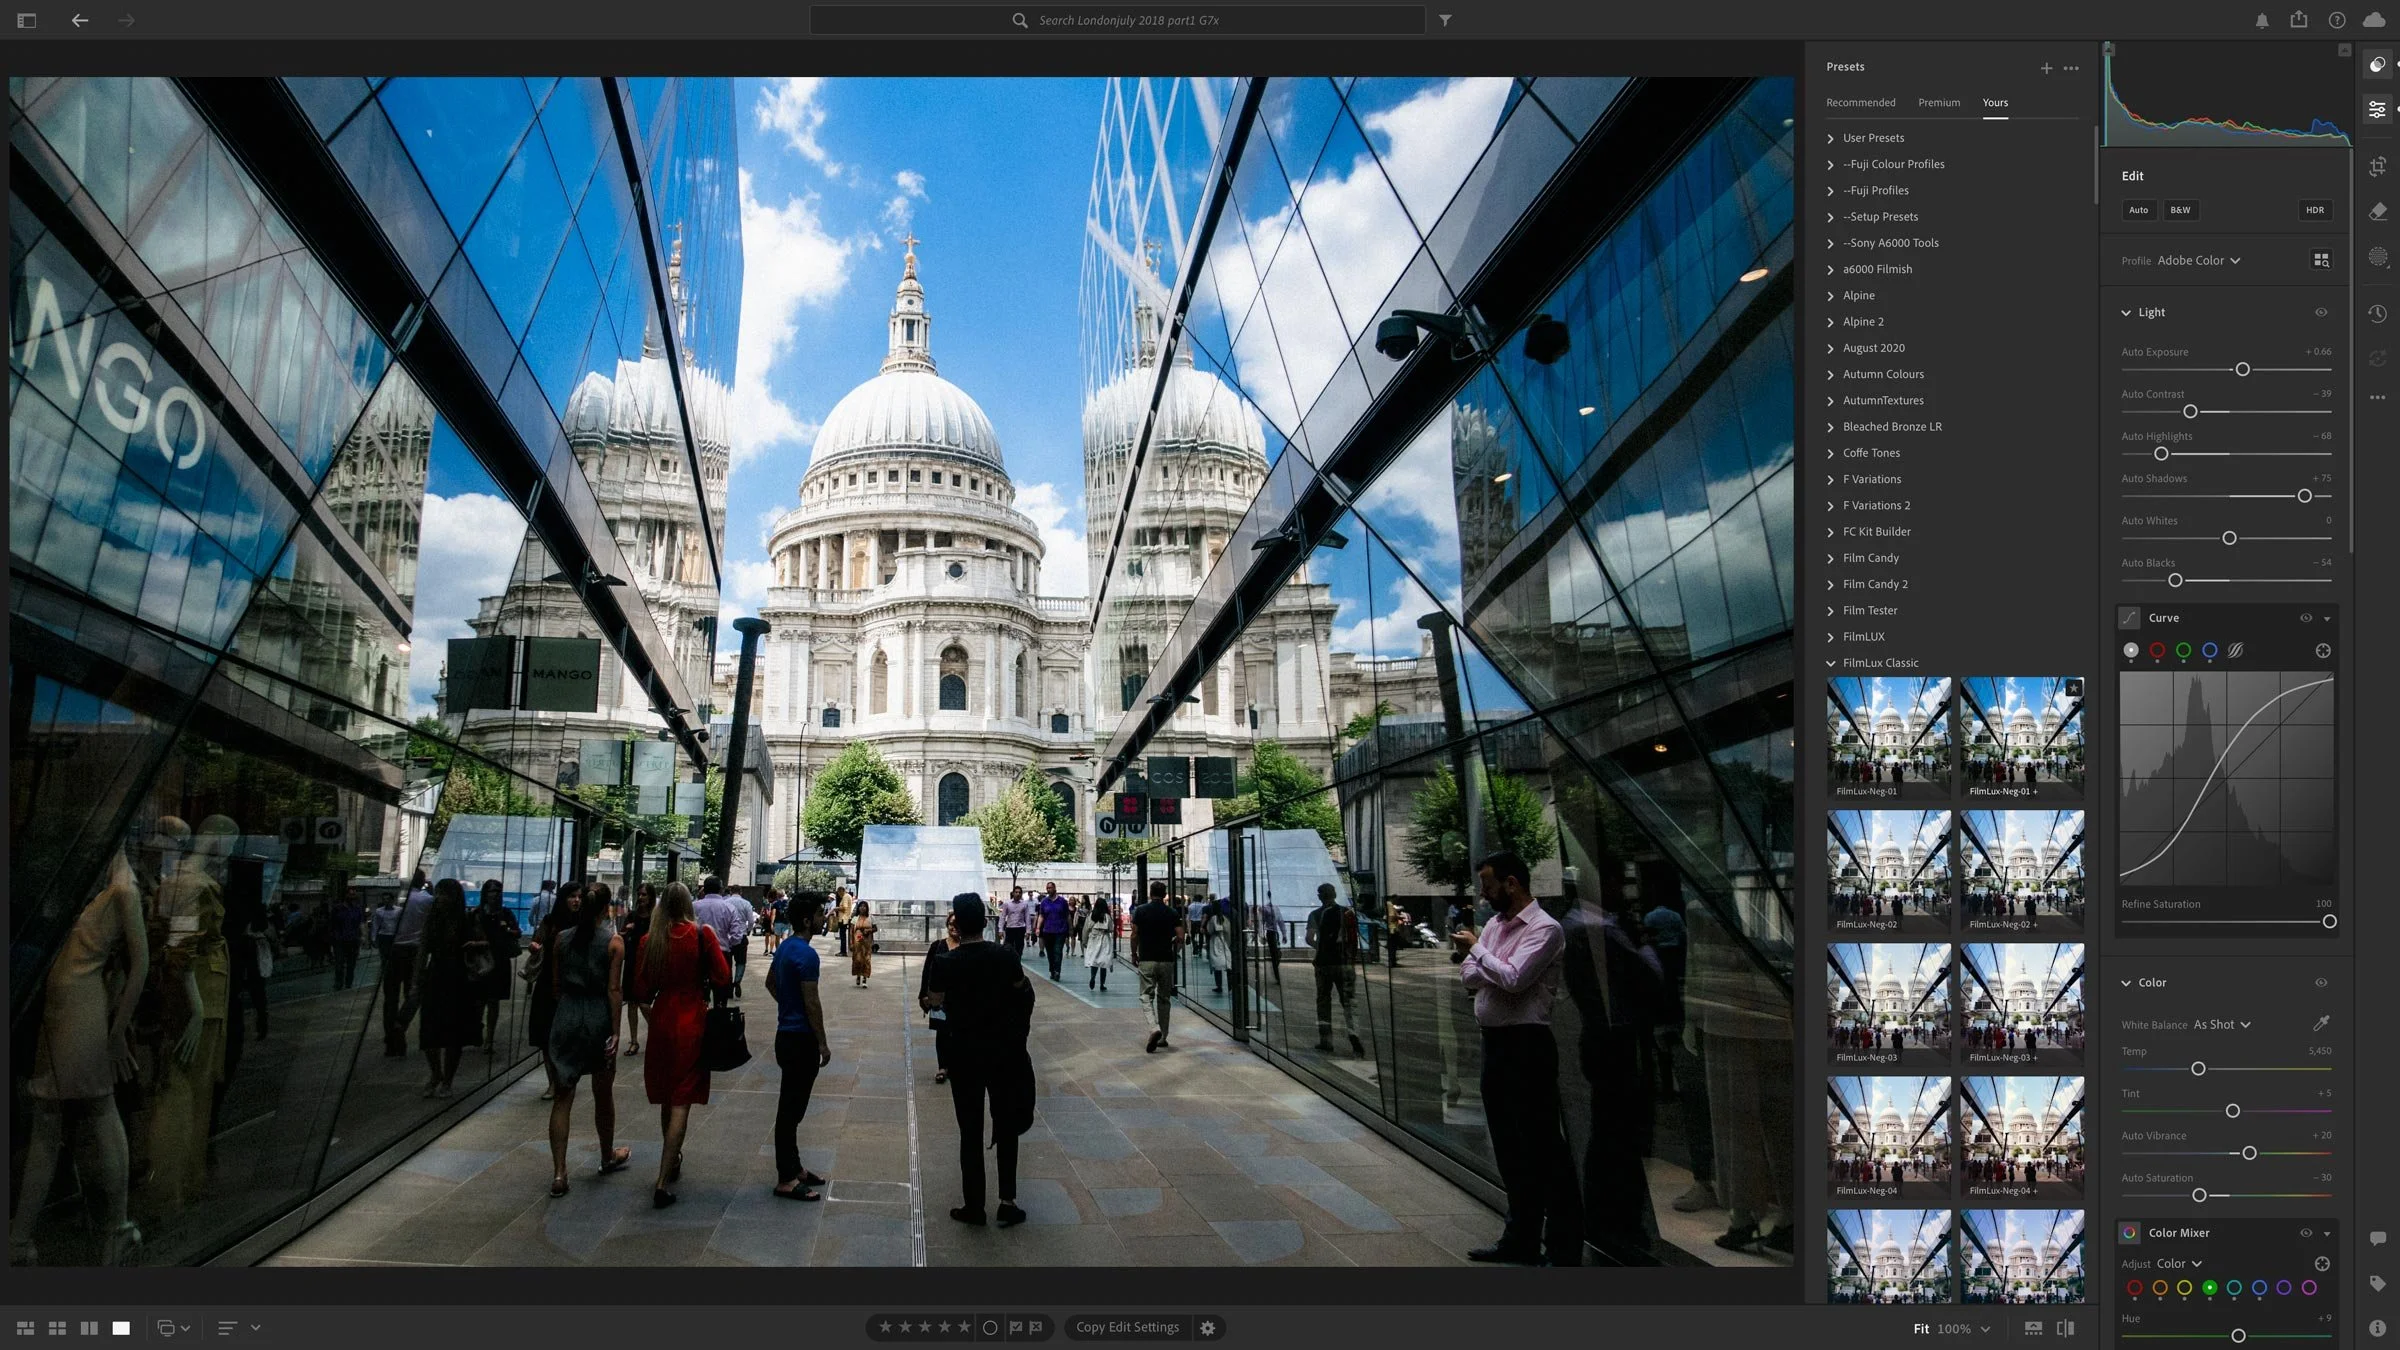
I shoot a good few panoramas now and then, and since Lightroom has added the merge function directly into the software, it's gotten a lot easier. So much so, that I don't even really think about it any more when shooting them. While traditional panoramas are fine, there's another incidence where the function comes in handy, and that's when you want to shoot wider than you otherwise could with the lens you have with you.
What do I mean by this? Well, frequently I'll be shooting with a prime lens, especially when shooting street shots. Sometimes I will come across a scene that I want to capture but I just gan't fit it all in. The solution is to take a few shots (usually in in the opposite orientation) and then merge them later in Lightroom.
Here's a couple of examples.
Church
In this first shot, which I took recently, I wanted to capture the facade of this church. I was shooting wth my Sony A6000 and the kit lens which only wen't as wide as 18mm. I backed up as far as I could without getting killed by walking into the oncoming traffic, but it still wasn't enough. So instead, I turned my camera sideways and took a couple of shots.
While this is similar to a normal panorama, I wasn't actually turning that far, so the result is practically square. It was only to get the whole building in. Once in Lightroom, I merged them with the "Perspective" option and this gave the following result, with a bit of tweaking afterwards!
Crane and Building
Here's another simple example. In this second shot, the situation was similar. I was shooting with the X-E1 in this case and I only had my 35mm lens with me. I wanted to get the crane and the trees in, so in this case I turned the camera horizontal and took two shots, in a sort of mini vertical panorama.
Again, I used Lightroom's merge to Panorama function in "Perspective" mode to combine the two shots, and here's the result.
I did a little further processing post merge, using my "Coffee Tones" Lightroom presets. (shameless plug). There's a slight join visible on the cable, which I would normally fix in Photoshop, but I haven't here as I'm only using this for demonstration purposes
Shop Doorway
Here's another example. In this case I wanted to get the whole door and mannequins in, but again, I couldn't fit it all in with the lens and camera combination that I had with me. In this case it was a D700 and 35mm lens. So, once again, I shot a couple of images across.
I merged these in Lightroom with the usual "Perspective" setting and the result is an image with everything in shot.
Unfortunately this didn't quite work the way I wanted as the front mannequin isn't in focus. This was my own fault as I shot wide open. Well, actually, I was cheating by using a Nikon DX lens on a full frame body, and you can't stop down with this combination as it vignettes too badly, so It wasn't completely my fault :-)
Anyway, it was good enough for what I wanted it for.
German Street
Here's an example from my trip to Heppenheim in Germany last year. It was a similar situation to the other ones, and again, I used the perspective mode when combining.
Another German Street
Here's one more shot. This is another shot from Heppenheim. In this case I couldn't use the perspective mode, because the shot was too wide, and because of the way I turned, so instead, I used cylindrical.
Here's the shot taken normally. this was as wide as I could shoot.
Here it is with the merged panorama. It looks kind of like a fisheye, which was ok for what I wanted it to be.
Ok, I know none of this is exactly rocket science, but I wanted to share it anyway, as it may be something that you may not have thought of, and it might come in useful for you some time in the future. Merging these was essentially a two click operation, so there's little or no work involved. It's a handy thing to remember if you're ever in a bind and need to shoot that little bit wider than your lens can go.
Help Support the Blog
If you want to get regular updates, and notices of occasional special offers, and discounts from my store, then please sign up for the Newsletter.
All of the work I do here, and the information on this blog is done entirely free of charge and takes up quite a bit of work. I want to spend more and more time on this blog, and offer more and more of this kind of information, tips and so on, so If you like what I'm doing here and want to show support, then you can do so by buying something from my Digital Download Store
I have Lightroom Presets, Photoshop ACR Presets, Textures and e-books all available for download.
If you're a Fuji X-Trans shooter and Lightroom user, check out my guide to post processing X-Trans files in Lightroom. I also have a guide for processing X-Trans files in Capture One