
Lightroom Quick tip: How to copy Lightroom’s Tone Curve to a Mask's Curve
This is kind of a nerdy tip, but if, for whatever reason, you need to copy the settings from the main tone curve in Lightroom to the tone curve on a mask, you may be wondering how to do this, as it’s not immediately obvious. Well, there are actually two ways, and in this post (and video) I show you how to do it.
There are plenty of reasons why you might want to copy the tone curve from the main curves setting on the Lightroom base layer to the tone curve on a mask. If, for example, you have a preset which has a particularly complex curve, but you only want to apply that to a section of your image, how do you do it? There’s no (current) way to load the settings from a preset onto a mask layer, so there’s no way to load the curves settings directly in. You, however, copy and paste the settings from a curve.
Method 1: Copy and Paste each channel
If your curve is relatively simple, the easiest way to do this is to copy and paste the individual curve channels. Simply right-click on the curve and choose “copy channel settings.” Then move to the curve on the mask, right click again and choose “paste channel settings.”

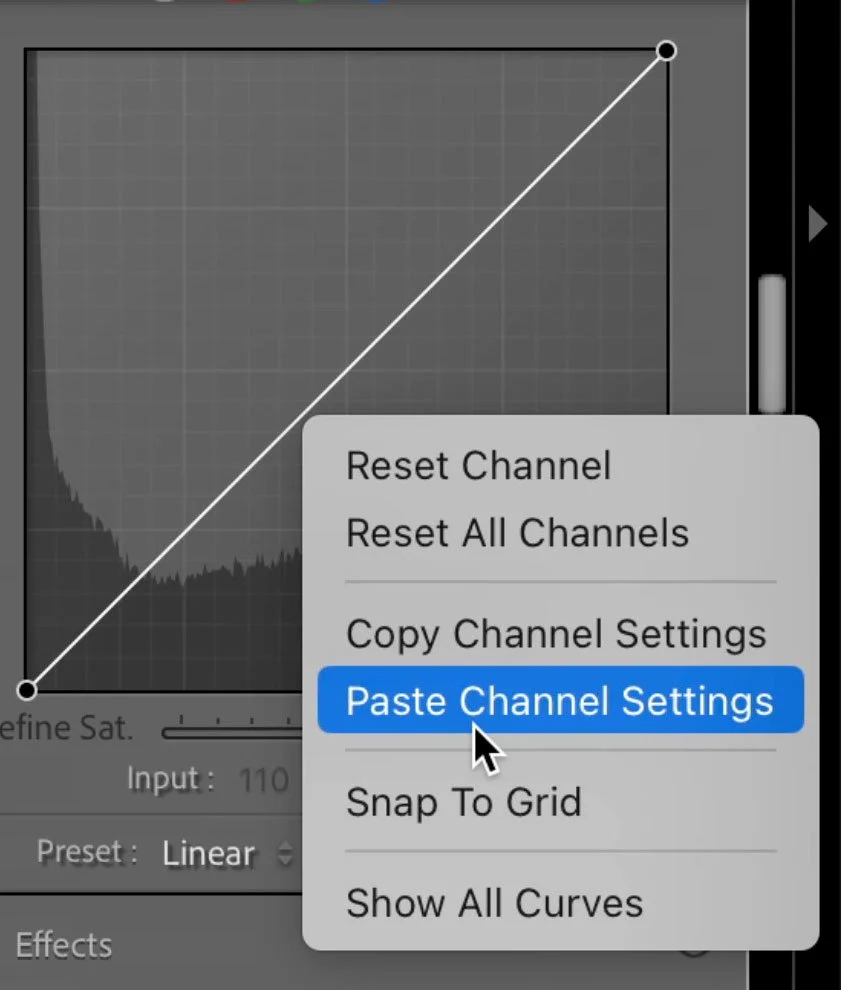
Unfortunately, this only works on a single channel, so if you have multiple channels (RGB), you will need to do them a channel at a time, which can be a bit slow and monotonous. Which leads nicely to method 2.
Another method is to save your curves setting as a curves preset
Aside from the overall develop module presets, there are several areas in Lightroom where you can save individual presets, and the tone curve is one of them. So another method of getting your curve from the main curve to a mask curve is to save it as a tone curve preset. To do this, simply click on the “point curve” pop-up menu at the bottom of the Tone Curve panel and choose “Save…”. Give the preset a name and save it.
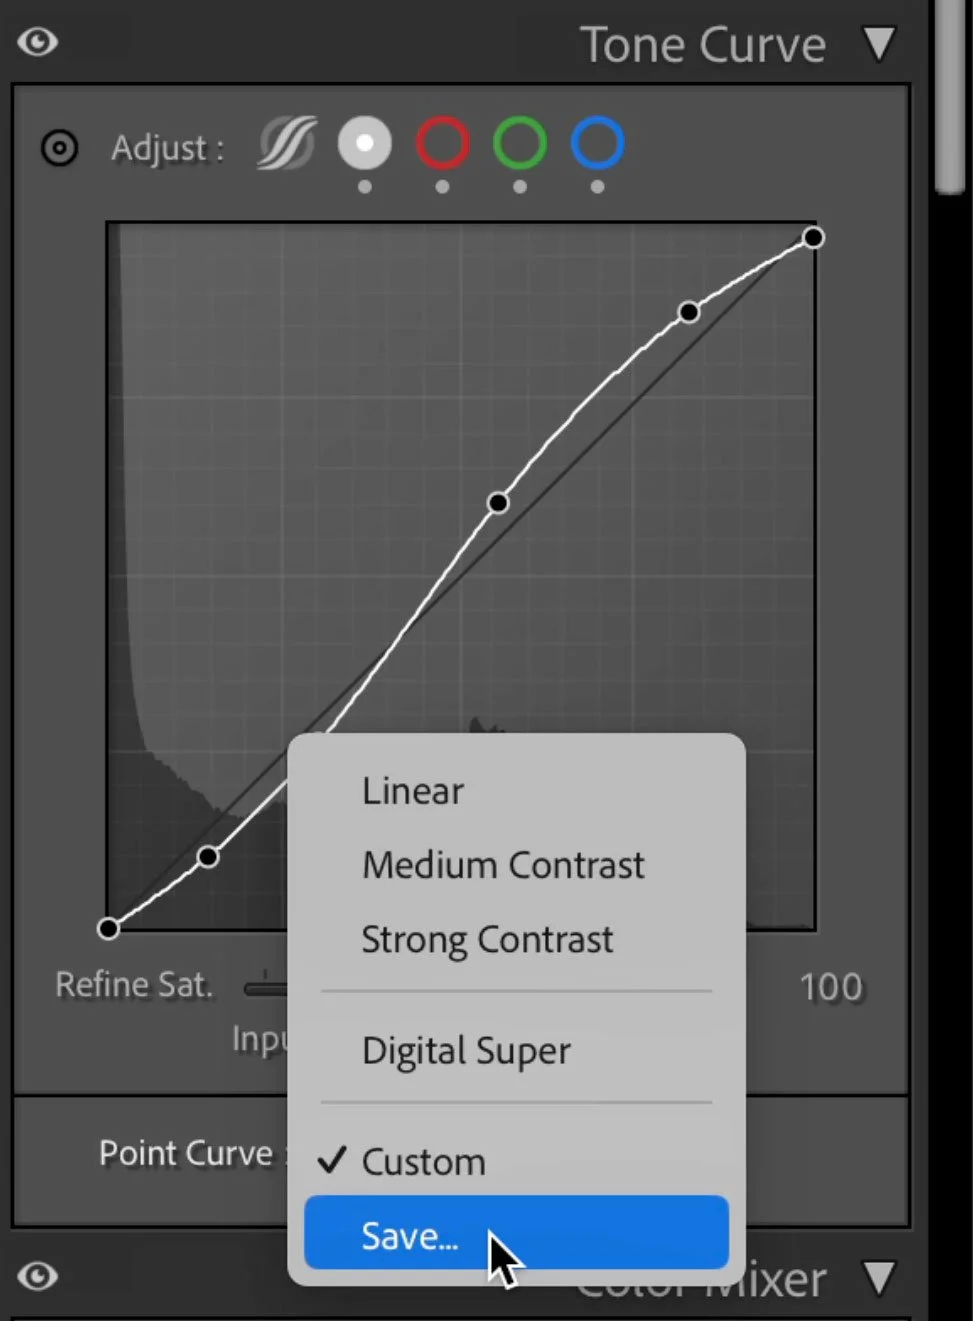
Now, move to the curve on the mask, and you can now select the one you saved from the “preset” pop-up menu (no idea why they’re named differently) at the bottom of the curve panel in the masks section.
Conclusion
And that’s all there is to it. I would like to see the ability to load a preset into a mask layer at some point in the future (I know you can save masks as part of a preset - but that’s not what I mean) but given the possibility that this could be confusing to people, I doubt it’s something we’ll see any time soon. Anyway, if you need to copy curve settings this is how you do it. Unfortunately, method 2 here won’t work in the reverse direction because inexplicably, you can’t save the curve on a mask layer.
The masks function in Lightroom is surprisingly powerful, and I think many people don’t appreciate just how impressive it can be. If you missed it check out my last video which shows you how to edit your image entirely just using masks.