Enhancing Autumn Images with Landscape Gold for Lightroom
A while ago I created a set of Lightroom presets called “Landscape Gold”. In fact, I had originally created the set for Aperture, and it was one of my more popular sets. The idea was to add a “golden” touch to landscape images, and it’s particularly effective at this time of the year. With all the autumn colours, Landscape gold can work well to give them an additional sheen (pardon the pun) and in this post, I’ll give you some examples as well as some tips for working with the presets.
As with most of my presets, I try to tell people to think of them as a starting point, rather than magic bullet, although, I often will just use a preset, and do a few tweaks and that’s that. With Landscape Gold, there are lots of variations and some additional tools to make it easy to manage. You will probably still need to tweak images though. For start, the effects really depend on how the image was shot in the first place, in particular the type of light that it was taken in. So, if the light was already warm, adding one of the Landscape Gold presets might make it too red, and so you may need to dial the whitebalaance back a bit.
The presets themselves are broken down by Carat, and strength. The “Carat” name is just an arbitrary description I gave them to distinguish the different looks, and to keep with the gold metaphor. The lower carat versions are more of a yellowy green golden colour, while the higher versions are more of a warmer redish gold. Each version has three different strengths, and a variation with and without a vignette effect. The best way to chose which one works with an image, is to go through them and experiment. There’s no hard and fast rule, and a lot of it comes down to a matter of taste. Below are some examples of using the presets, and the additional tweaks that I’ve done to finish the images.
In this first example below, I’ve used 14ct Medium +V. You can see the before and after images and then, I’ve added an additional vignette from the tools.
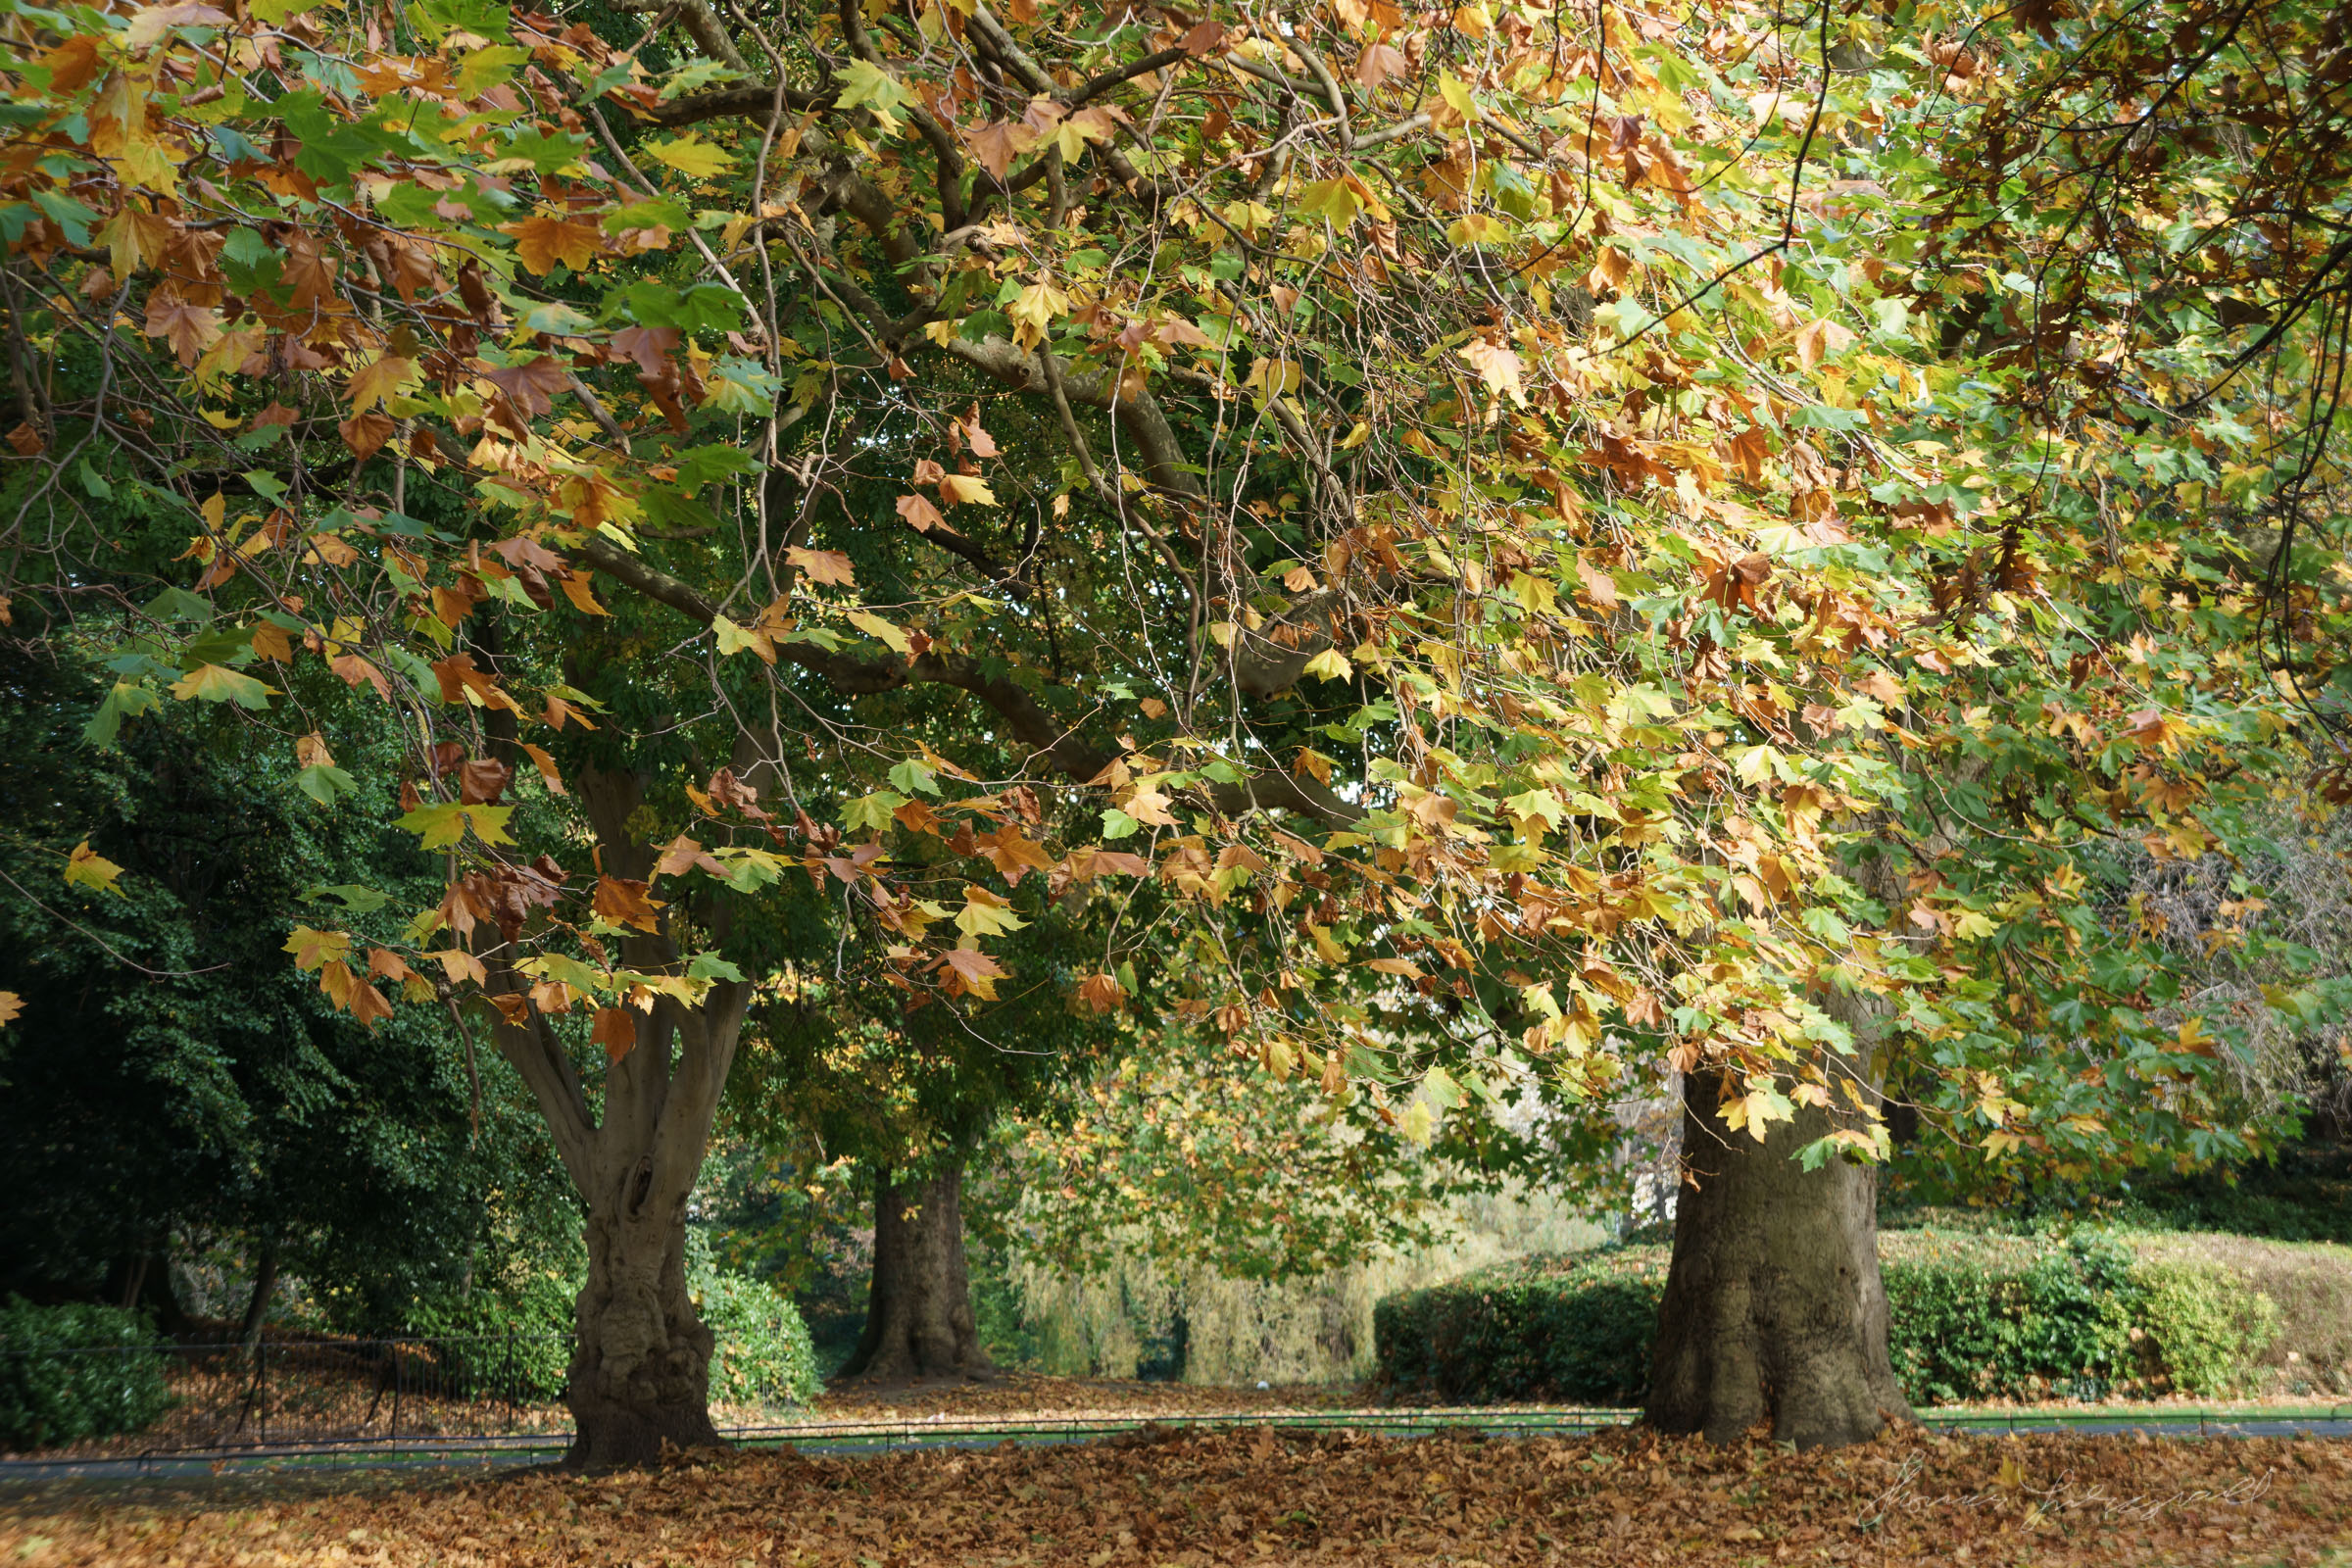
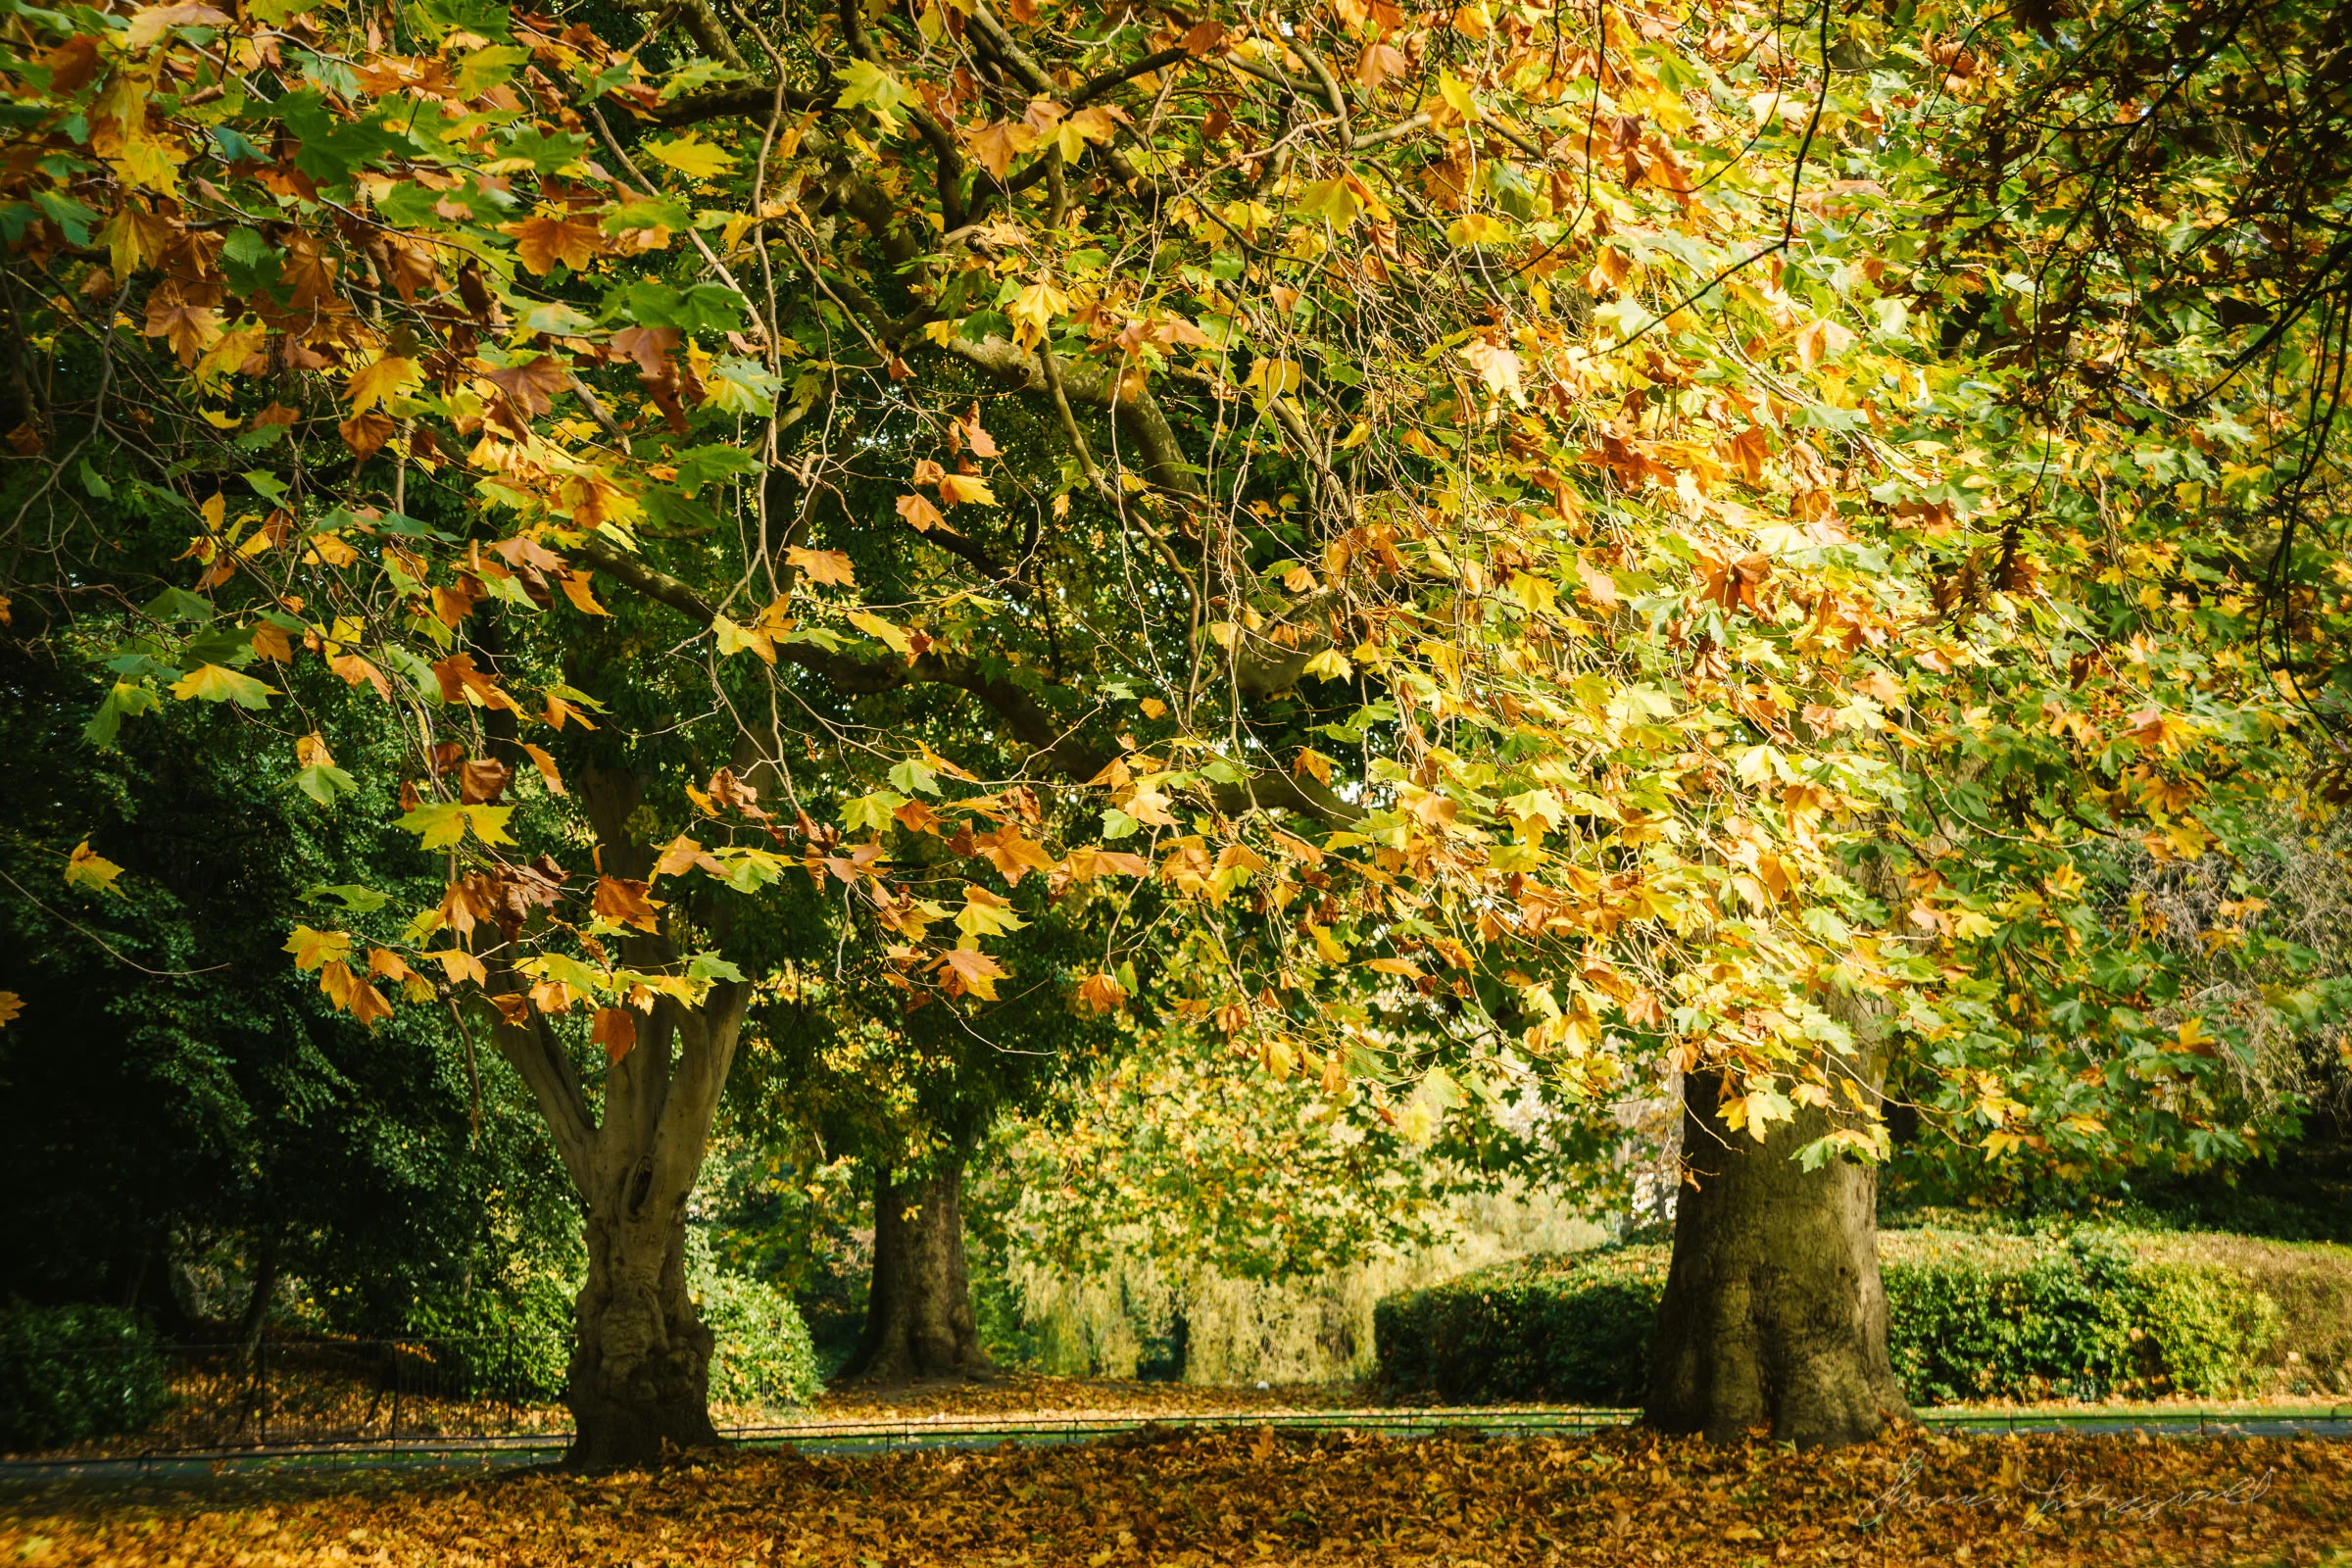
In this second example, I’ve used the 9ct Lite version. Here’s a before and after. In this case I haven’t made any more tweaks.
In this next example, I’ve tweaked it a good bit from the original presets. I started by adding the Landscape Gold 18ct Strong version. This was too dark, so I started by dealing back the contrast. I actually took it all the way to -100. This gave me a more stylised, but still golden image.
Next I wanted to bring out some of the reds in the image, so in the colour panel I increased the red and orange saturation. Finally, in order to try a different look, I changed the colour profile. This was shot on a Fuji X-Pro 2, so I had originally imported it using Provia. I changed this to Velvia, and this is the result.
In this next example, Im using a HDR image, merged using Lightroom’s own HDR tools. Before applying the preset, I changed the colour profile to Vivid. This image was shot on a Sony A6000, with a 3 shot bracket merged in Lightroom. When working with HDR images, the effect might be quite strong, and so you may need to dial it back a bit, but this is fairly easy.
In this case I didn’t have to do too much though. I started by applying Landscape Gold 9ct Lite +V. Next, I used a little trick to add some “oomph” to the image, without having to tweak the main sliders. I used the Dehaze slider to add some additional contrast.
Finally, to bring out some of the reds and browns, I increased the saturation of the reds and oranges in the colour panel, and decreased the luminance of the same colours.
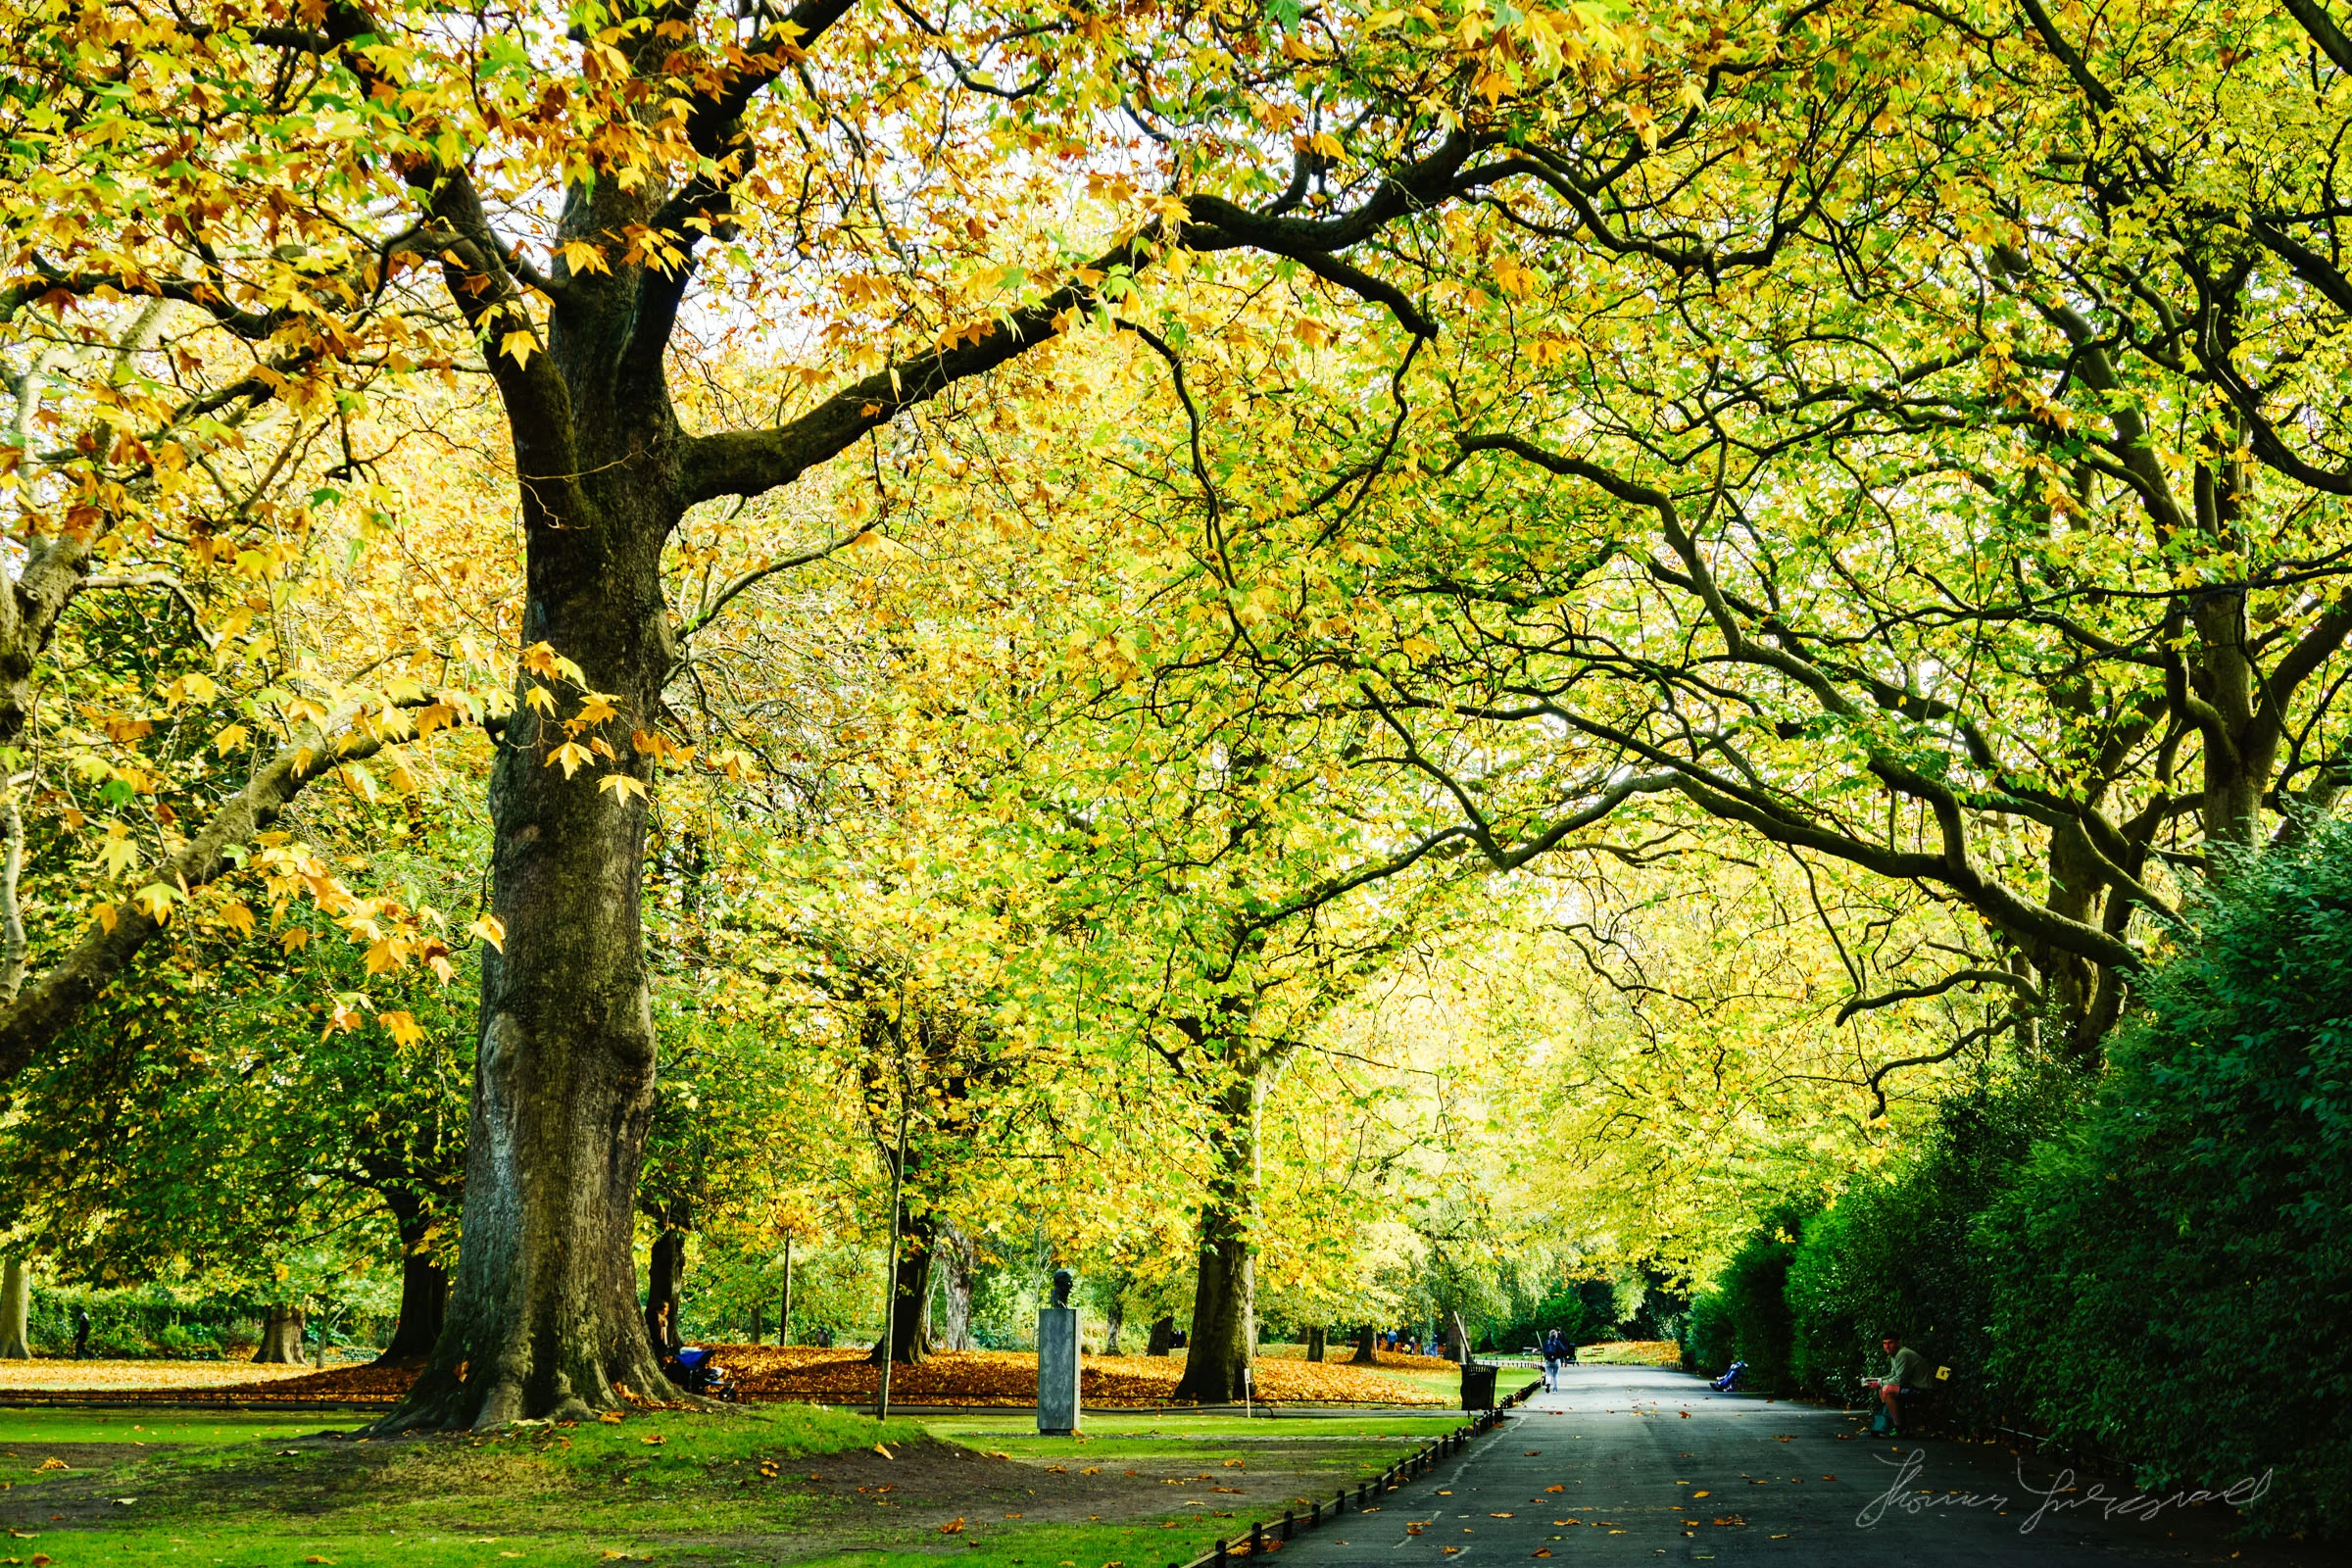
In this last example, I applied Landscape Gold 14ct Lite +V. I felt that this was still a bit warm, so I decreased the colour temperature a little to get it where I wanted.
Landscape gold is on sale for the rest of November and it’s more than a third off. Below are some more examples of photos that I’ve taken recently and processed using Landscape gold.


