A Look at PhotoBulk
One of the things that I love to do for my writing and blogging is to use small and useful little apps from independent developers. I use a lot of these tools, and they’ve become a vital part of my photo blogging workflow. Recently the developer of one such utility which I hadn’t used before asked me if I’d be interested in reviewing it, and I’m glad he did, as it’s turned out to be a very useful little application. It’s called PhotoBulk, and it’s from Eltima Software.
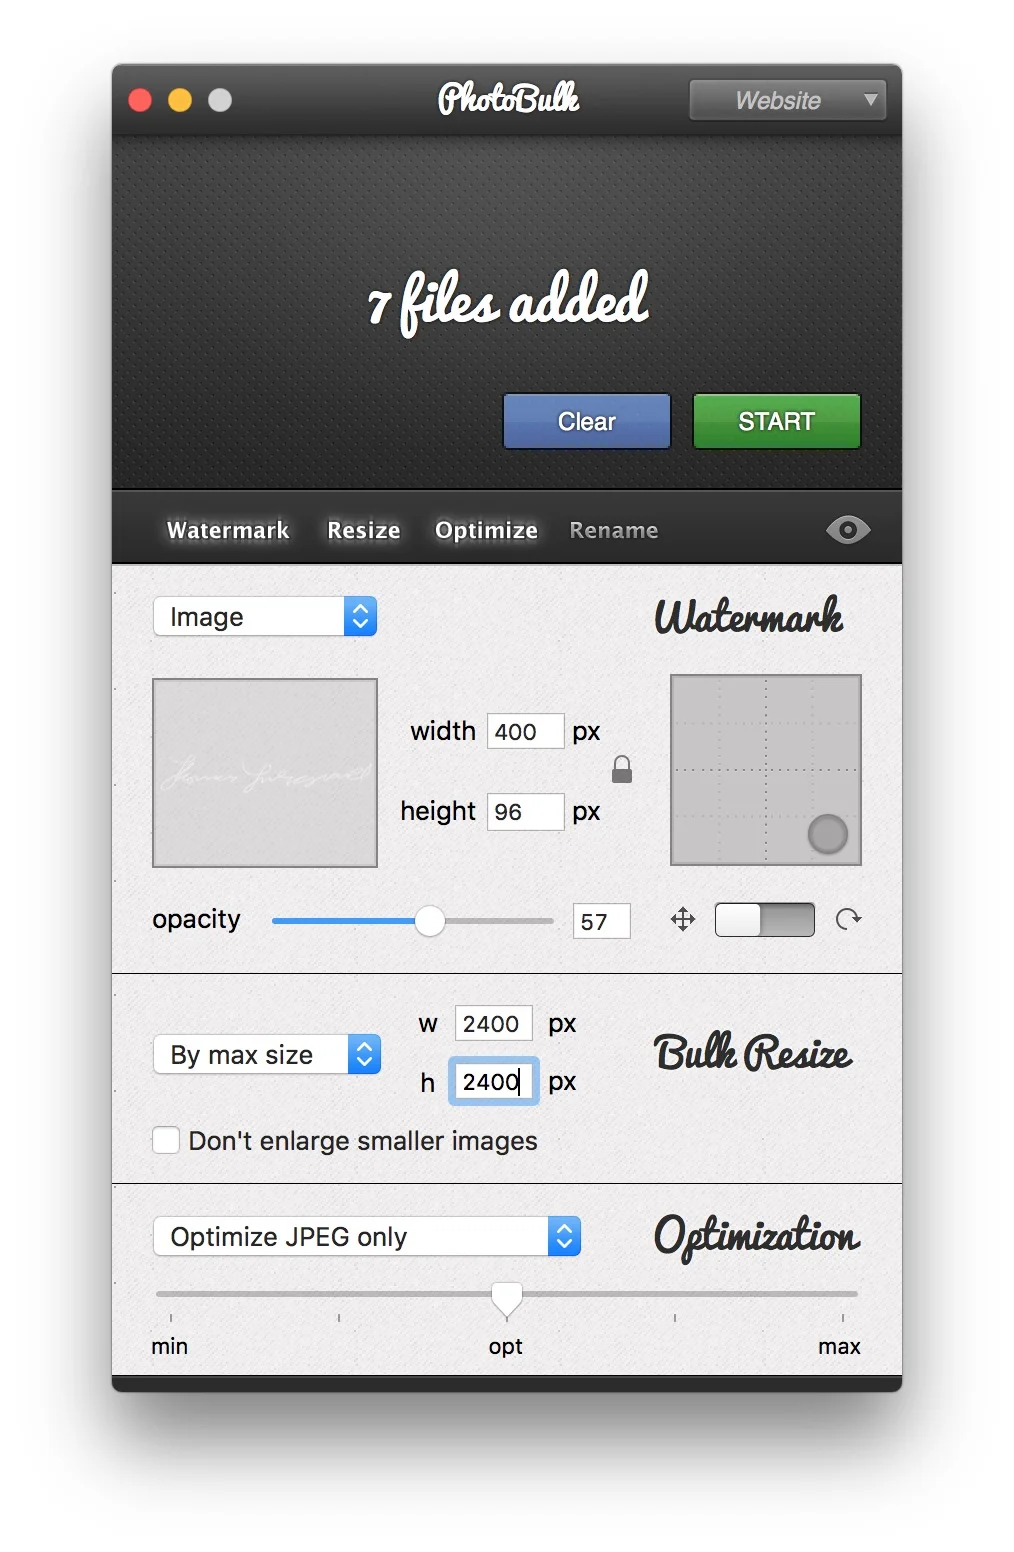
The app is basically a little batch processor for images. It’s very small, both in terms of physical size and also in terms of resource footprint. It’s one of those things that “does what it says on the tin”. With it, you can resize, optimise, and add a watermark to an image or group of pictures. While there are lots of apps out there that can do this, what I like about Photo Bulk is that it’s very small and very fast. You can also save presets of settings for use in the future. One of the other things that I like about it is that it can optimise PNG files, which is a very useful function, as PNGs from some software are often larger than they need to be.
The interface is relatively straightforward. You have an area where you can drop images, and below that are four options which can be enabled or disabled depending on what you want to do. These are "Watermark", "Resize", "Optimise" and "Rename". These are all pretty self-explanatory. Turning a feature on or off, expands or contracts the interface with the options for that function.
Watermarking lets you use a graphic or a text watermark, and it also gives you the option of setting opacity, position and so on. Optimisation will increase compression and so on. You can preview the results before setting off a batch. It will also convert between formats.
The image quality of the optimisation seems pretty good. I tested it on some pictures, and without doing anything else, just set the optimisation to max. This reduced the image size in half, without a massive reduction in quality. If you zoom in you can see some jpeg artifacts alright, but this is to be expected. Some of the reviews on the App store are claiming that it’s making images soft, but I haven’t seen that in any of my tests.
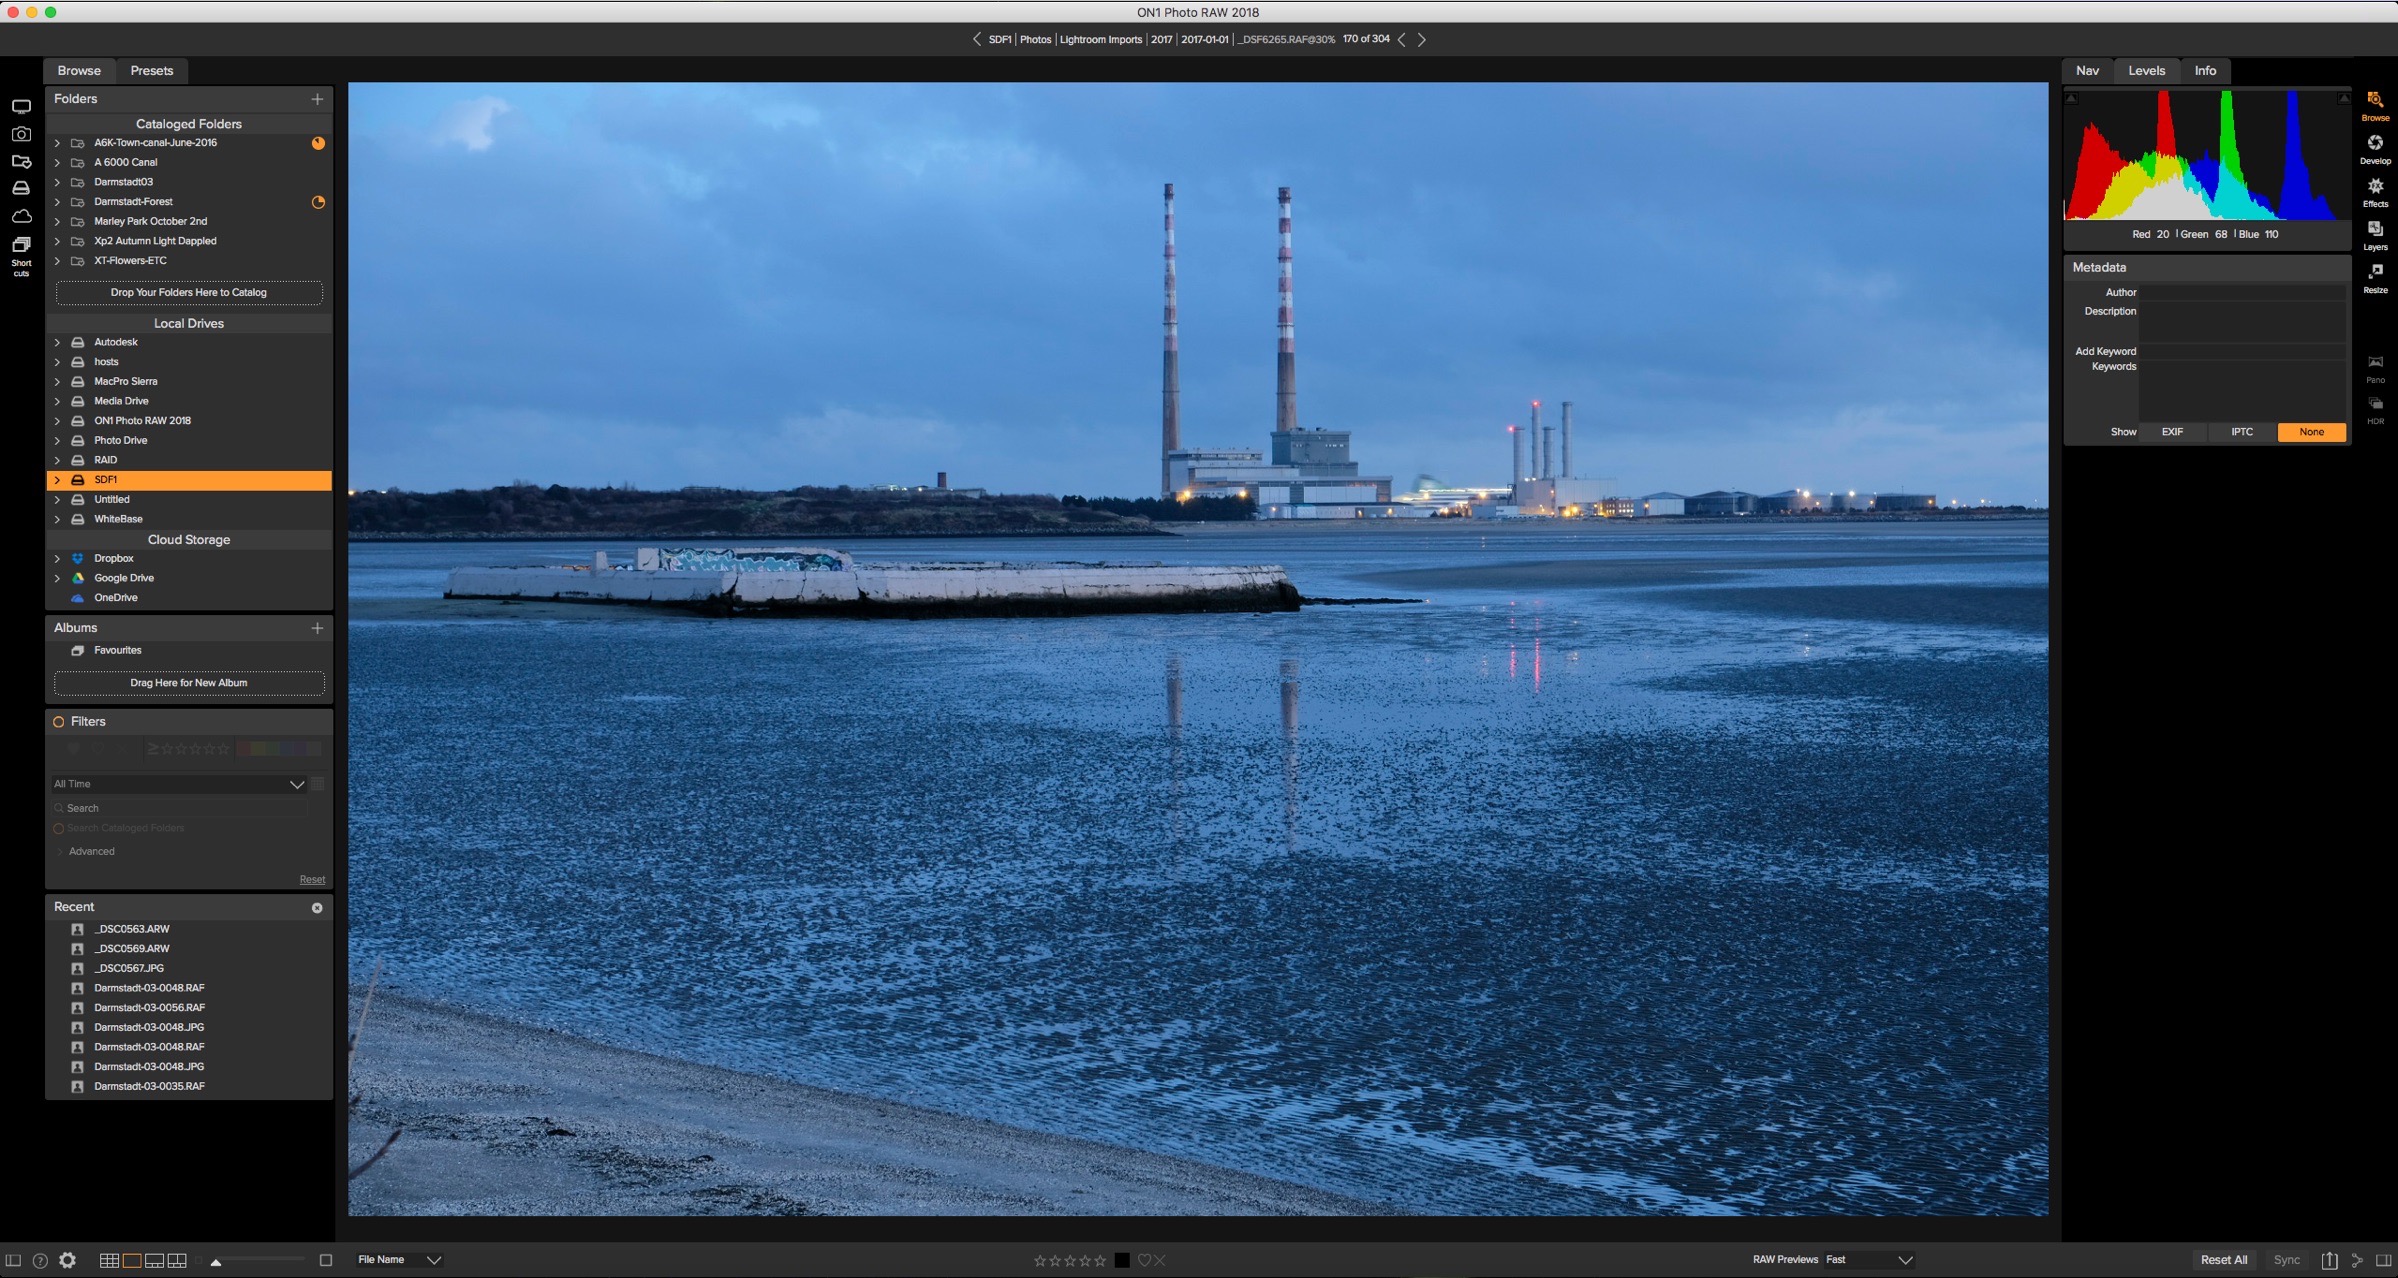
The only issue I’ve found is that you can get some banding on gradients and skies, especially if you use the maximum setting, and you can see that to an extent on the image samples below (which are pretty much worst case scenarios).
How I use it
The app has actually plugged a hole in one of my workflows. As anyone who regularly reads this blog knows, I like to work with lots of different software, and not just Lightroom. I use Mylio as my main library, and one of the problems I have with it is the lack of graphical watermarks, which I need to use when prepping images for use on the blog. The same can be said of working with Photos. Enter PhotoBulk. By setting up a preset, I create a temporary folder into which I export from either Mylio or Photos, and then I have a preset set up with my favourite settings in Photo Bulk. I’ll then run them through it and into the folder I’m using for that blog post.
This may sound long winded and a bulky workflow (pardon the pun) but it’s not. PhotoBulk is really fast. It will batch process a group of images in seconds rather than minutes.
To demonstrate, I took some images which I had on my Lightbox in Mylio and exported them at full resolution jpegs from the software. Then I brought them into PhotoBulk and applied my standard settings. This resizes to 2400px wide, adds a watermark and optimises the Jpeg with optimal optimisation setting (middle). For seven images it took approximately 7 seconds. The resulting files are very small, with some at just 150k for 2400px wide images. I normally would use the lower setting for this, but I wanted to demonstrate it at medium. You can see some artefacting on the skies.
This is not necessarily how I would normally use the App though. I typically will resize on export from Photos or Mylio and just use this for watermarking, but there are times when I want to resize or compress an image too. It's also handy when batch converting screenshots from PNG to Jpeg.
Cons?
I don’t have any issues with it myself, but If I were to have any complaints, for the sake of being thorough I would make a few observations and suggestions for a future version:
- Some people may feel that at $9.99 it’s a little expensive for a very focused utility. I’m not saying that, as I don’t think that it is, but in the age of super cheap apps on the app store, I’m sure some people would grumble at the price. I think it’s reasonable, but I suspect that some would complain about that. (Which is a bit ridiculous in the grand scheme of things but anyway)
- I would like to see a few more options on the optimisation side. An explicit control over the amount of compression for example (rather than a vaguely worded slider) and perhaps options to strip metadata and so on.
- The ability to watch a folder and automatically apply a preset set of settings to images in that folder would be nice too!
- You can convert between formats with this app, but it’s not immediately obvious how you do it. It’s on the final step when you click start. I would like to see this integrated into the interface so that it's more obvious as to how to use this feature.
- I would like the ability to easily sync presets between multiple versions of the app, either via iCloud or by manually exporting a configuration file.
- When converting formats, it may create a folder called “Optimisation” in your destination. It creates a new one each time, which is a bit annoying if you’re running a batch multiple times to the same place.
That’s about it really. It's a useful little app that I’ve grown to appreciate in the short time that I’ve been using it. I don't use it all the time, but when I need to quickly watermark, resise or compress something, it's handy to have, and as I've said, it's fast.
Help Support the Blog
All of the work I do here, and the information on this blog is done entirely free of charge and takes up quite a bit of work. I want to spend more and more time on this blog, and offer more and more of this kind of information, tips and so on, so If you like what I'm doing here and want to show support, then you can do so by buying something from my Digital Download Store. I have Lightroom Presets, and e-books all available for download.
If you're a Fuji X-Trans shooter and Lightroom user, check out my guide to post processing X-Trans files in Lightroom. I also have a guides for processing X-Trans files in Capture One and Iridient Developer.
For Sony Alpha shooters I have a new guide with tips on how to get the best from processing your A6000 Images in Lightroom.
If you want to get regular updates, and notices of occasional special offers, and discounts from my store, then please sign up for the Newsletter.


