Lightroom's Guided Upright - Video
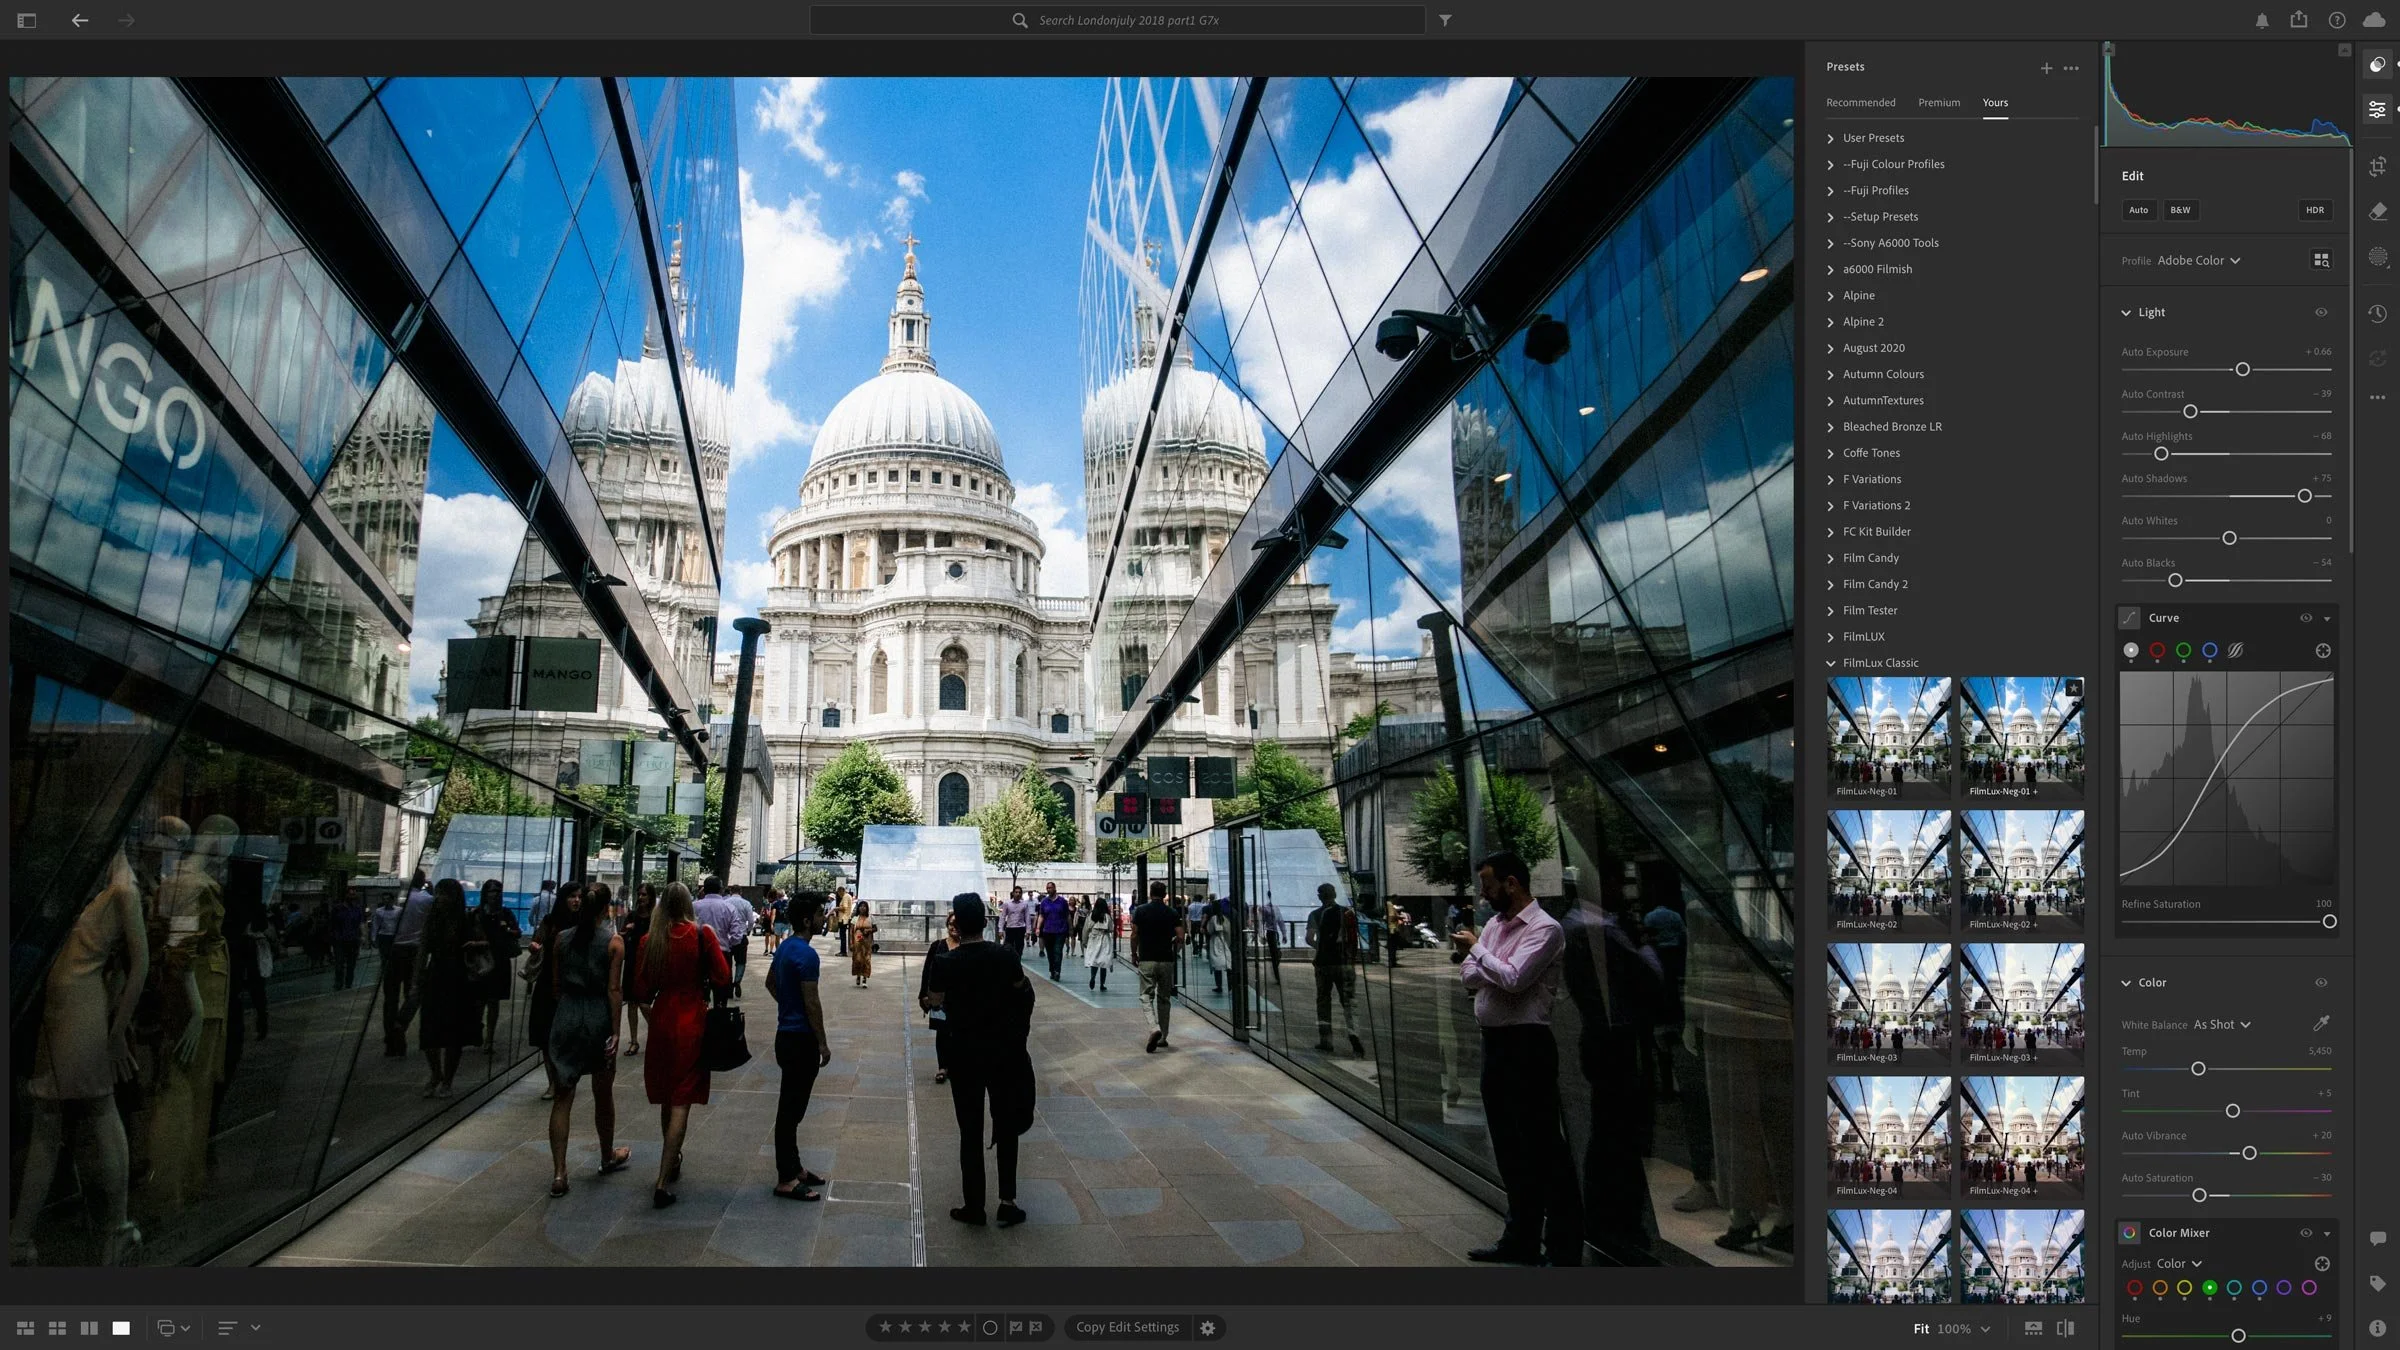
The headline feature in the latest version of Lightroom CC is the new "Guided Upright" feature. This new tool lets you set guidelines when using the "Upright" automatic correction feature. Rather than spend a long time talking about it, I made a quick video to show you the feature in action.
Help Support the Blog
If you want to get regular updates, and notices of occasional special offers, and discounts from my store, then please sign up for the Newsletter.
All of the work I do here, and the information on this blog is done entirely free of charge and takes up quite a bit of work. I want to spend more and more time on this blog, and offer more and more of this kind of information, tips and so on, so If you like what I'm doing here and want to show support, then you can do so by buying something from my Digital Download Store
I have Lightroom Presets, Photoshop ACR Presets, Textures and e-books all available for download.
If you're a Fuji X-Trans shooter and Lightroom user, check out my guide to post processing X-Trans files in Lightroom. I also have a guide for processing X-Trans files in Capture One
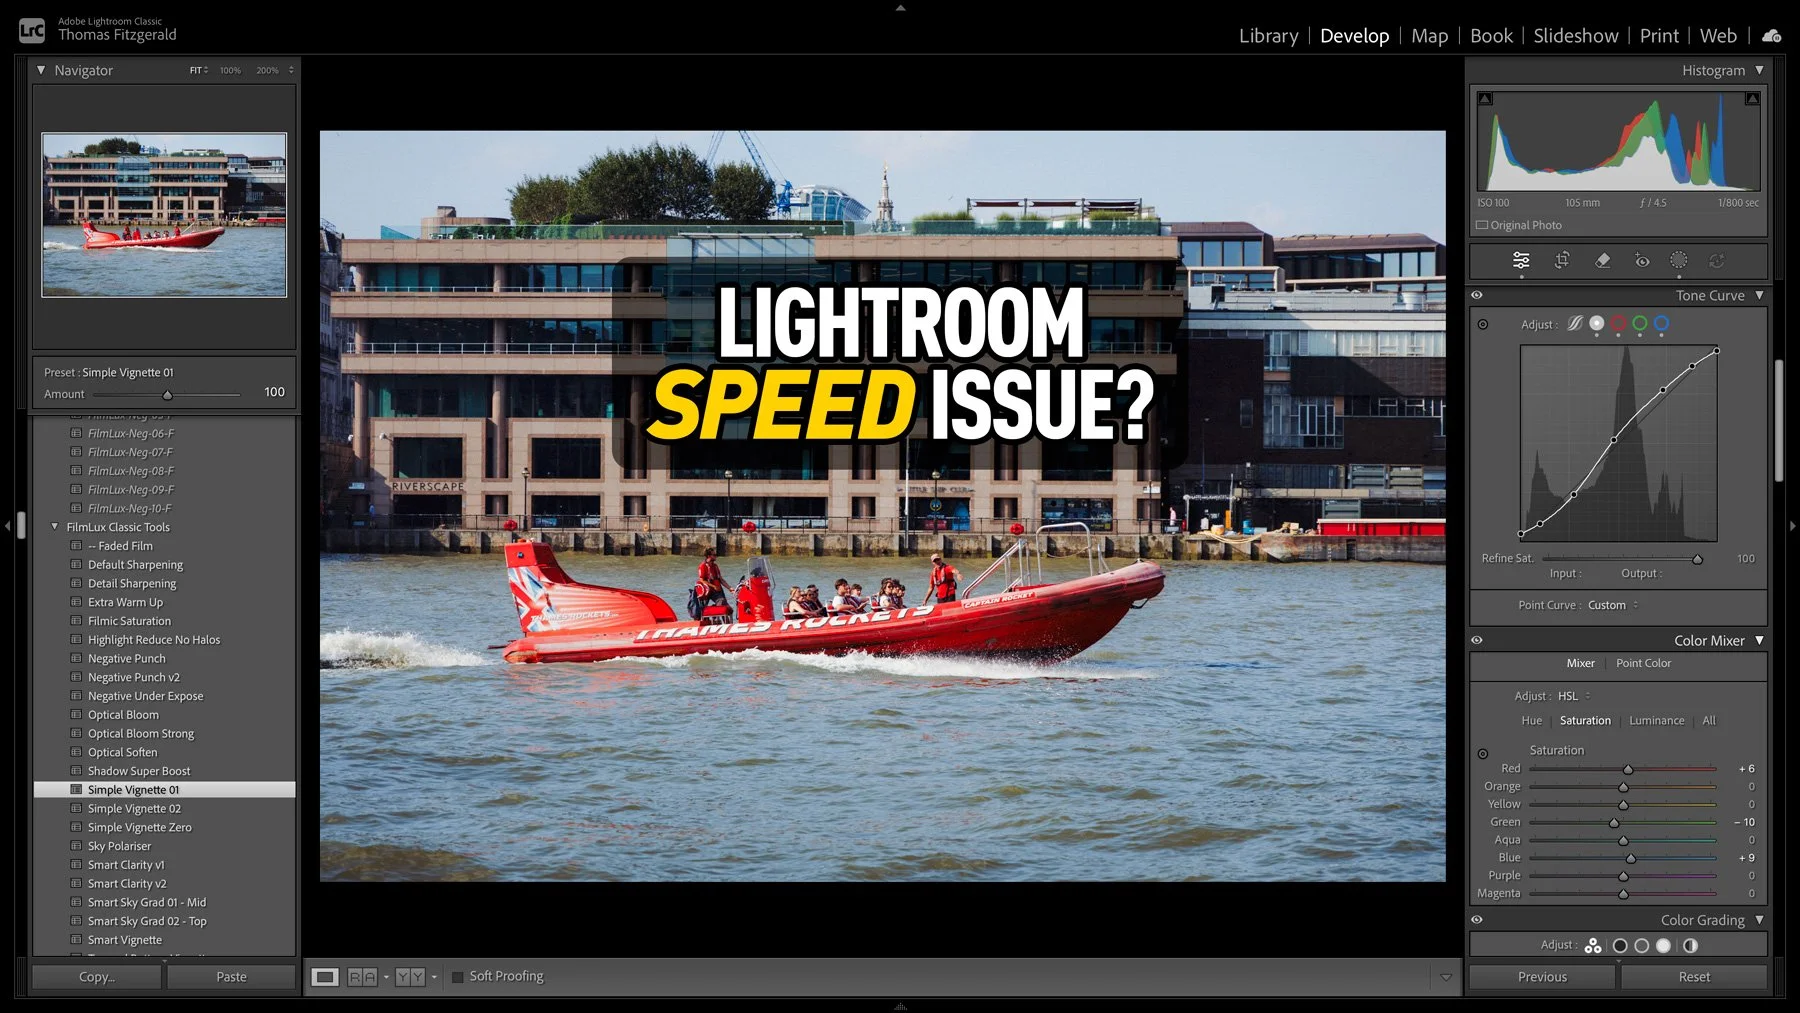
I had taken some photos over the weekend, and I was processing them in Lightroom when I noticed that the software was acting unusually. When I applied a preset, the preview worked perfectly, but it took a few seconds to actually apply. At first I thought that maybe this was an issue with the new version of Lightroom, so I quit and restarted. It was then that I noticed another weird issue: the software was still trying to write the metadata to disk. So I thought that maybe my disk was running out of space. I checked, and there was still lots of room. Curiouser and curiouser I thought. While it turned out not to be a disk space issue, I was actually close to the source of the problem, thinking it was disk-related.
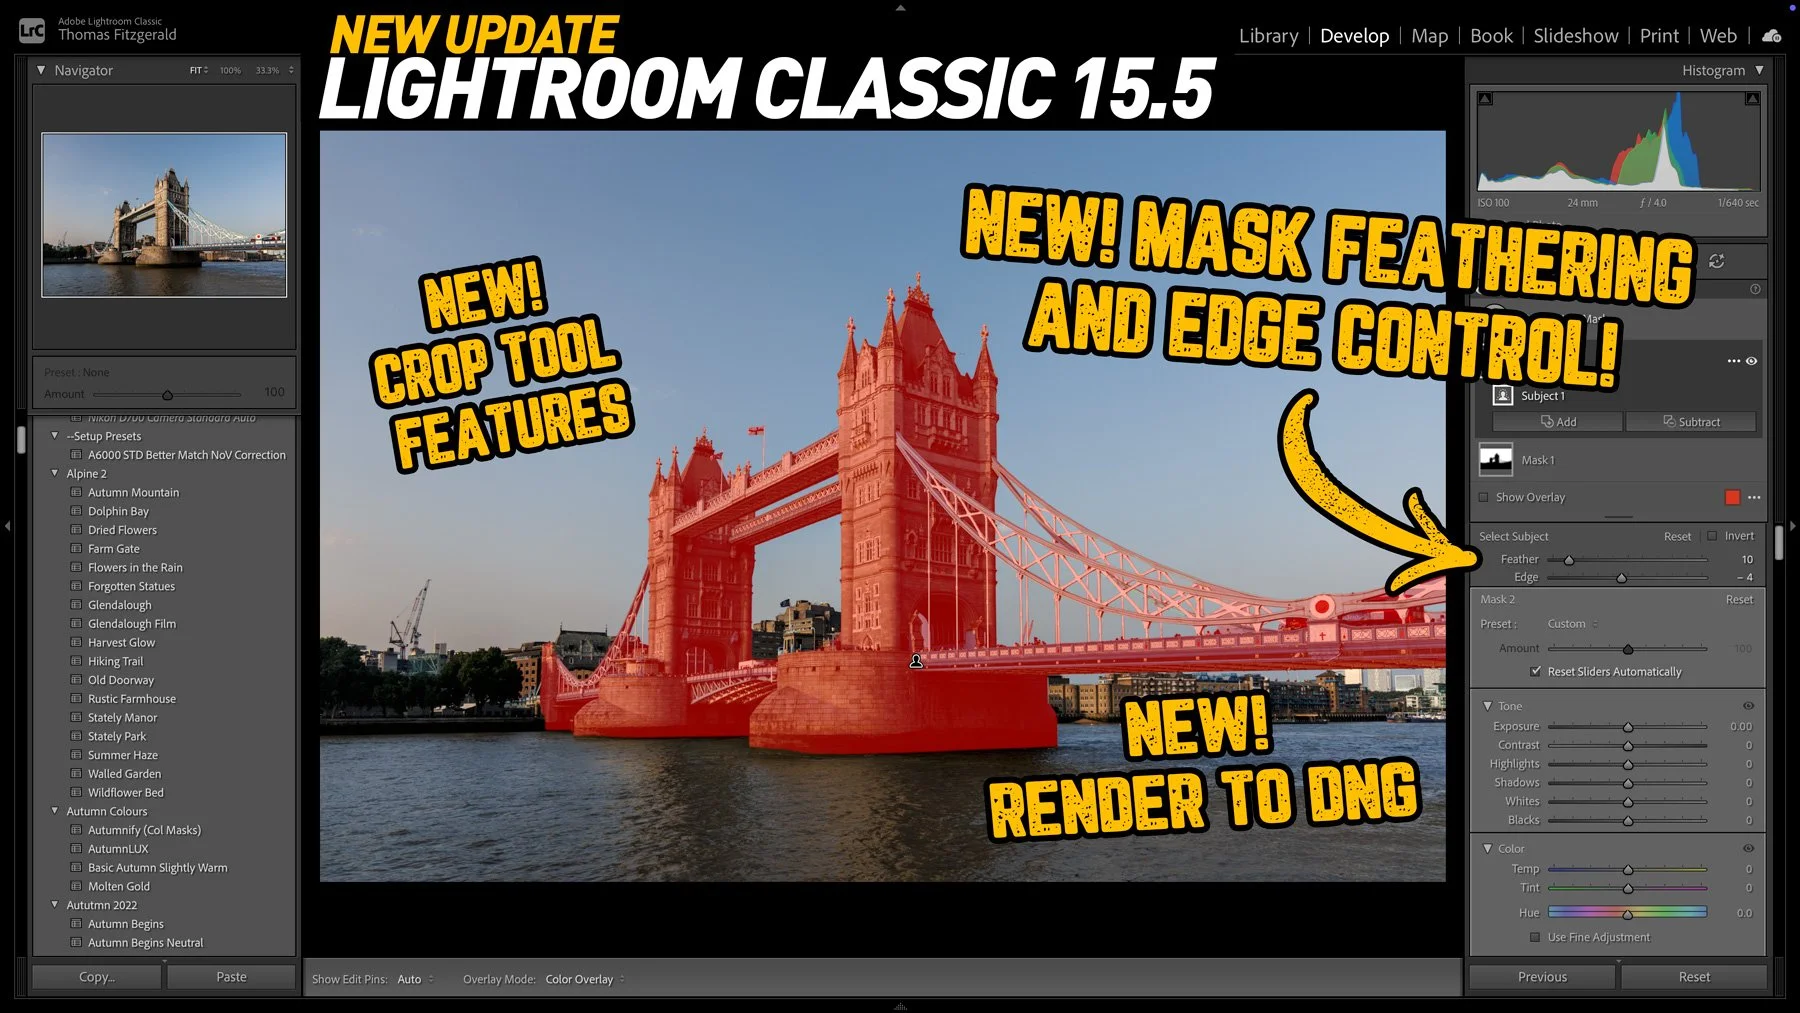
Adobe has released the latest round of Lightroom and Camera RAW updates, and in this article we’re going to concentrate on Lightroom Classic. Aside from the usual under-the-hood tweaks and bug fixes, Lightroom Classic 15.5 adds three new key features, one of which I’ve been asking for for a long time!
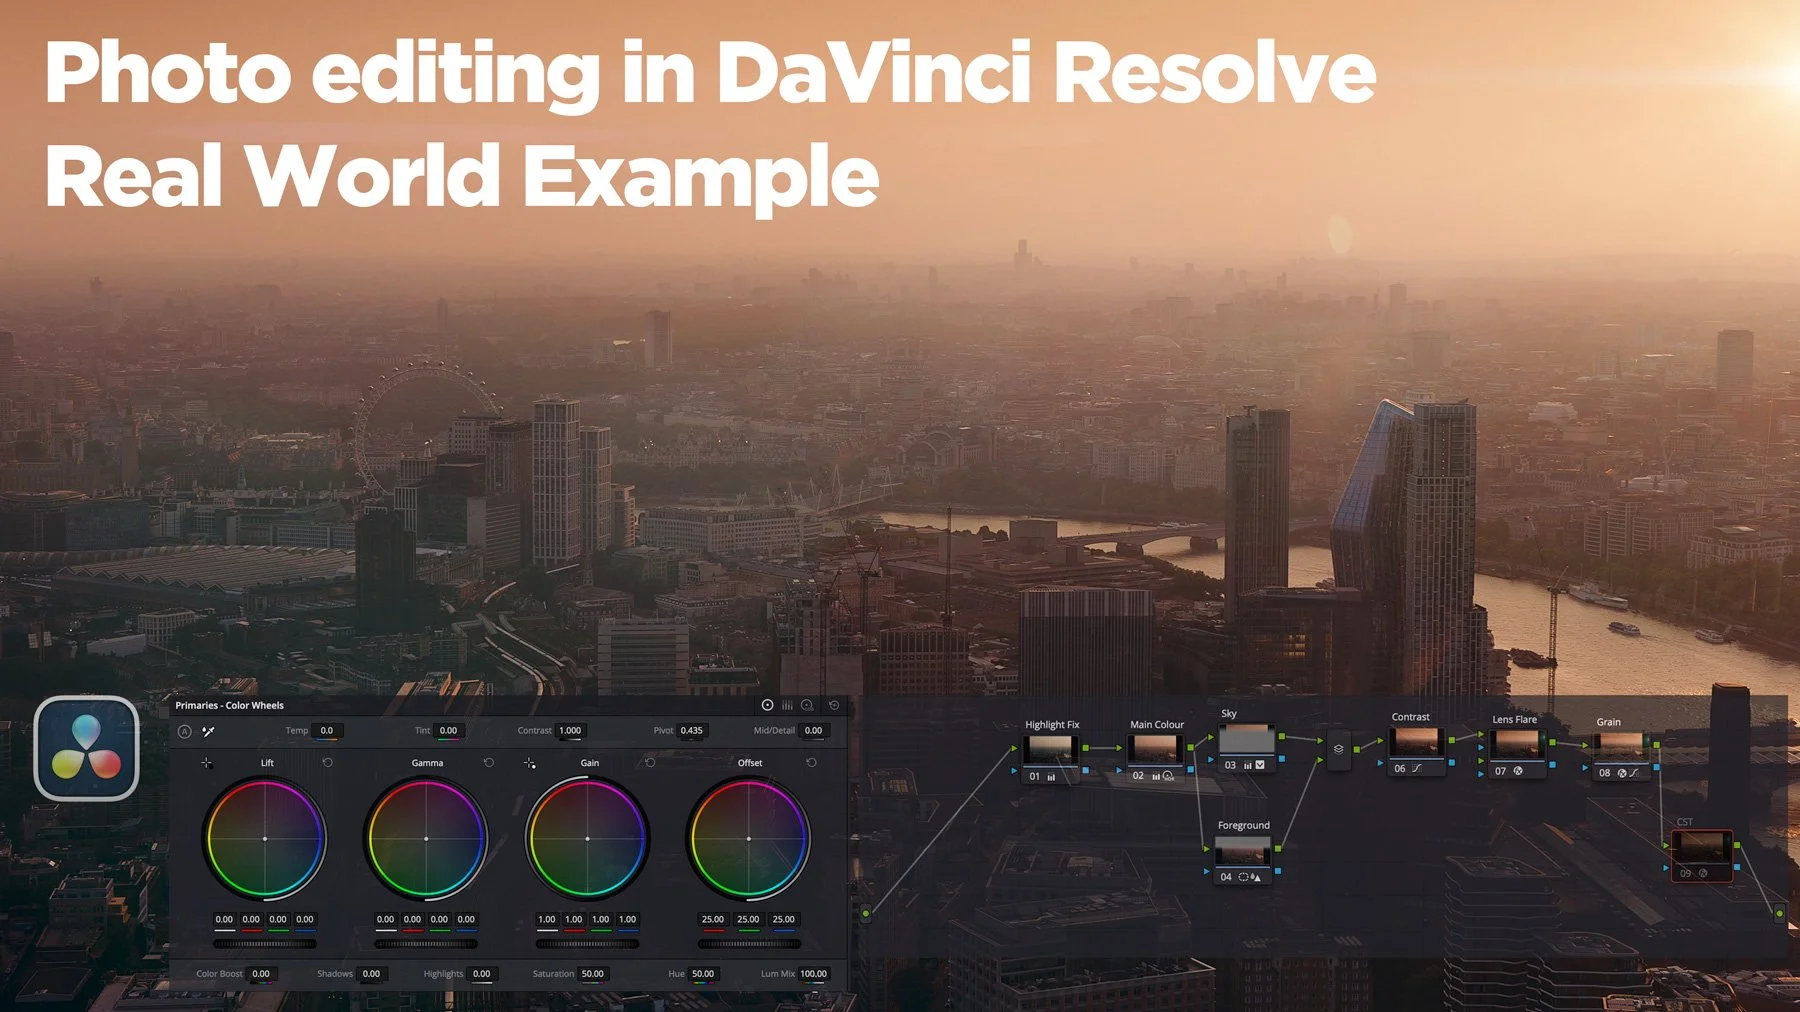
On a recent trip to London, I took quite a few photos and some video at the top of the Shard, one of London’s most famous buildings. I have already posted a few of these, and there are a lot more to come. However, in this post, I wanted to talk about the challenges I faced editing a subset of the images I took and how I addressed them. I ended up using both Lightroom and DaVinci Resolve’s new photo editing mode for these. The latter is something I particularly want to talk about, as it has some interesting abilities, as well as some quirks that those not familiar with the software should be aware of.
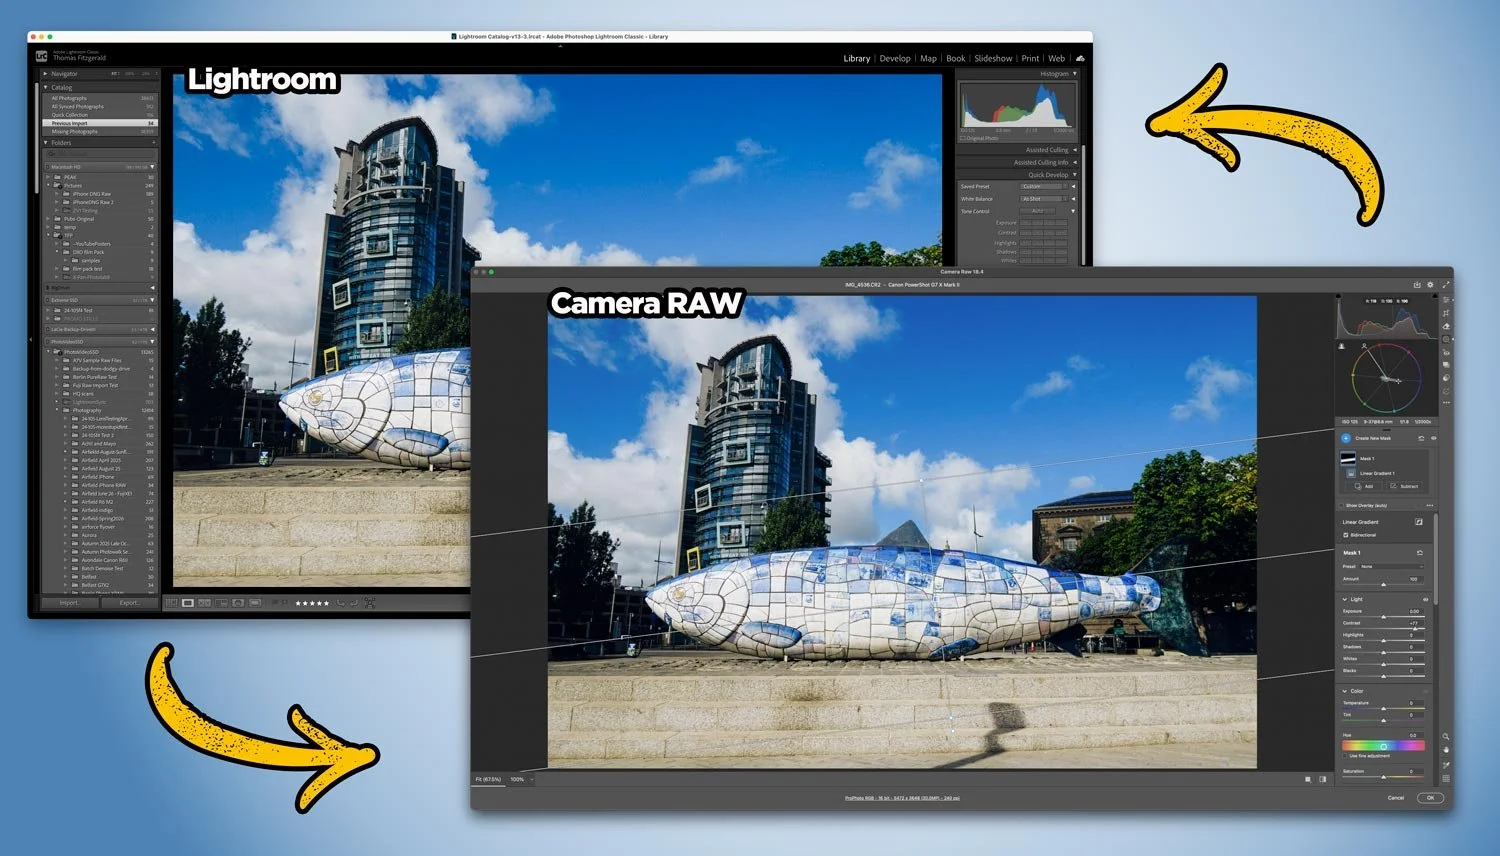
With Adobe recently adding lots of new features to Camera RAW that so far aren’t in Lightroom, users of Lightroom may be wondering how to get access to some of those new tools. Well, it’s actually very straightforward, and you can use Camera RAW from Lightroom entirely non-destructively. You just need to follow the simple workflow below.
The news that Adobe has agreed to acquire Topaz Labs has hit the creative community with a collective “what the f….”. For anyone who relies on tools like Gigapixel, Photo AI, and Video AI, I’m sure this news is a bit of a worrying development, especially if you’re one of those creators who had exited the Adobe ecosystem (”you fool … there is no escape!”).
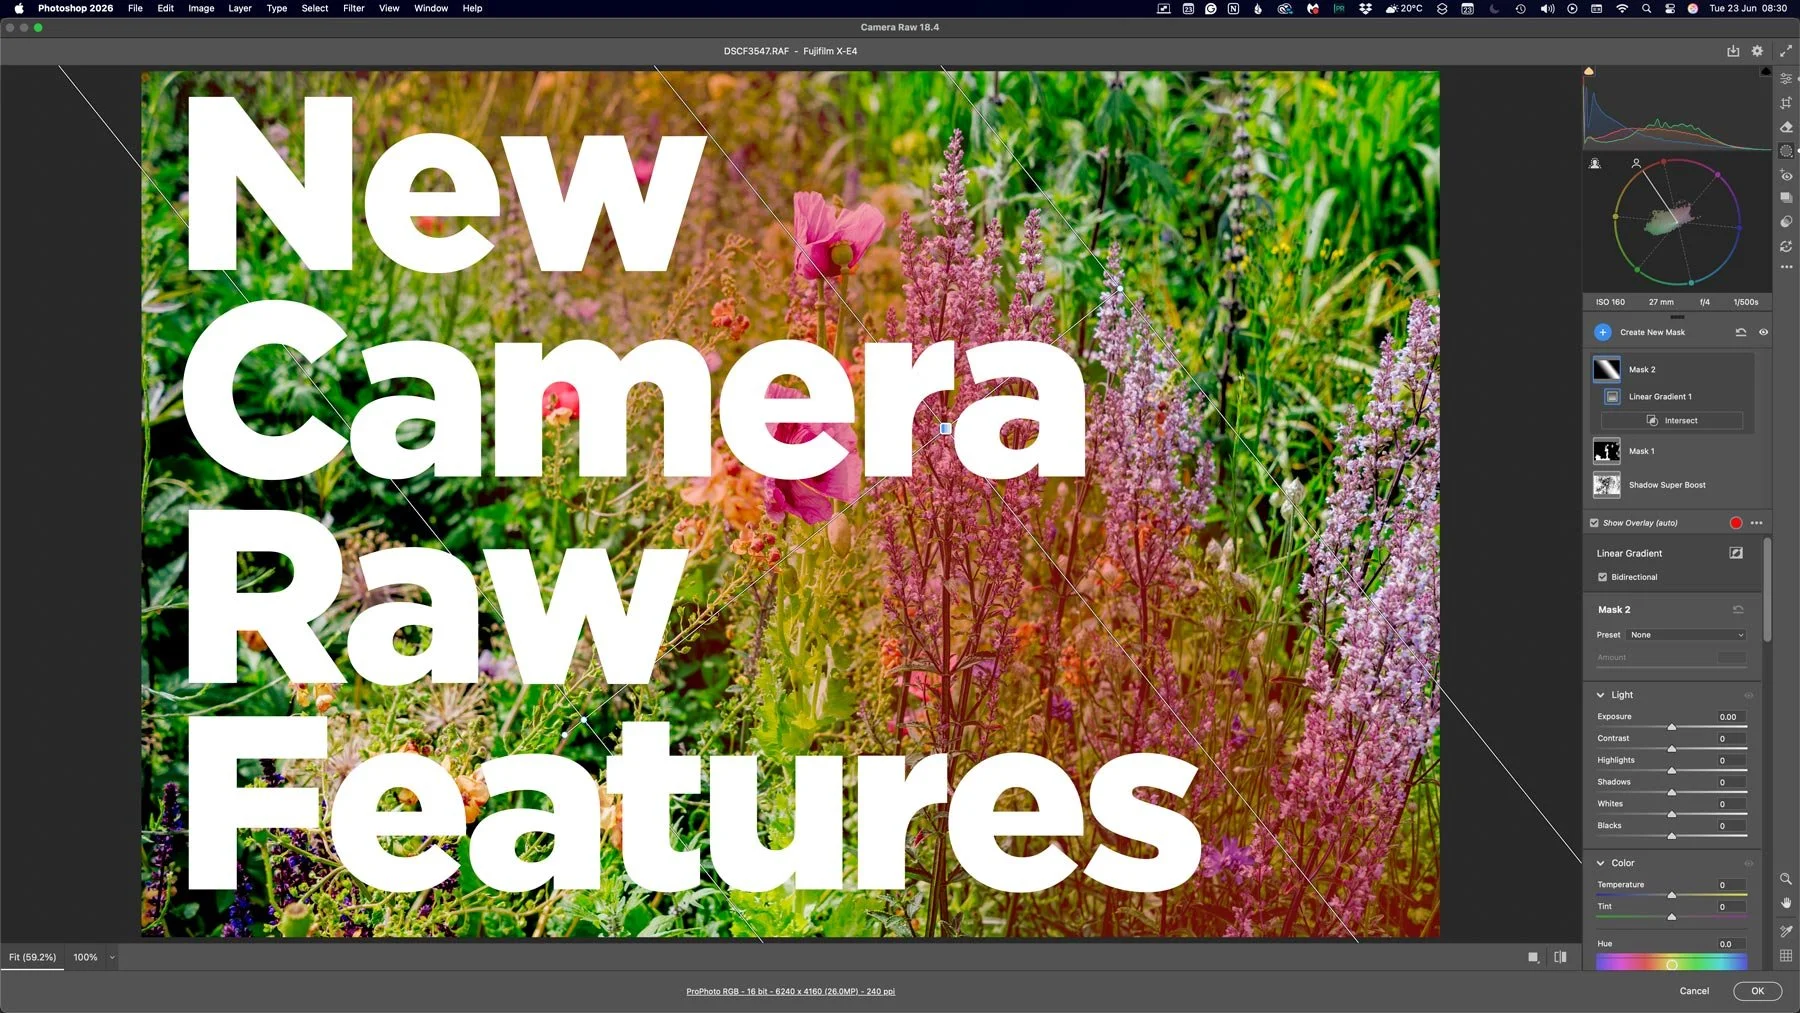
With the last few Photoshop releases, Adobe has kept adding new features to Camera RAW. Usually, these would be added to Lightroom either at the same time or with the following release, but so recently, this hasn’t been the case. And these haven’t been minor features either, we’re talking some big, long-sought-after tools, including the colour corrector in masks, and the ability to adjust the edges and feathering of AI masks. Are we seeing a different strategy emerging from Adobe regarding its photography applications?
A set of June updates to Adobe’s Photography applications will be released later this week. This will include Lightroom Classic, Lightroom, Photoshop and so on. For the most part, these will be bug fixes and new camera support, but there are a couple of things worth noting.
Adobe’s latest Lightroom Classic update makes AI tools like Denoise and Super Resolution far less disruptive by moving their processing into the background, so they no longer take over the app, which is especially helpful when working through large batches. The update also includes a handful of performance improvements, better assisted culling detection, PSB sync support, and other smaller additions.
I was recently in Edinburgh, Scotland for a week, and while I was there I had been planning to spend quite a bit of time out taking photos around the city. Unfortunately, the weather had other plans. It was pretty much raining and cold the whole time. And when I say cold, I do mean cold. But more than that, it was really dark. Like, twilight dark the entire time. So eventually, I forced myself to get out and shoot, regardless of the result, and said result wasn’t great. However, when I got back to my computer, with a little editing I was able to get a pretty decent image of the castle. As there was such a difference between the result I got and where I started from, It thought It would make a good tutorial video, and so here you go!
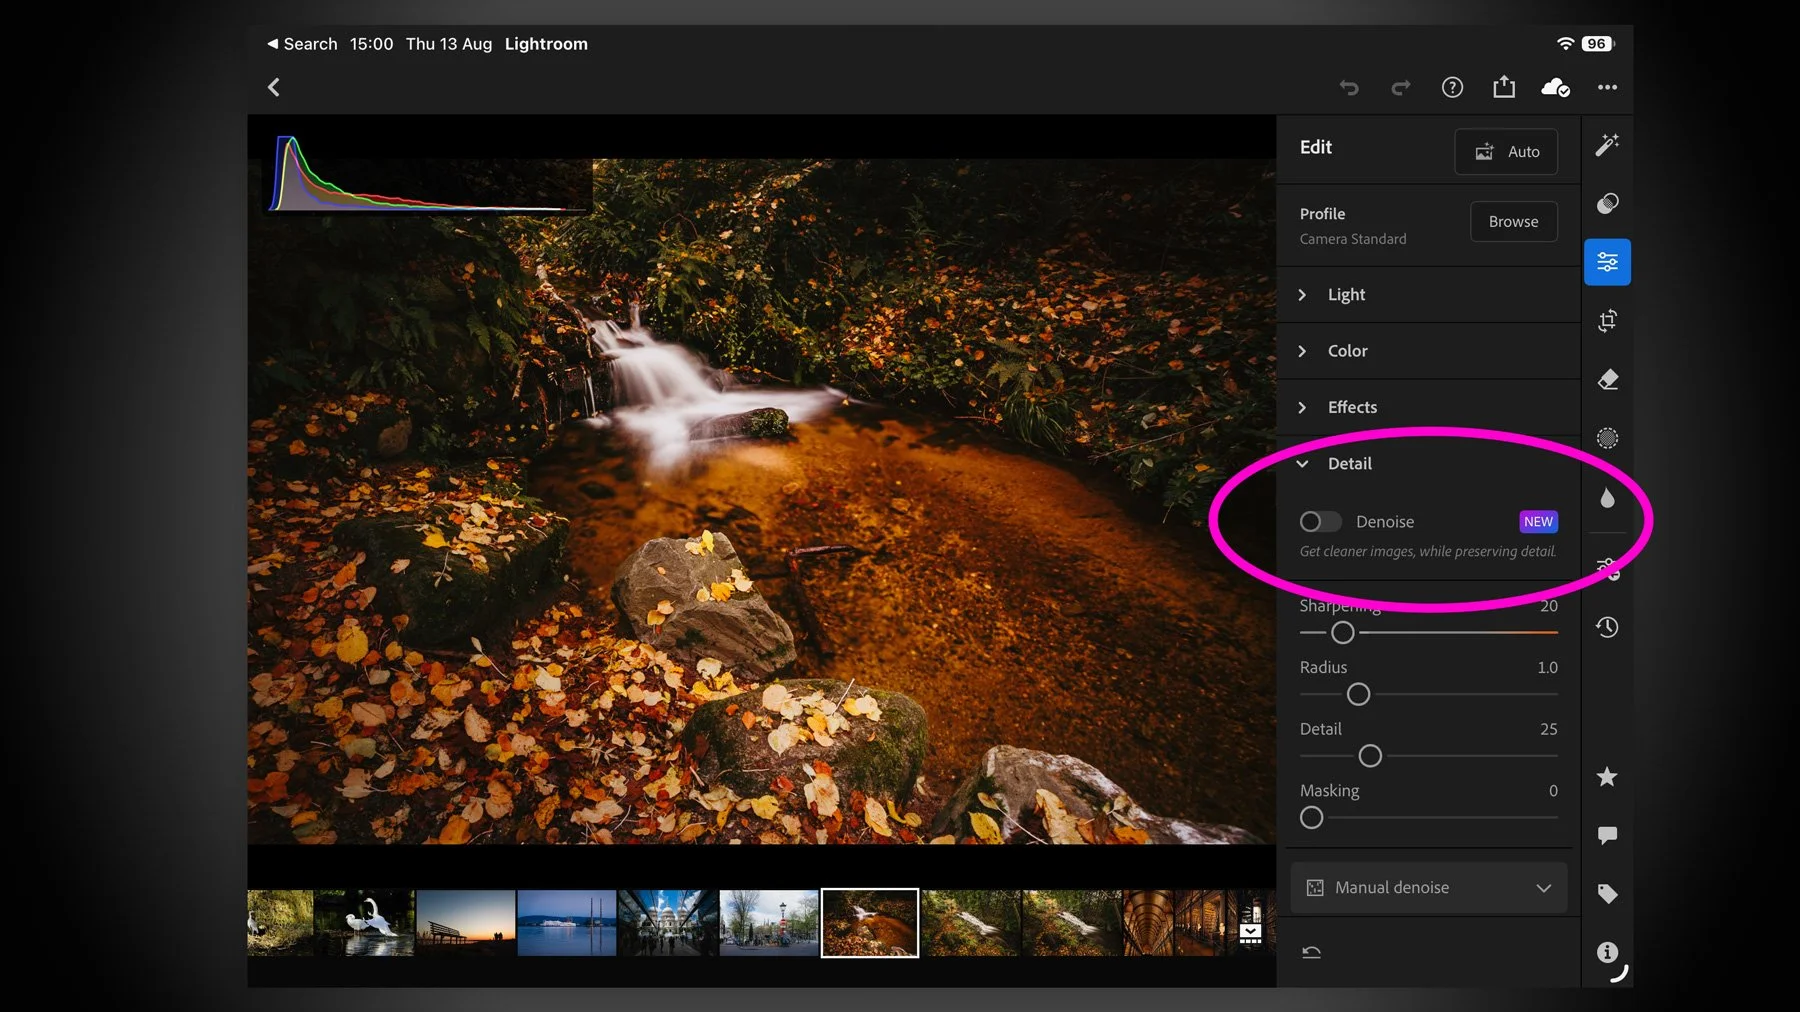
I missed this when the recent round of Adobe Photography updates dropped for August 2026, but they added a much-requested and long-missing feature for Lightroom on the iPad. There’s not much point in me teasing it, as it’s in the title, but yes, Lightroom on iPad finally gets Denoise. And it actually works pretty well.