Fuji X-E1 + Iridient Developer + Lightroom + QuickLux2
In my recent guide for processing X-Trans images in Iridient Developer, I talked about different workflows for working with the software in conjunction with Lightroom. Specifically I discussed the alternative approaches of either finishing your images in Iridient Developer or partially processing them and finishing them in Lightroom. On a recent shoot I had the opportunity to use the latter of these two workflows and I thought I'd share the results.
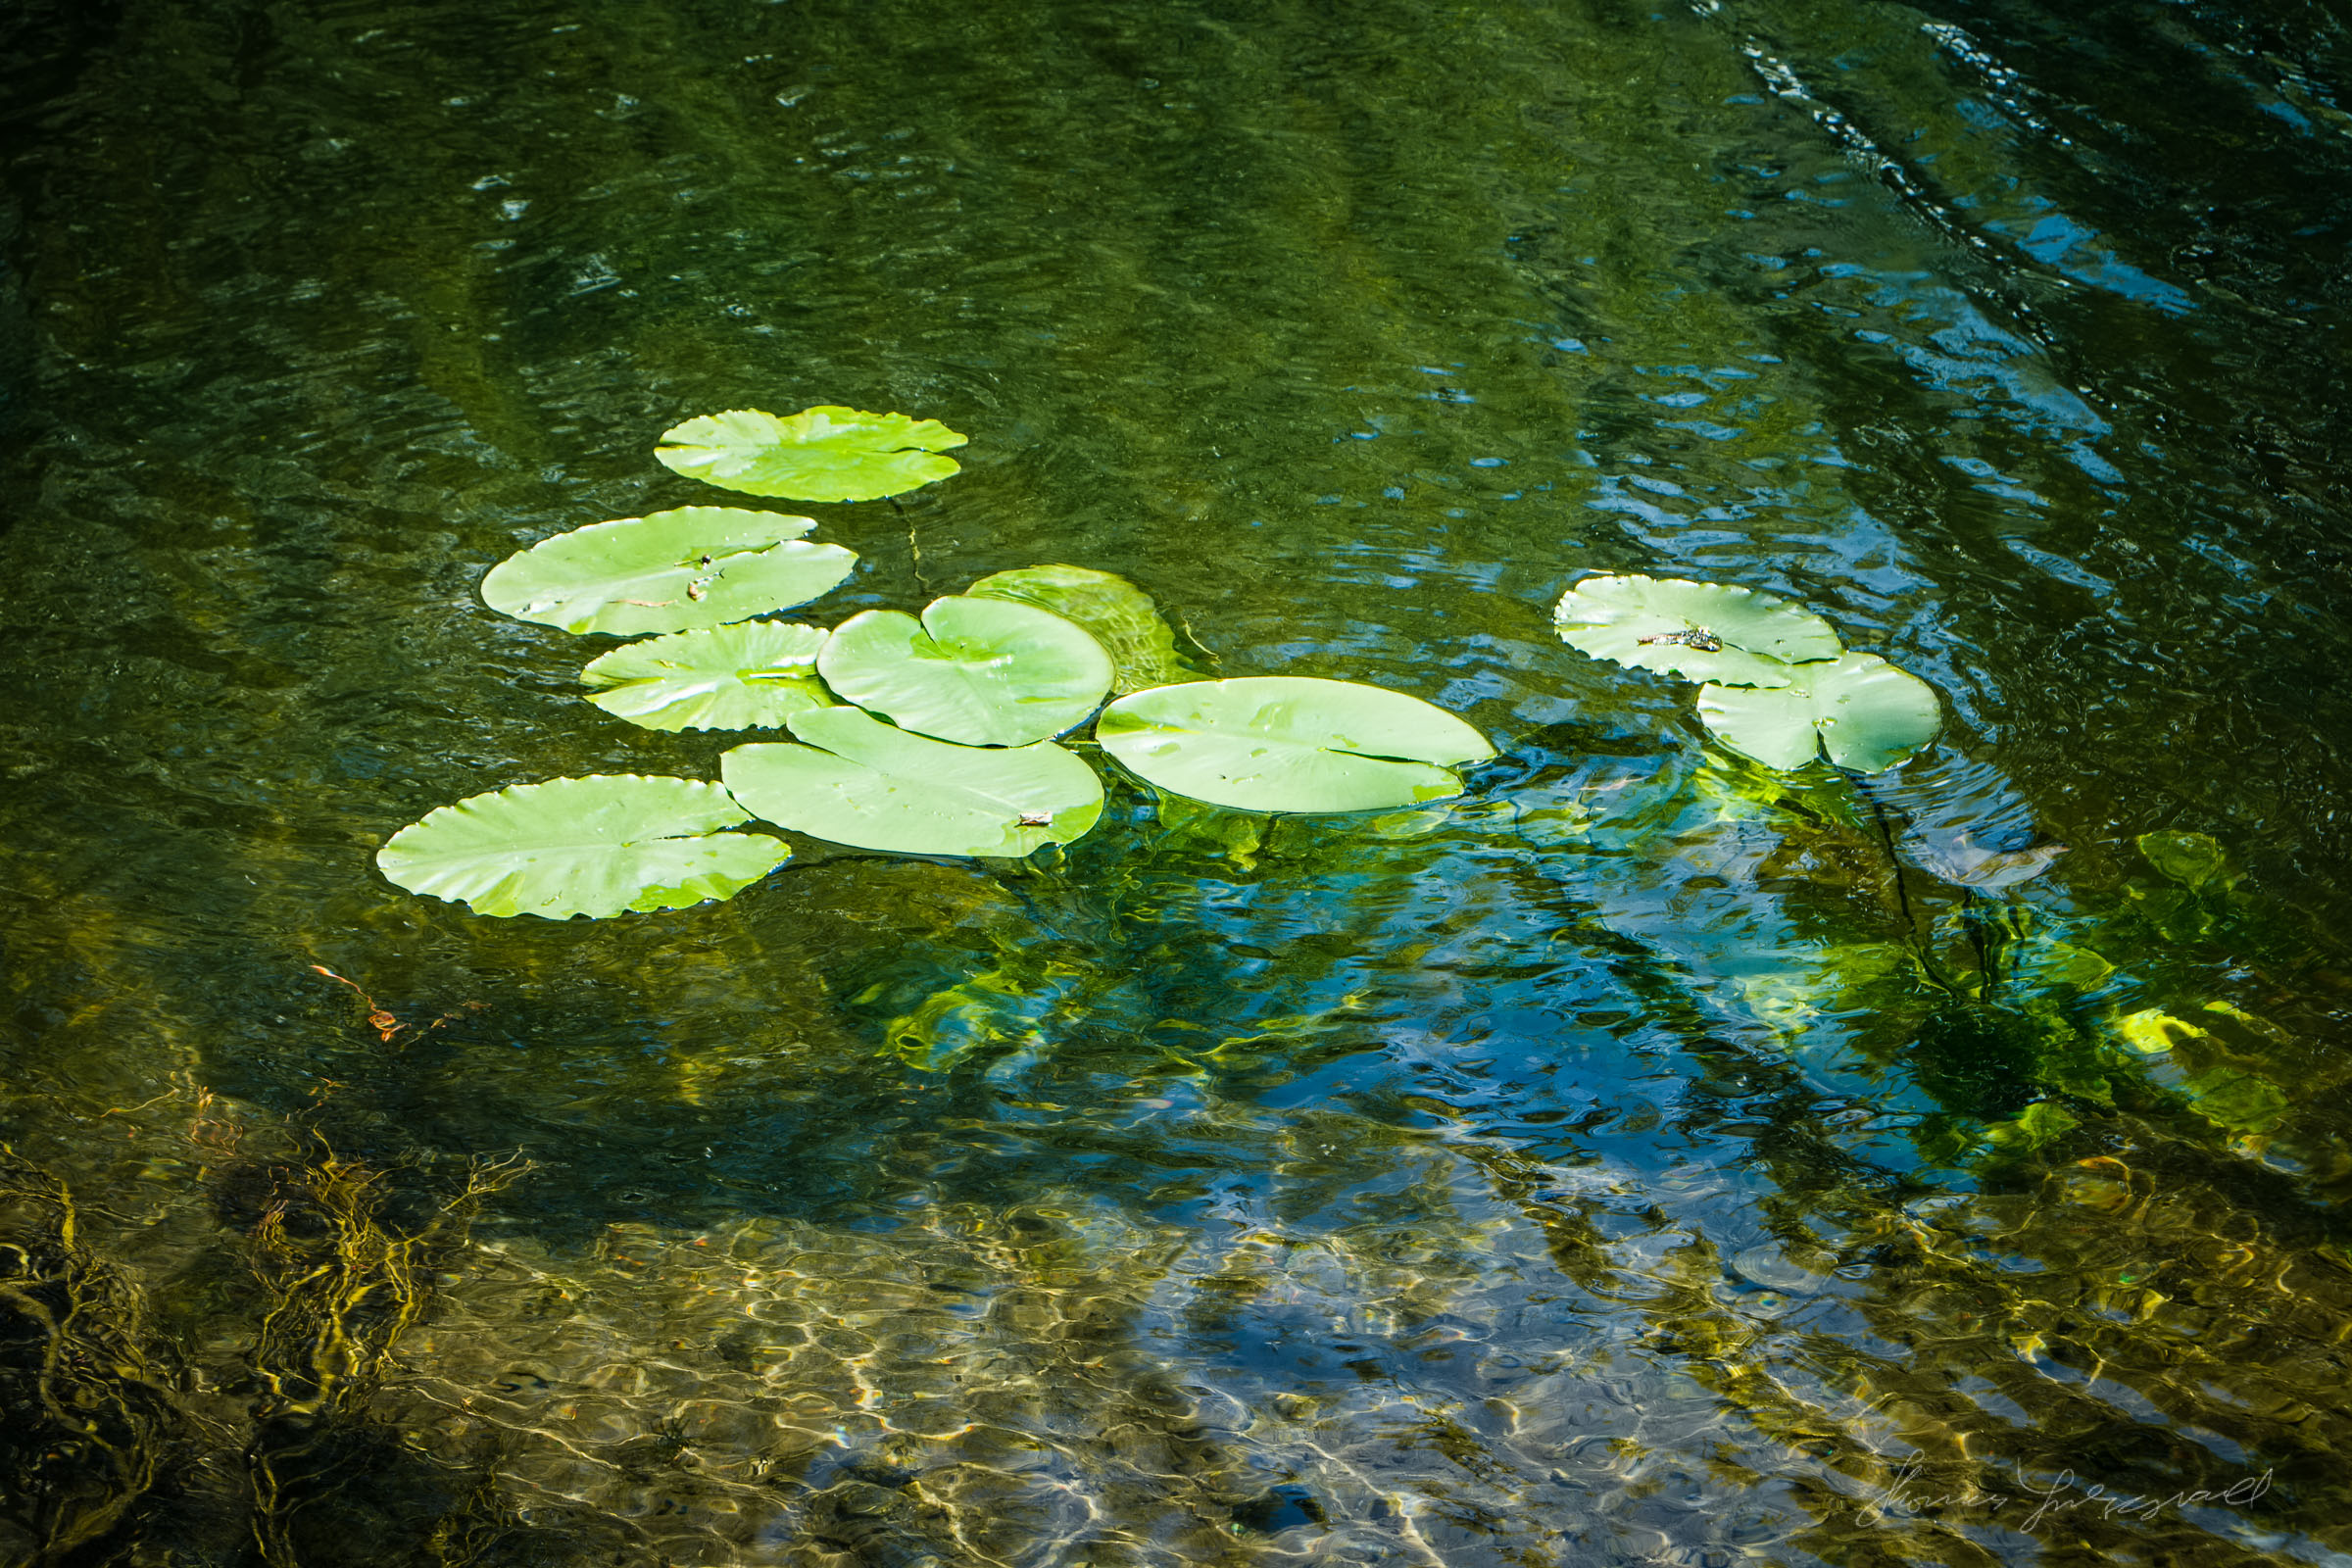
I had been walking in Dublin's Stephen's Green park and it was a beautiful sunny day. I had my X-E1 with me and so I started taking photos. They're nothing earth shattering, but I liked the way the light was falling and the beautiful colour of the green throughout the park.
When I got back to my computer and started processing the files, I initially imported them into Lightroom, and I was happy with the overall colours, but I wanted to see if I could get a bit more detail from Iridient Developer. So I processed some of them in that application, but I still wanted to finish them in Lightroom though. I had been using some presets from my QuickLux 2 set, and I wanted to still get a similar look, so I did just the minimal amount of work in Iridient developer and batch processed the resulting files out, to be re-imported back into Lightroom.
(To understand why you might want to do this, see this post)
Once back in Lightroom, I went through and did the finishing work on the images. Specifically I applied the preset, in this case QuickTrans-Basic05 from my QuickLux 2 set, and then I did some further tweaks. Because the presets were designed for Raw and I was working on Tiffs, I reduced the contrast a bit. This is because the Tiffs exported from Iridient Developer had some contrast already applied, and it would have been too much.
I think the results work well. While the subject is far from award winning, and I'm sure some wouldn't even find this that interesting, I think the colours and detail give a nice dimensionality to the images. Anyway, here's a few more of the shots. Enjoy.
To learn more about my Iridient Developer guide, you can find a full description and excerpt in my Digital Download store. The presets used in this post were from my QuickLux 2 set which is also available in my store.


For comparison, you can see the Lightroom only versions of these images (along with some more) on this post in my Photo Journal. You may actually prefer the Lightroom ones, but it's an interesting comparison.
If you want to get regular updates, and notices of occasional special offers, and discounts from my store, then please sign up for the Newsletter.
All of the work I do here, and the information on this blog is done entirely free of charge and takes up quite a bit of work. I want to spend more and more time on this blog, and offer more and more of this kind of information, tips and so on, so If you like what I'm doing here and want to show support, then you can do so by buying something from my Digital Download Store
I have Lightroom Presets, Photoshop ACR Presets, Textures and e-books all available for download.
If you're a Fuji X-Trans shooter and Lightroom user, check out my guide to post processing X-Trans files in Lightroom. I also have a guide for processing X-Trans files in Capture One