Quick Tip: Understanding the Colour Adjustments in Apple Photos
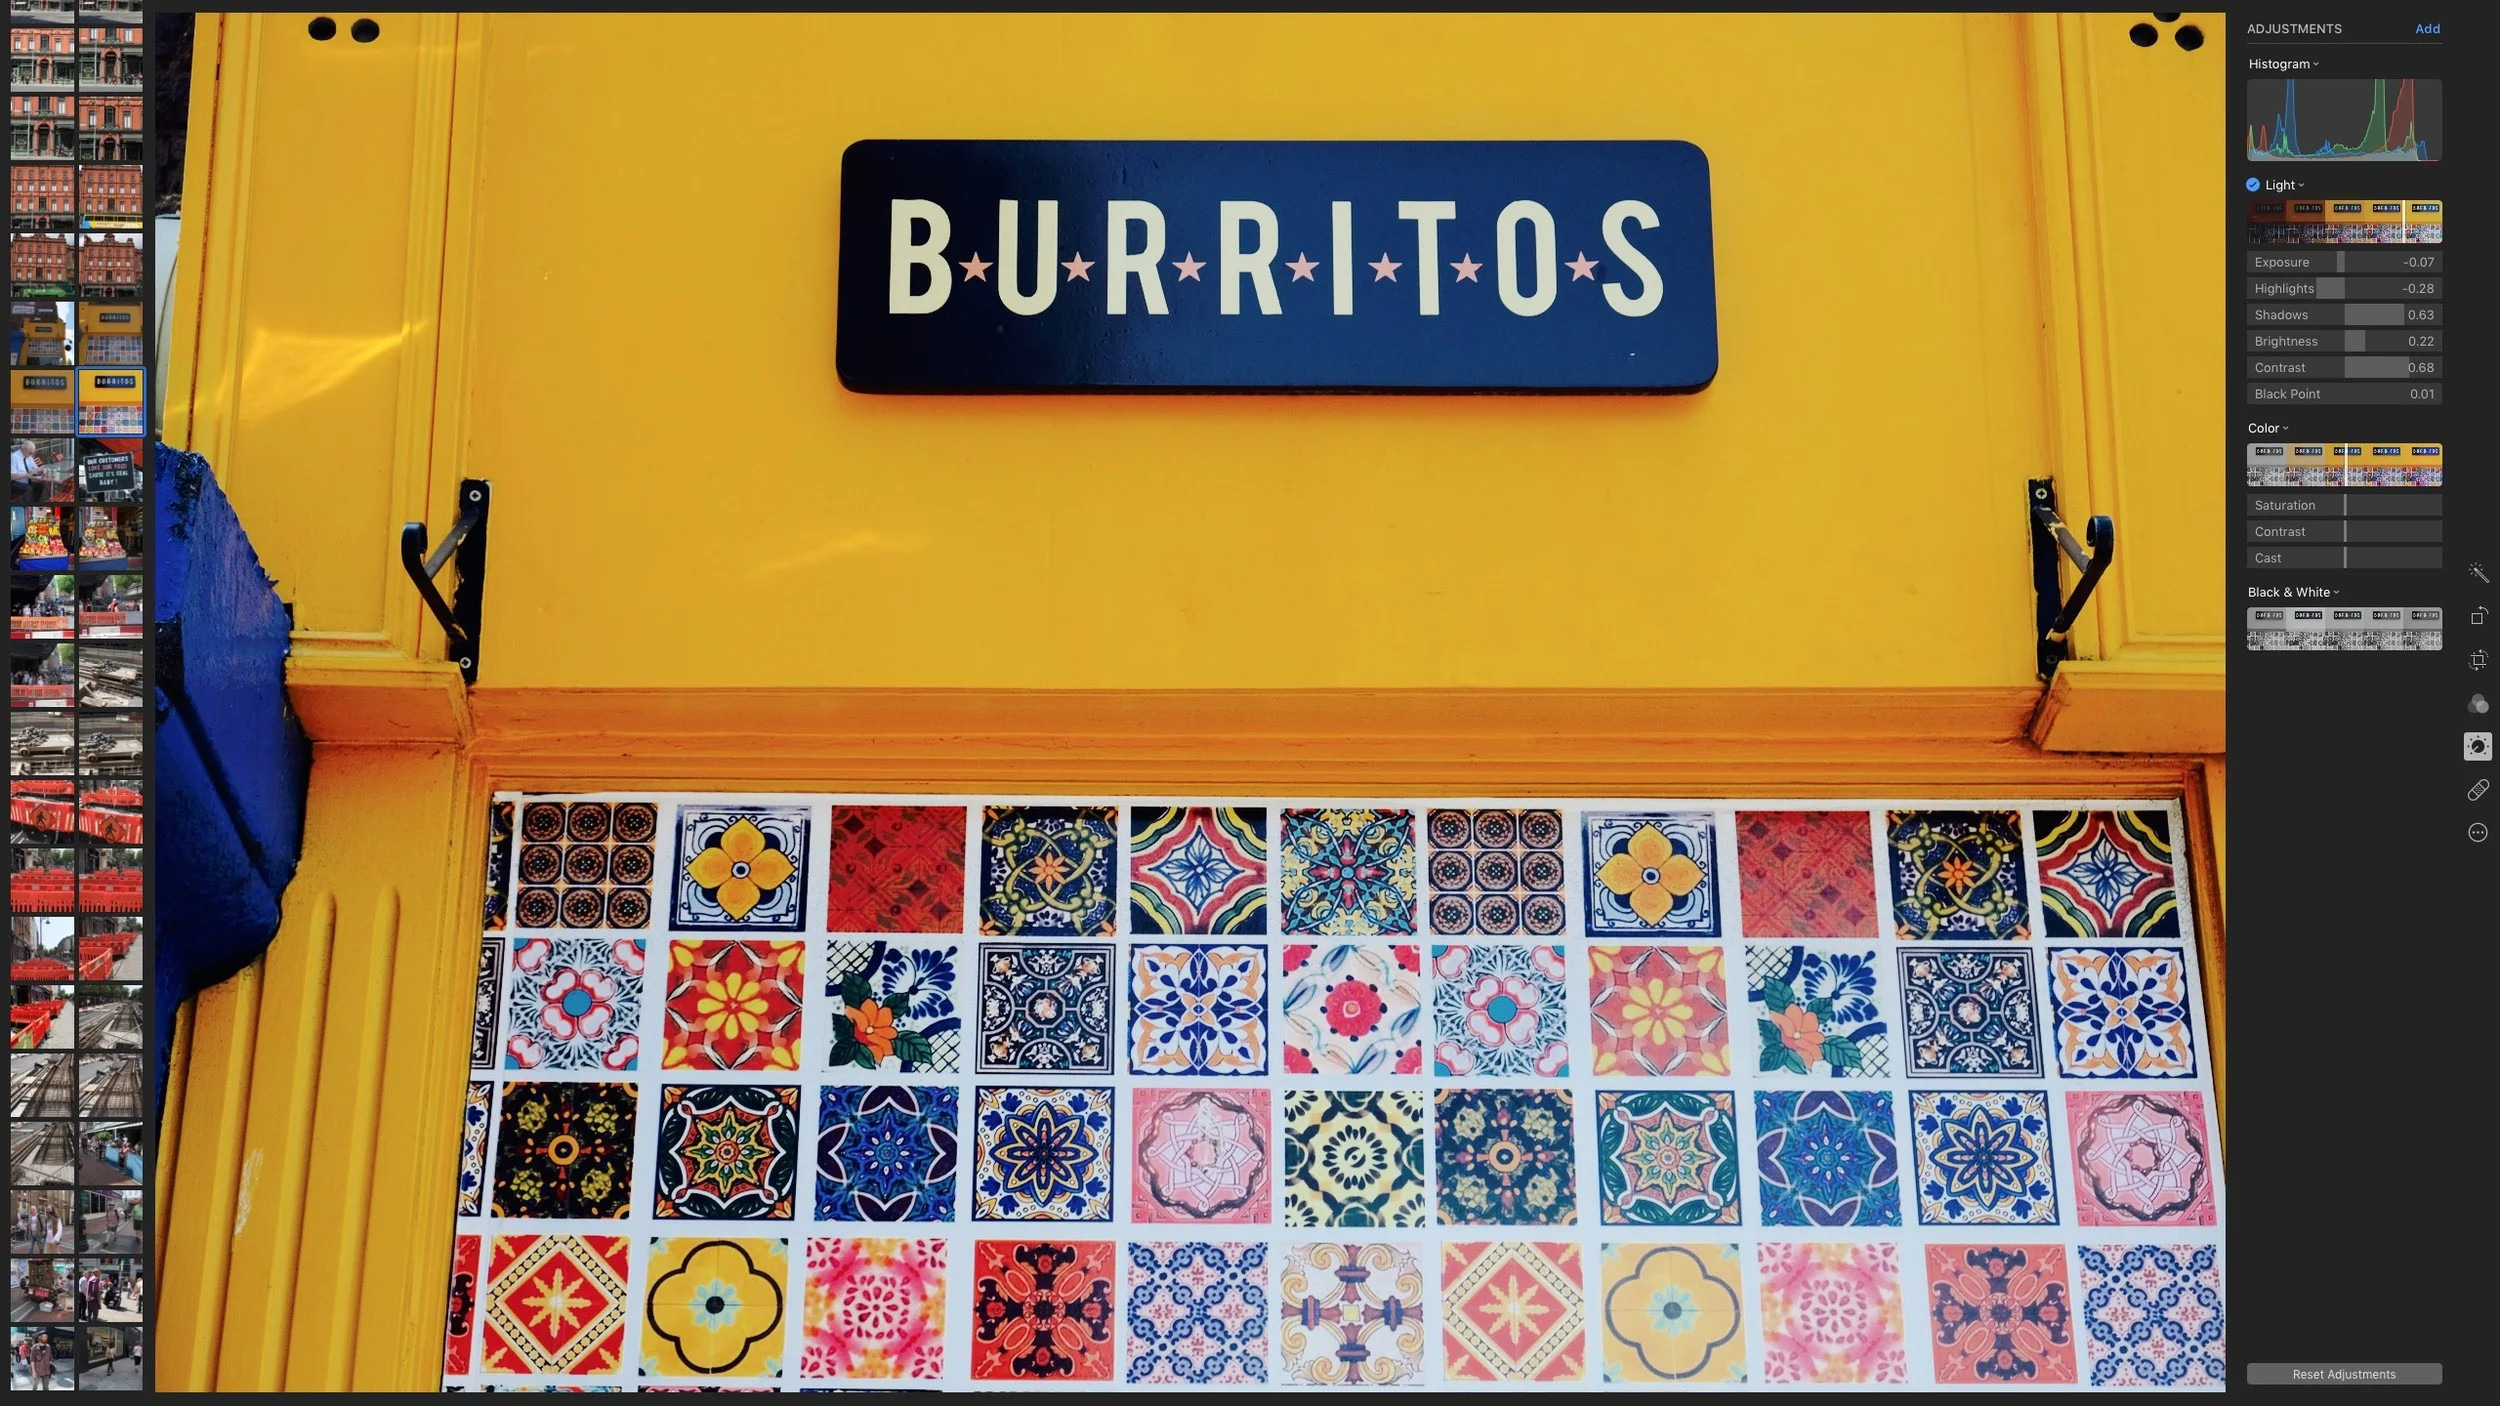
Apple's Photos App on the Mac (and iOS) has some interesting and unorthodox tools for adjusting your images. The Light and Colour sliders are interesting ways to alter your photos, and even on their own, the smart algorithms which adjust the individual parameters of a collection of adjustments, can often lead to interesting results. If you want more control however, you can tweak the individual parameters in the Light and Colour section separately. In this short post we're going to take a look at the controls in the Colour adjustment group.
If you expand the Colour adjustment slider by hovering over it's name and clicking on the down arrow that appears you will get three individual parameters:
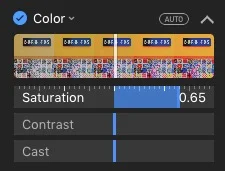
The first is Saturation. This is fairly obvious and controls the saturation of your image. It doesn't need much more explanation than that other than to say, you can drag increase this slider up to about +.5 before it starts to look a bit too fake.
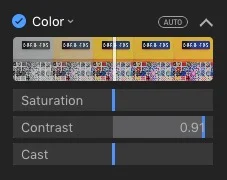
The second slider is a bit more interesting. Called "Contrast", it's not to be confused with the contrast adjustment in the Light group. That one adjusts the overall contrast of the image in a traditional sense, whereas the contrast slider in the colour group, according to the documentation: "Adjusts the colour contrast and separation between similar colours in the photo.". This is a subtle effect, but it can be quite effective. While not as powerful as say, a vibrance slider in something like Photoshop, it can add definition to the colour in your images.
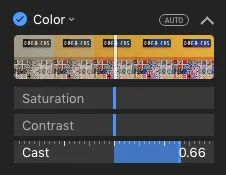
Finally there's "Cast". The official description of cast indicates that it is to correct for colour casts in an image. In reality it can warm up or cool down an image. While you can also do this with the white balance adjustment (not enabled by default) the Cast slider works a bit differently and is a more gentle adjustment. It does work really well for correcting slightly cool or warm images, as it's supposed to.
Help Support the Blog
All of the work I do here, and the information on this blog is done entirely free of charge and takes up quite a bit of work. I want to spend more and more time on this blog, and offer more and more of this kind of information, tips and so on, so If you like what I'm doing here and want to show support, then you can do so by buying something from my Digital Download Store. I have Lightroom Presets, and e-books all available for download.
If you're a Fuji X-Trans shooter and Lightroom user, check out my guide to post processing X-Trans files in Lightroom. I also have a guides for processing X-Trans files in Capture One and Iridient Developer.
If you want to get regular updates, and notices of occasional special offers, and discounts from my store, then please sign up for the Newsletter.