

Photo Editing, Tutorials, Photography News, and More
This blog covers a range of topics from Lightroom, Photoshop, Capture One, Fujifilm, Canon, Nikon, iPhone Photography, and more. If you want to see more of my actual photography work, visit my Portfolio and Photo Journal blog.

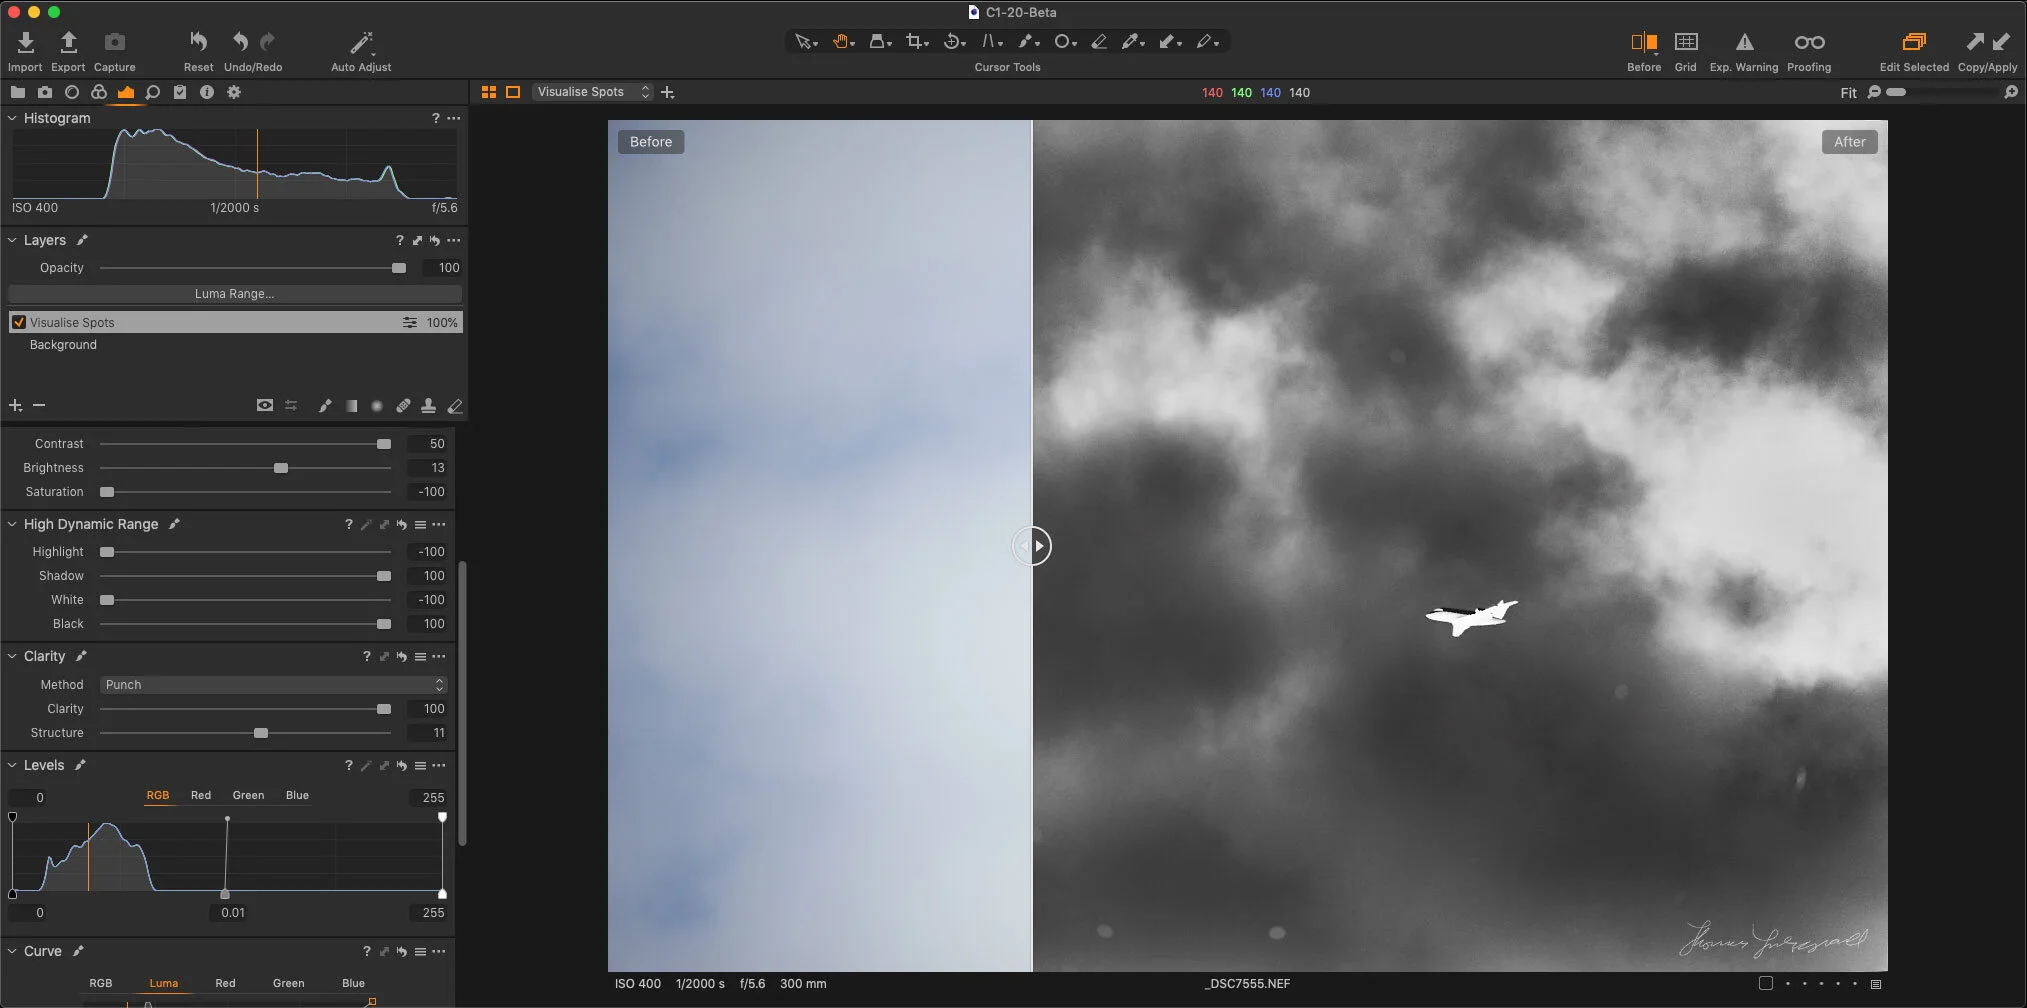
Capture One 21 Dehaze Troubleshooting Tips
When Capture One 21 was released with the long-awaited Dehaze tool, I was a little disappointed with the results. However, having worked with it for a while now, I’ve come up with a few tips and suggestions for getting around the shortcomings of the feature. I still hope they improve it in future versions, but for now, here are some workarounds.
5 Random Capture One Quick Tips
When working in Capture One last week, I had been thinking to myself: “Self, you must come up with some new tutorials for the kind folks that read your blog” but I just couldn’t come up with anything profound and dramatic. Then I realised that perhaps I was looking in the wrong place, and it occurred to me that many of the little things that I do regularly may not be known by everyone. So, with that in mind here is a random collection of quick little tips that may help your workflow…

A Compilation of my most Popular Capture One Articles
I have written a lot of articles about Capture One over the past year or more, and I realise that those who may be new to the site might have missed a good few of these, so I’ve decided to compile some of my most popular articles, and those I feel are worth reading.

How to Sync Full Res Images instead of Smart Previews from Lightroom Classic
When Adobe first introduced the syncing feature in Lightroom, which let you sync to its cloud services, it only synced smart previews, and at the time this wasn’t a big deal, as there was limits to what you could do on the mobile applications. Now, many versions later and Lightroom has become a whole eco system, and the mobile versions are much more powerful. We now also have the desktop version of the mobile applications, so it is odd that Lightroom Classic is still stuck syncing only smart previews. But what if you want full res versions that you can edit on another device but still synced to your classic library? Well, there is a workaround.

Use Layers to Apply Noise Reduction to the Shadows in Capture One
No matter how good your camera is, or how good your technique is, there are times when you will want to reduce the noise in an image. In many cases the noise reduction in your chosen raw processing software will be enough, but using noise reduction is often a trade off between maintaining detail and suppressing noise in an image.

How to use presets on Lightroom Mobile
Adobe recently introduced a new feature for the mobile version of Lightroom CC that people had been requesting for a long time, and that is the ability to use presets. What’s more, they also added preset syncing between the desktop and mobile versions of Lightroom CC. You can now use all of your Lightroom presets, and profiles on your mobile device, and the process is fairly simple. You will however need to use Lightroom CC on the desktop. You will also need a creative cloud subscription.

10 Capture One Quick Tips
Capture One is a complex application and I’m always discovering new things with it. It’s one of those things where there are often features or techniques hidden in plain sight. I’ve collected a series of tips below, which you may find useful. Some of these are from the point of view of someone moving from Lightroom, but they should be applicable to any Capture One user. You may, of course, know some or all of these already, but anyway, I hope this is useful.

The Best way to use Luminar with Capture One
If you’ve been following this blog for a while now, you probably know that I’m a big fan of Macphun’s Luminar. It works great as a plug-in for Lightroom, but if you’re using Capture One it gets a bit more complicated. While you can use it as an external editor with Capture One, getting it to round-trip properly can be a bit tricky. There is however a simple solution to the problem and that is to use Photoshop as a intermediate.

Capture One Tips for Creating a better Default Image
If you’ve been following my blog for some time, you’ll know that I’m a regular Capture One user. I don’t generally use it as my main image processing software, but I probably use it for maybe 30- 40% of the work that I do. While I’ve talked about it a lot on this blog before, much of that has been in the context of using Capture One for Fuji X-Trans images, but I actually use it with many other cameras too. With that in mind, today I wanted to give you some tips that aren’t camera specific, and cover ways to improve the default way Capture One interprets RAW images.

Two Free Presets for Luminar
I’ve been playing around with Luminar a lot lately, and in particular I’ve been using it as an extension to Apple’s photos to quickly process Jpeg Images from my Fuji X-Pro 2. I’ll have more details on this in a future post, but for now, I wanted to share some of the looks I was getting.

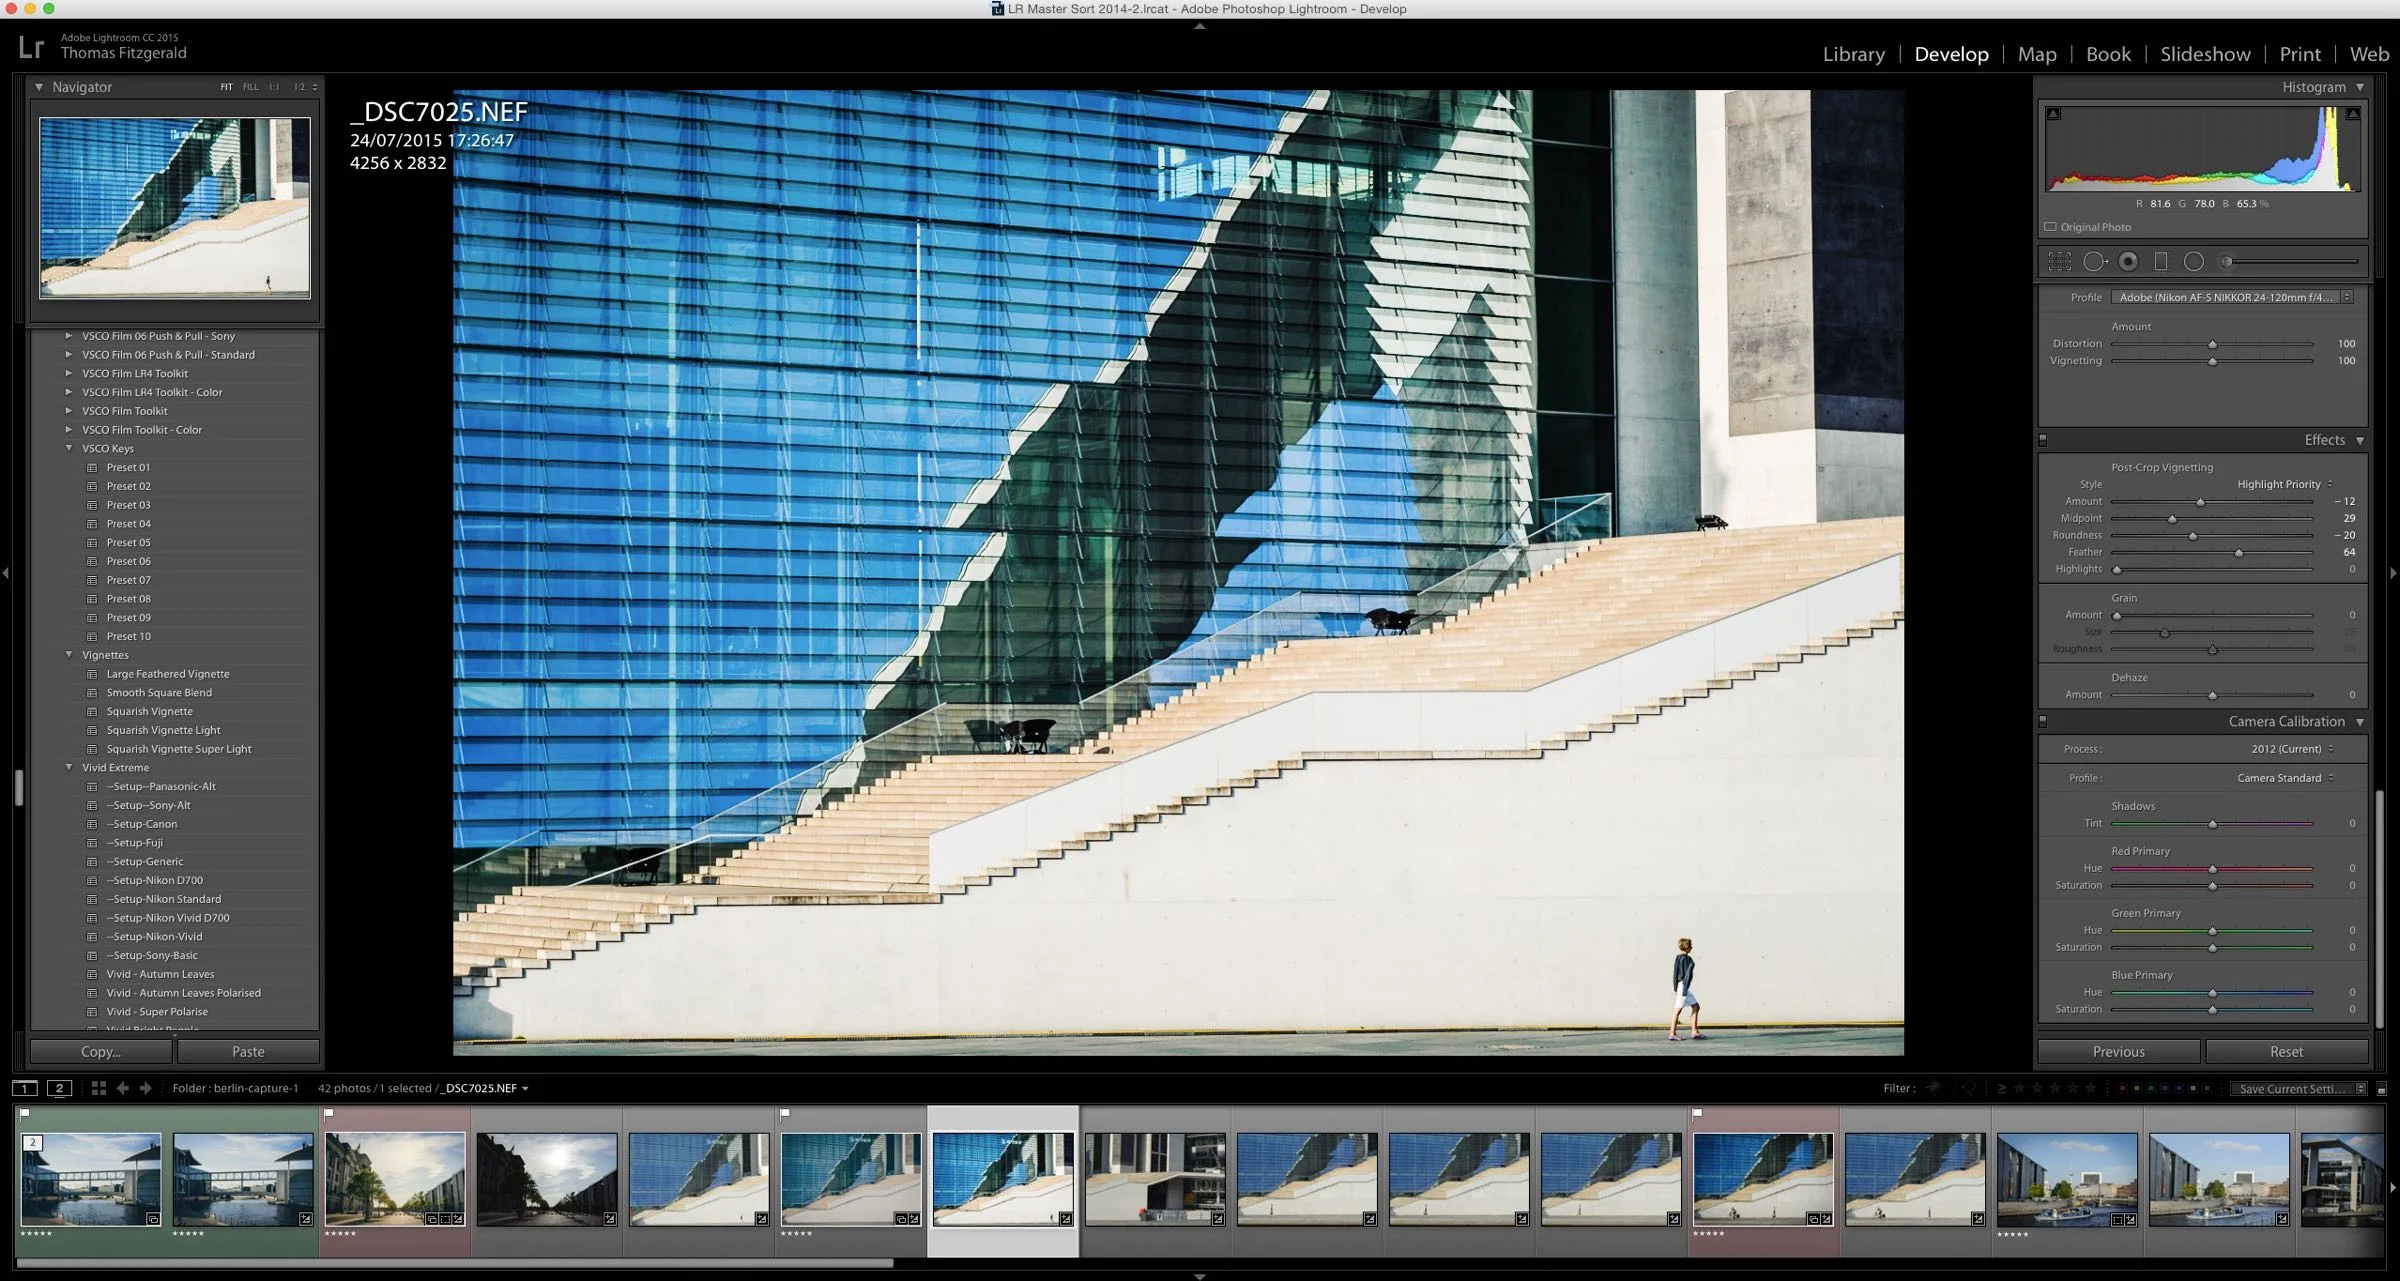
Lightroom Preset Tips: Changing the Colour Profile for a different Effect
If you’re a user of any of my presets, then you will know that I’ve designed them with the idea of being used with the “Standard” camera profile. The idea behind this was to provide a base level of compatibility across cameras, without having to create custom colour profiles for different models. Most manufacturers have a standard profile, and while obviously this isn’t exactly the same across different cameras, it’s generally the most “normal” looking profile, which is why I use that as the base for my presets.

Three Ways to Set Black Levels in Capture One
If you're using Capture one and you're used to using other applications such as Lightroom, you may have noticed that there is one control missing in Capture One's set of adjustments. That control is "Black Levels" . However, while there is no direct "Black Level" control in Capture one, there are actually several ways you can adjust the black levels in the software. Here are three methods that I currently use.
How to Improve Performance in Lightroom CC / 6 and Possibly Stop Crashes
I've been having some issues with Lightroom's performance on my mac for a while now. Coupled with some recent crashing, my frustration levels were beginning to rise. However, after a little research and some trial and error, I've managed to stop the crashing, and speed the application up a bit. While these techniques may well be familiar to you, I'm writing about them anyway should someone be having a similar problem and not be aware of what to do.
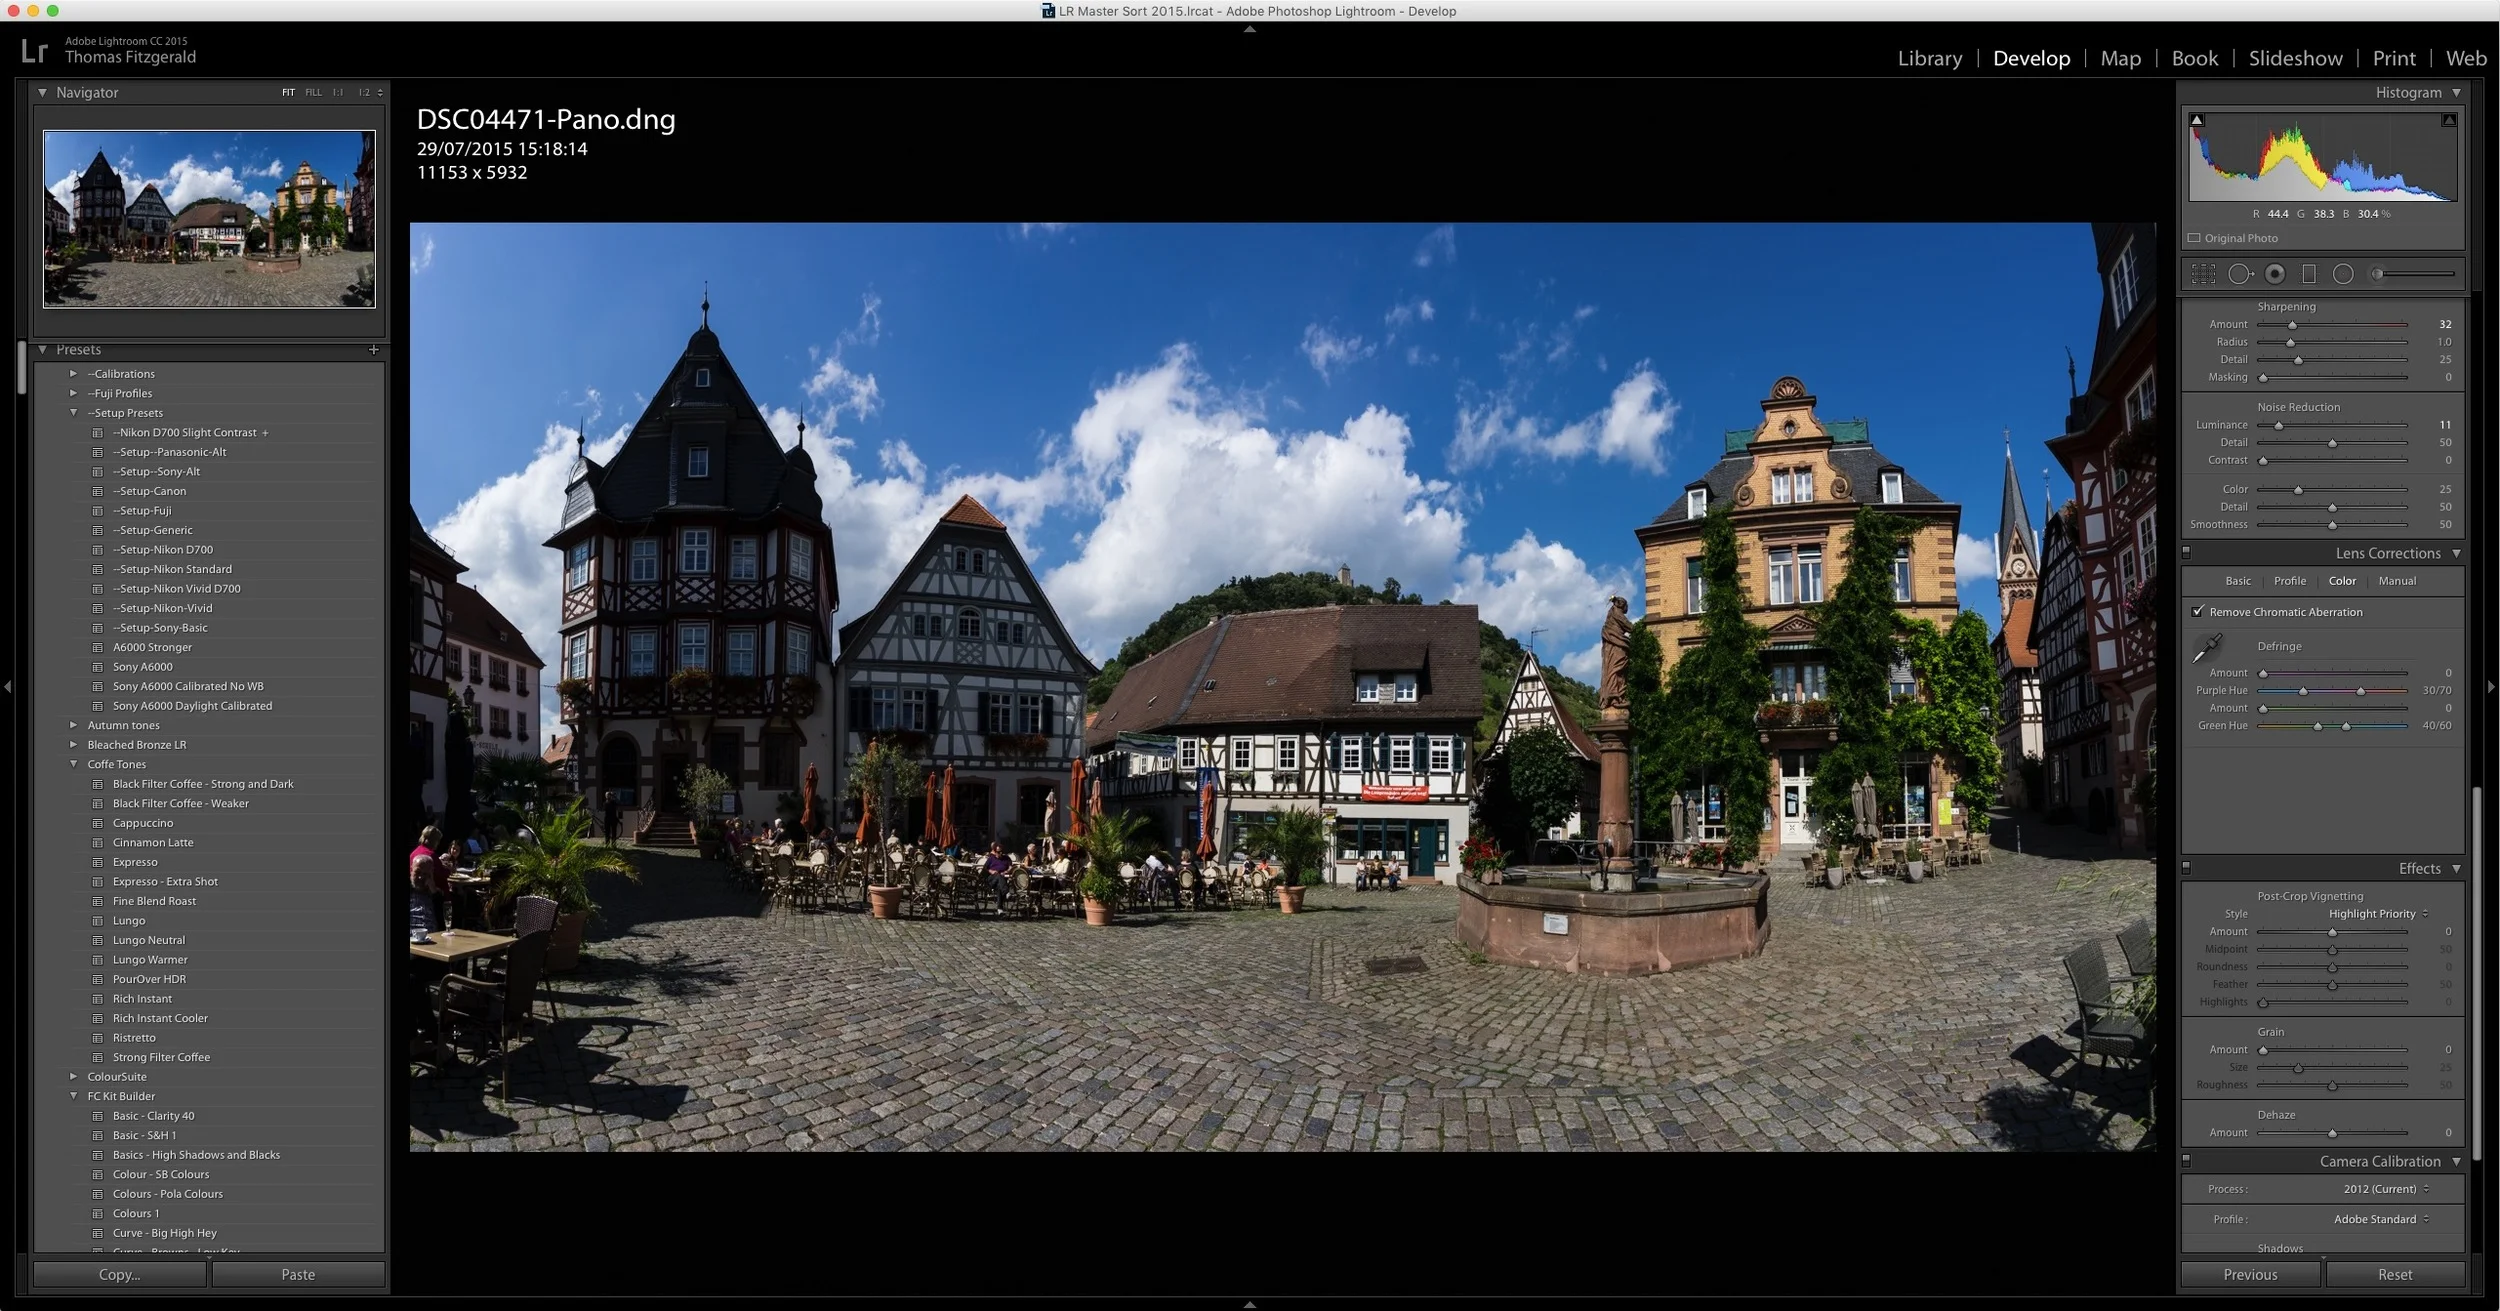
A Quick Look at Boundary Wrap in Lightroom CC 2015.4
One of the key features announced when Lightroom CC 2015.4 was released, was the new boundary wrap function in the merge panorama feature. Boundary wrap solves one of the problems with cylindrical panoramas, where the edges are normally distorted and need to be cropped out. It also addresses some of the distortion in cylindrical panoramas.
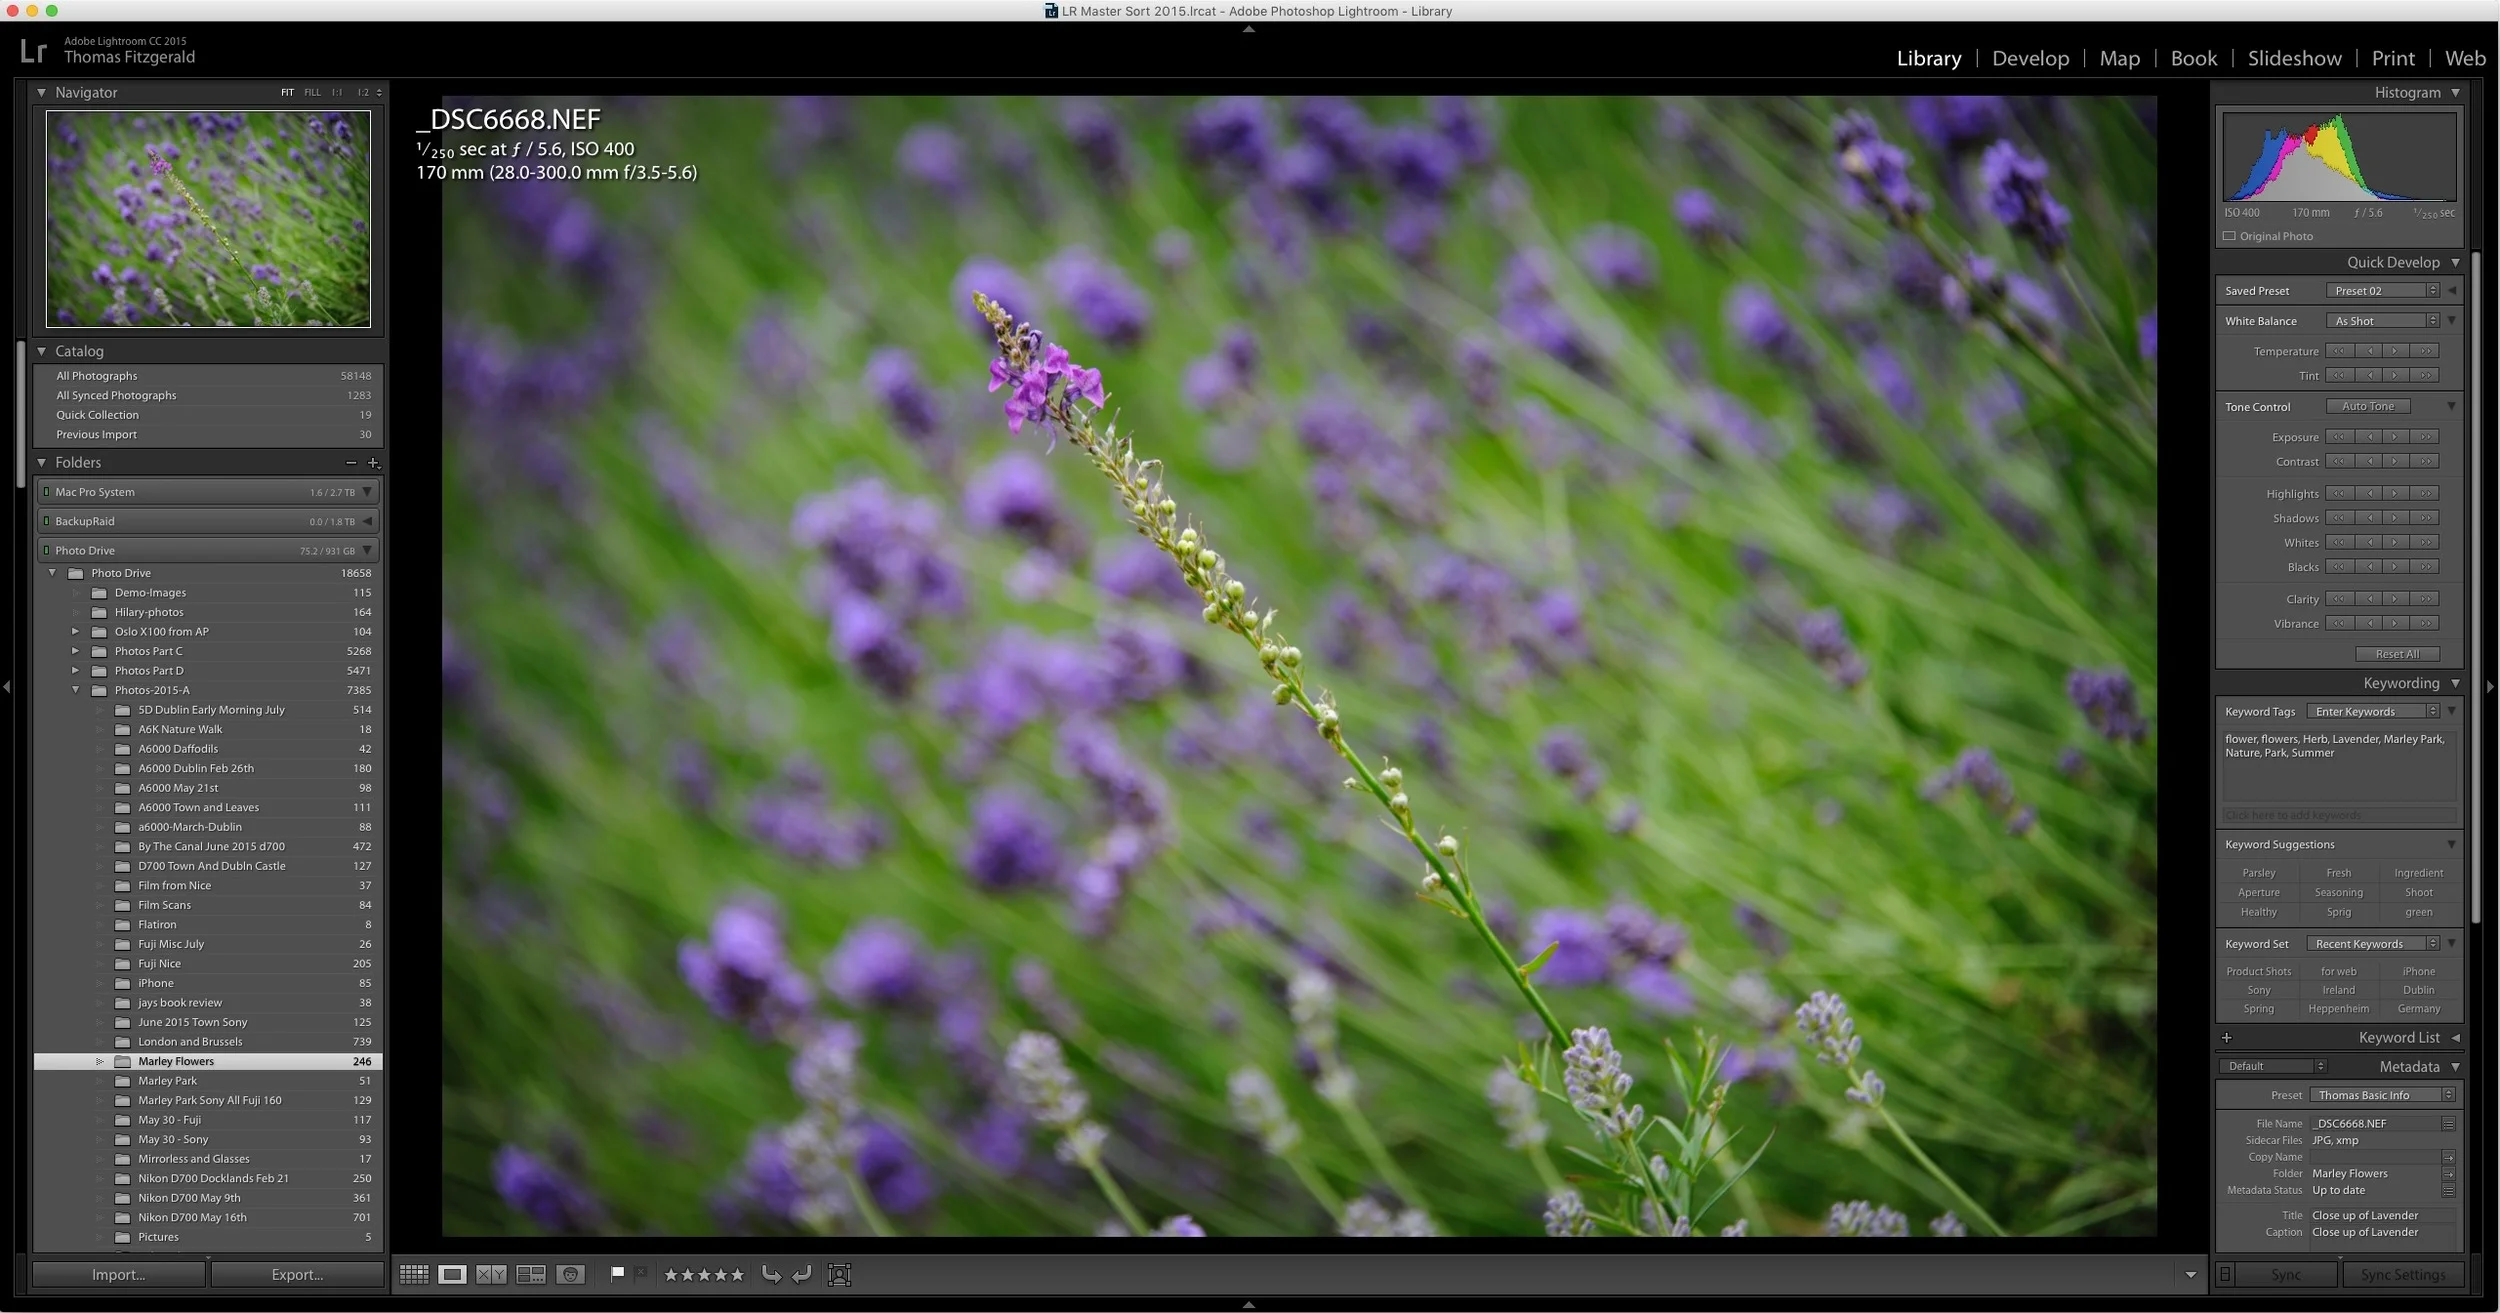
Lightroom Editing - The basic adjustments I do to most images
Someone recently wrote to me and asked me how I got my images looking so punchy. They assumed I was using some sort of plug-in or preset. While I do use presets a good bit (obviously) most of the time, I just do some basic adjustments to an image, depending on what Im trying to achieve. A lot of the time I don’t want an image to look too treated, so here are some of the things I do in Lightroom to add some “punch” to an image.