Lightroom Preset Tips: Changing the Colour Profile for a different Effect
If you’re a user of any of my presets, then you will know that I’ve designed them with the idea of being used with the “Standard” camera profile. The idea behind this was to provide a base level of compatibility across cameras, without having to create custom colour profiles for different models. Most manufacturers have a standard profile, and while obviously this isn’t exactly the same across different cameras, it’s generally the most “normal” looking profile, which is why I use that as the base for my presets.
Having said that, there’s nothing to stop you from changing the profile for effect. Using the standard profile will give you a similar look to what I had in mind when I created the presets, but changing the profile won’t break them, and if you’re looking for some creative alternatives, then using a different profile might be beneficial.
On many DSLRs there are portrait, neutral, vivid and landscape profiles in addition to the standard ones. These may be called different things depending on the camera and the make, but most cameras contain some variation of these picture modes, and Lightroom generally has corresponding profiles.
Using a Neutral or Portrait profile will generally lower the contrast, and reduce the saturation a little bit. Using this profile can be useful if you find that some of the presets are too contrasty, but you otherwise like the overall look. On the other hand, using a Vivid or Landscape profile can have the opposite effect and actually increase the contrast. This can be useful if you want to add even more punch to an image. It can also be an interesting thing to try if you’re using presets on images of greenery, foliage and so on, as the Vivid profiles generally bring out the greens more in an image.
If you’re using a Fuji camera, your choices are a bit different. Fuji doesn’t use the standard profiles that are with most cameras, instead basing their picture profiles on “simulations” of fuji film stocks, or at least based on those. In the case of Fuji cameras, the standard profile is “Provia” and this is what I set as the base level. However, again, you can get interesting results by using one of the other ones. For example, Velvia will give a vivid like effect, and Astia will have a similar effect as using “Portrait” or “Neutral” from the previous paragraph. If your camera supports it, Classic Chrome can have a very interesting effect. It seems to work particularly well with some of the presets in QuickLux 2 and FilmLux.
If you’re a Sony shooter, your camera also includes profiles that aren’t typical of the average DSLR. In particular “Clear” is an interesting profile. Using this has a similar effect to adding clarity to an image. It adds quite a lot of punch to an image, an can work well in conjunction with some of my more creative presets, such as FilmCandy or Coffee Tones.
Changing the colour profile
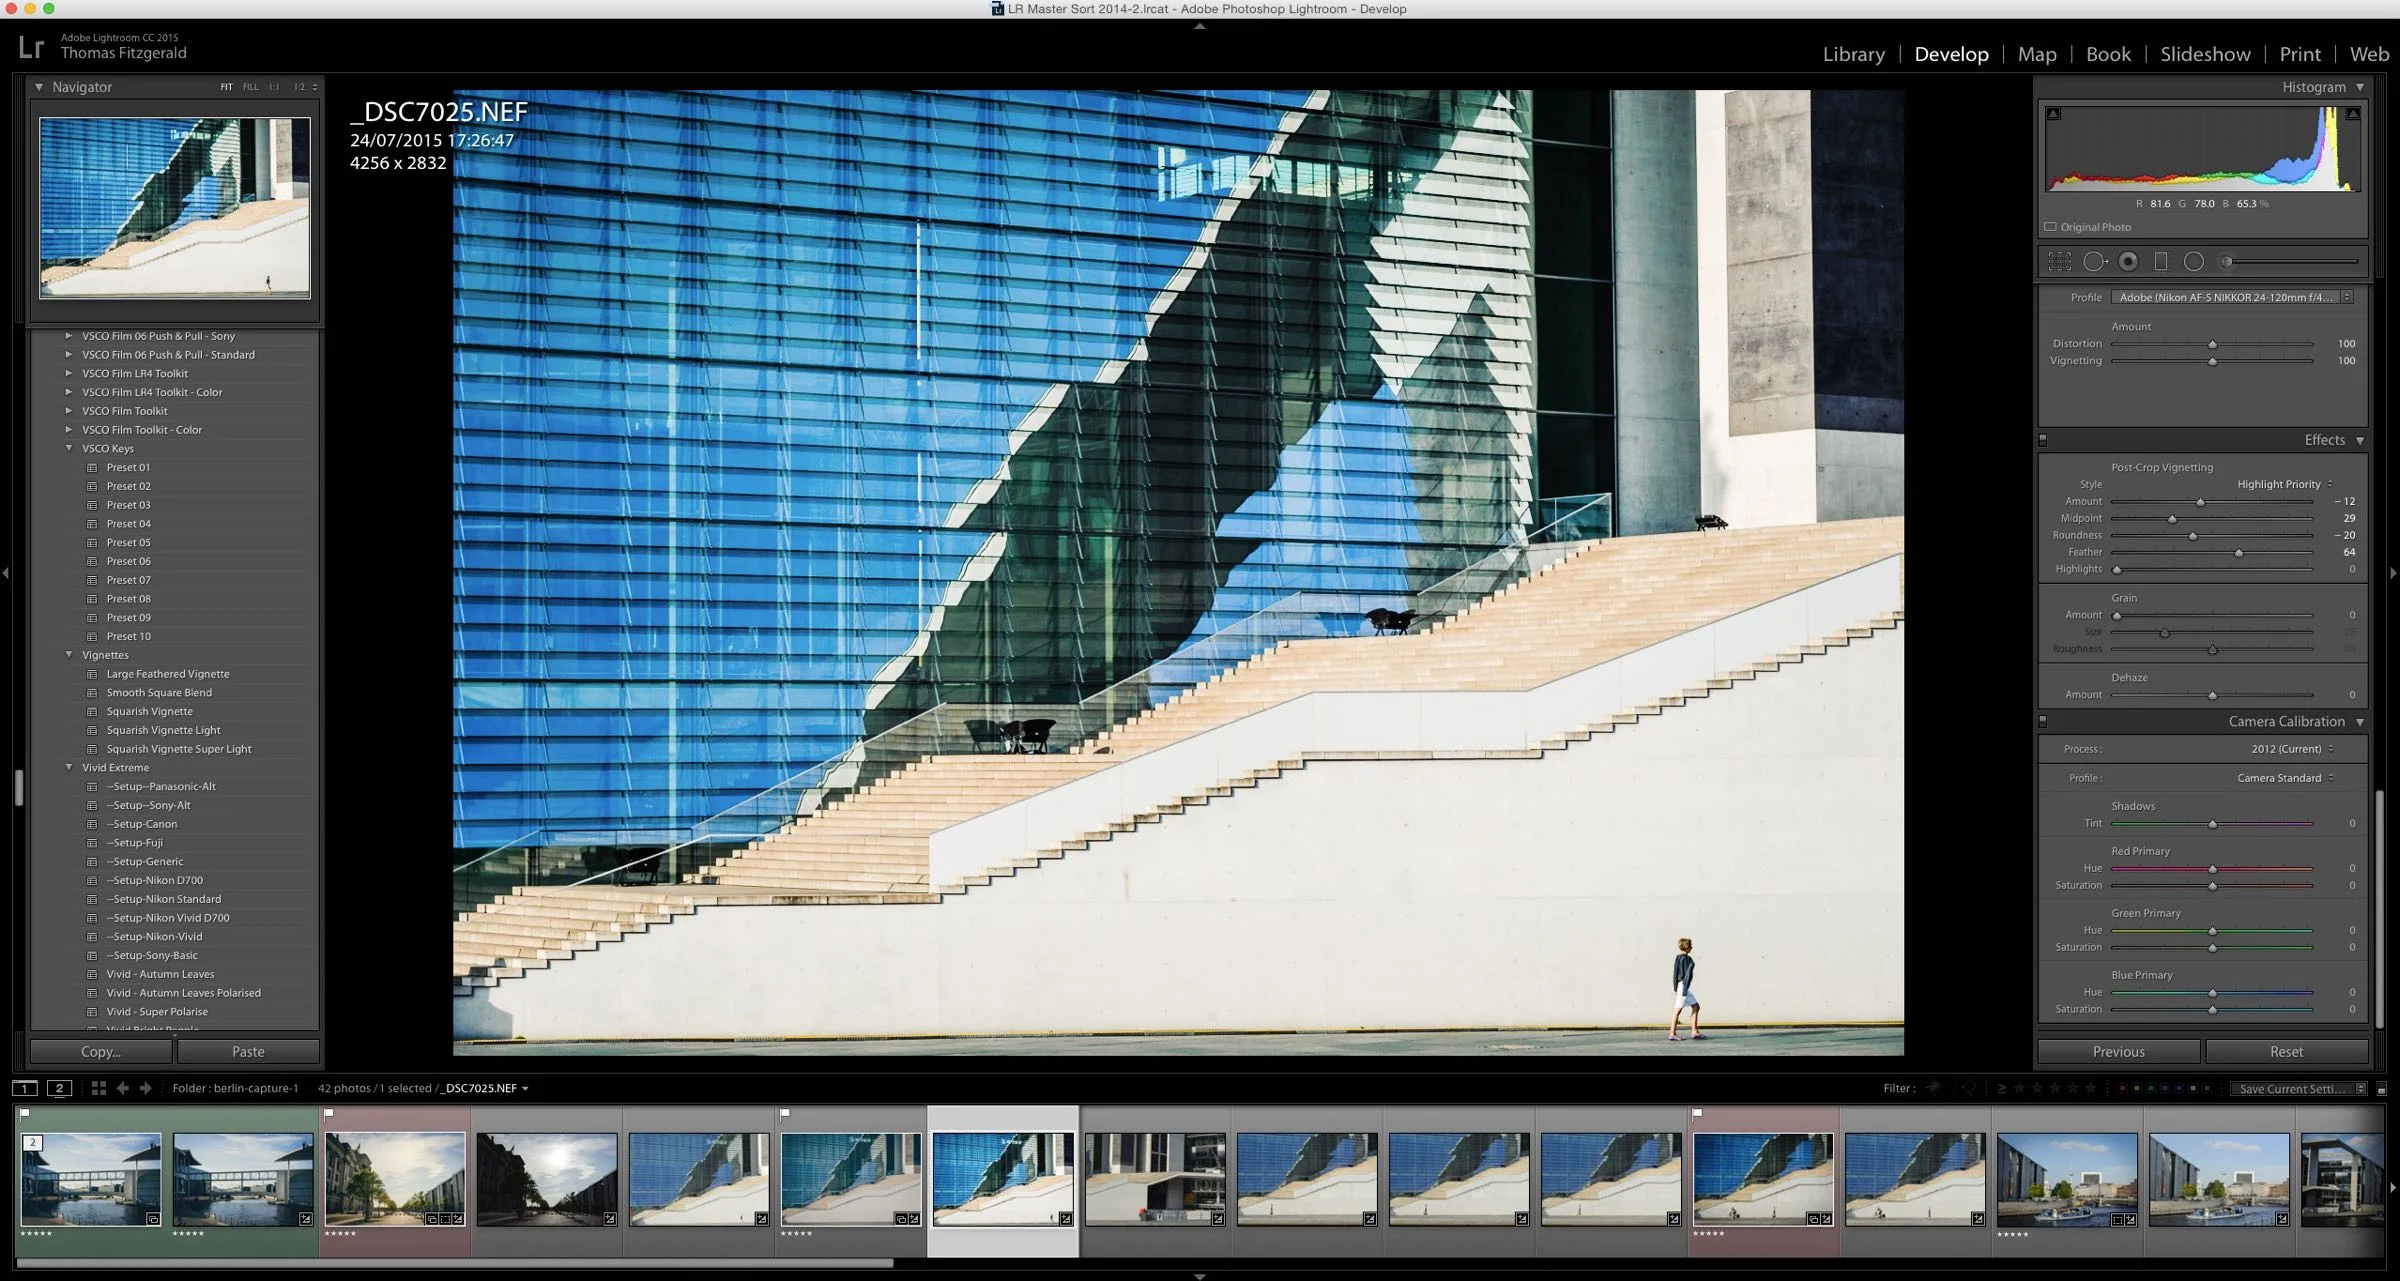
Changing the colour profile in Lightroom is pretty straightforward, and you probably already know how to do it. If you don’t, here’s a quick step by step guide.
- Go to the Develop module if you’re not already there.
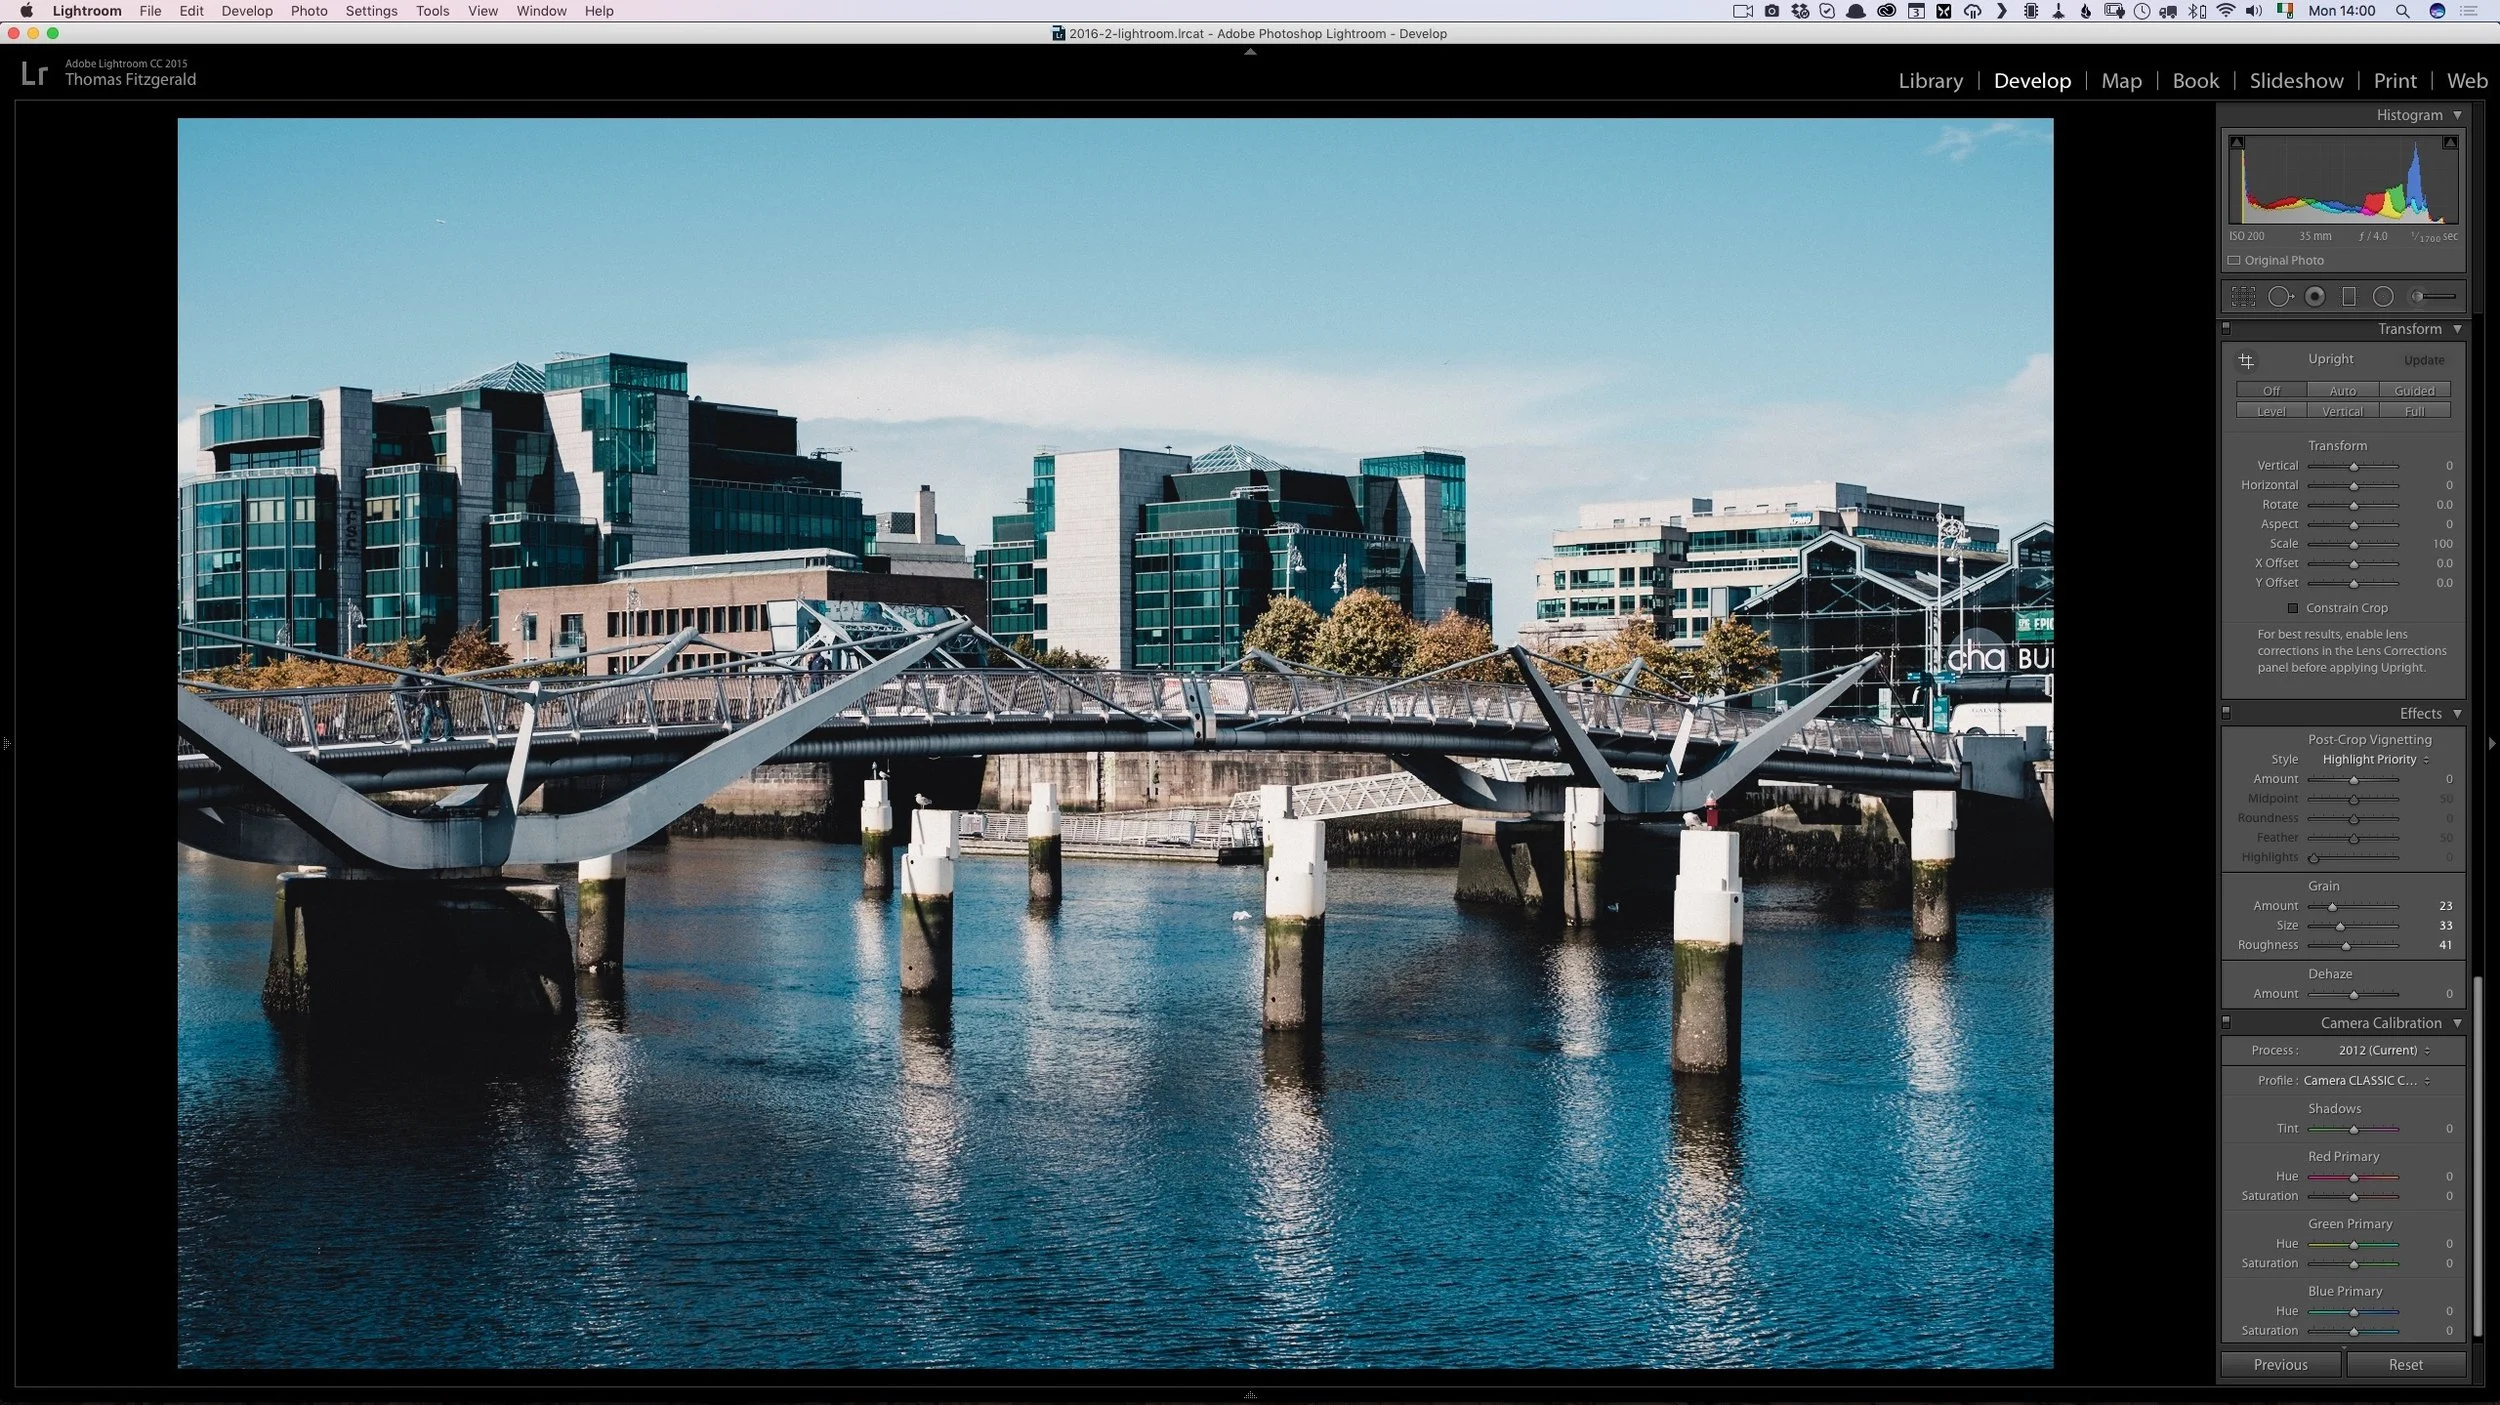
- Scroll down to the Camera Calibration panel.
- Click on the Profile pop-up menu to select an alternative profile.
That’s it. If you want to change a few images at once, you can select multiple images and turn on the auto sync option that appears at the bottom of the adjustments list in the develop module, or alternatively you can just copy and paste the settings.
Here’s a short video showing this technique in action:
For more information on my presets, see the Lightroom Presets section of my Digital Download Store.


