Photo Ninja for X-Trans Processing
In an ongoing series looking at alternatives for processing X-Trans images, I’ve already looked at Iridient Developer and I’ve written about using Aperture. I’ve also posted some of my initial thoughts on using Photo Ninja. Now that I’ve had some time to use it more thoroughly I can share my findings and let you know my thoughts on using it for processing raw files from the ever expanding line of cameras using Fuji’s X-Trans sensor.
Before I start, here's just a quick recap of what this series is all about. Regular readers of my photo blog will know that I am a big proponent of Iridient Developer for processing files from one of Fujifilm’s X-Trans series of cameras. I’ve noted in previous posts that it gives a much more natural look than Lightroom does, and it is much better at extracting detail in my opinion. Since my posts on the subject, numerous readers have contacted me and suggested that I also give Photo Ninja a look too for it’s X-Trans rendering. The good folks over at Picture Code were kind enough to send me an evaluation license, and as mentioned, I had previously posted some initial thoughts. I've finally had the time to write a full review so here it goes...
Using photo ninja as a plug-in
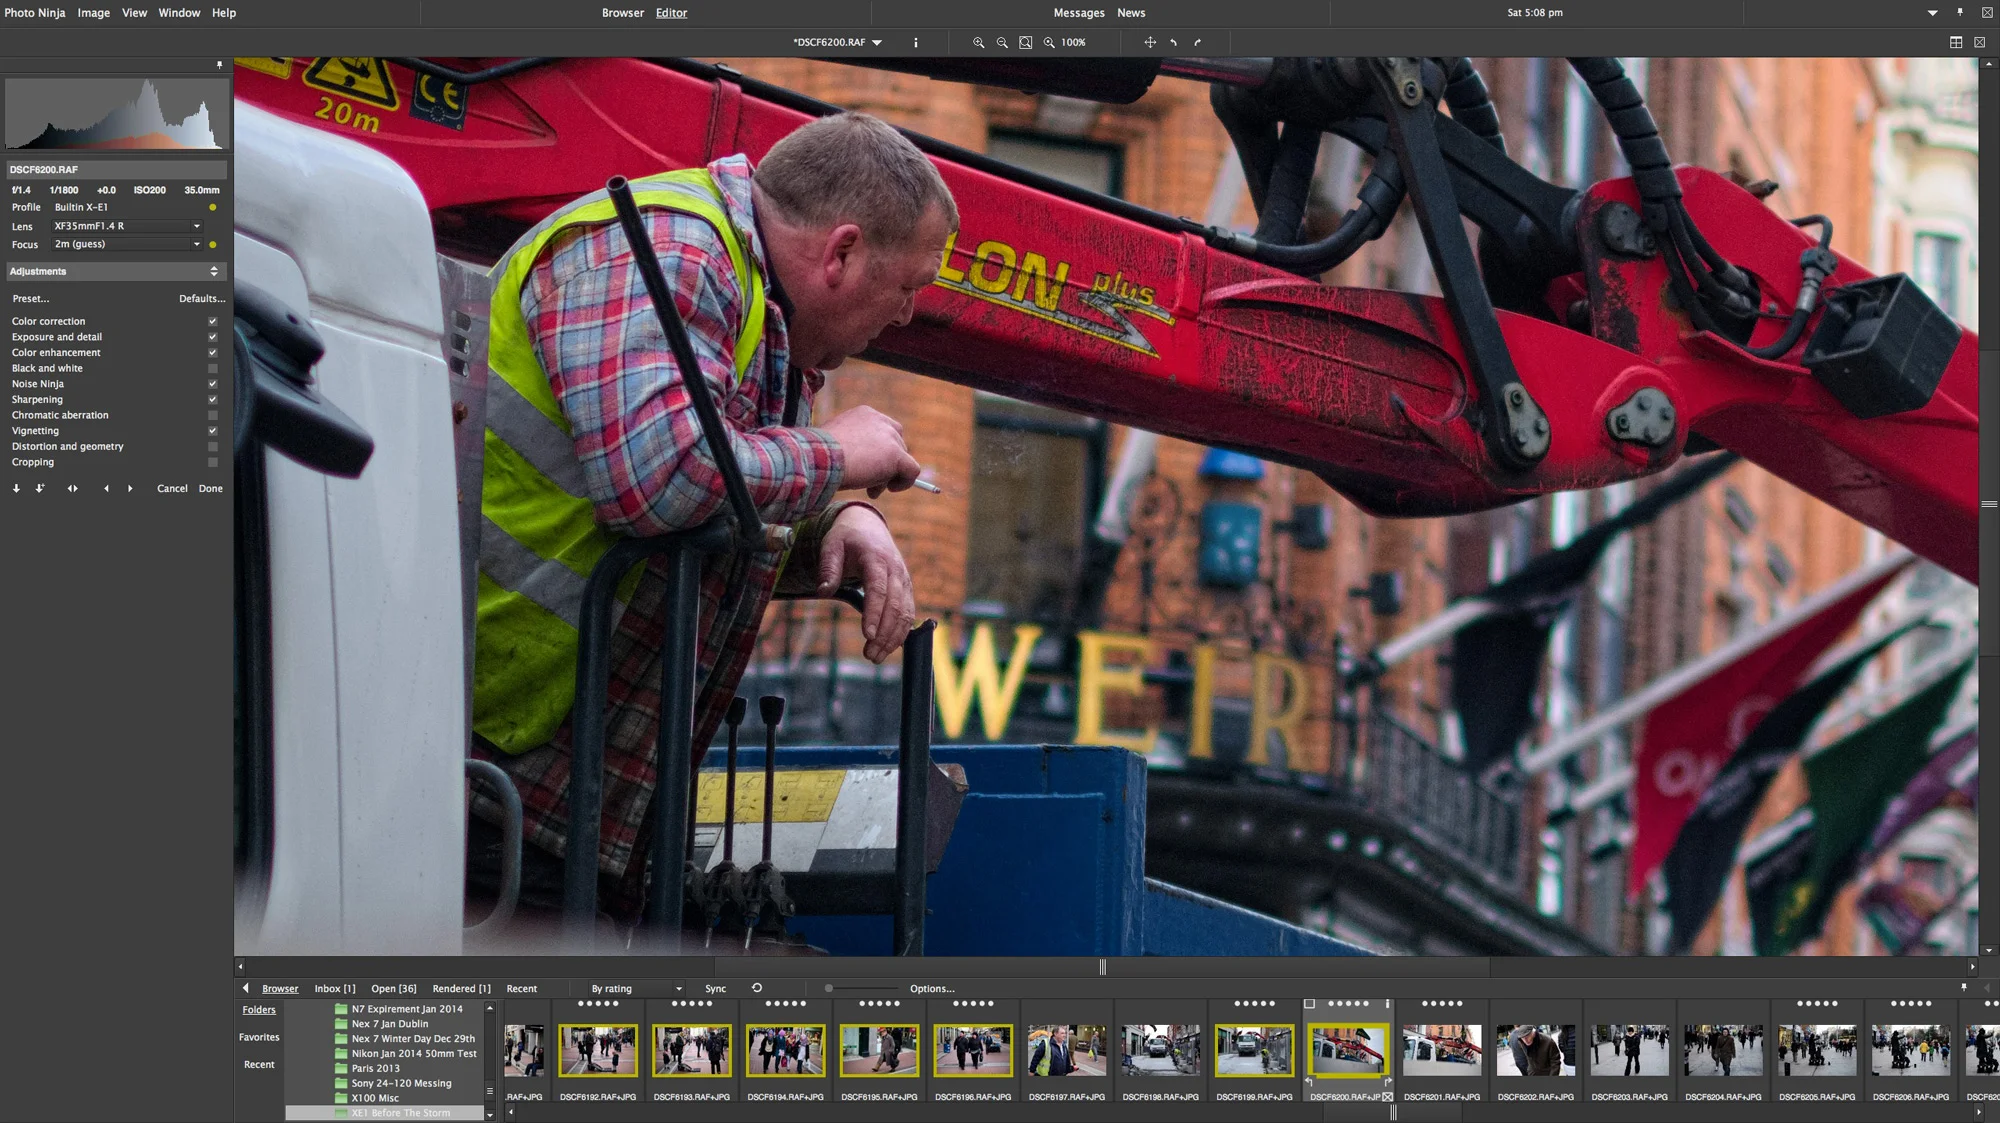
As mentioned in some of the previous articles in this series, I’ve been using these third party applications in conjunction with Lightroom. As they are more stand alone image processors (with the exception of Aperture) rather than fully fledged workflow applications, they still require an asset management programme. For me that has mostly been Lightroom, and I will often send images to the other software for processing, and then do some final tweaks in Lightroom. With Iridient Developer that requires some thinking outside the box for a smooth workflow, but the developers of Photo Ninja have come up with a really elegant solution.
You can use Photo Ninja as a plug in with Lightroom. Normally, when you set up an application as an external editor in Lightroom, it can only use Tiff or PSD files as the source. Photo Ninja that gets around that problem with a clever little trick. When you send an image from Lightroom to Photo Ninja Lightroom still exports a Tiff but there is a setting in Photo Ninja that tells the software to use a matching raw file instead if one exists. Then when you’re finished, it uses the tiff that Lightroom generated originally when you chose to edit the file in Photo Ninja, and writes out the rendered version back to that TIFF file. It’s deliciously simple and it works a treat. It’s pretty seamless, and it makes it great if you only need to use Photo Ninja for processing one or two images at a time.
Image Quality and Performance
The quality of the conversion can’t be faulted. Colours are rich and vibrant and detail is excellent (more on that in a minute). With X-Trans images it generally does a good job of rendering colours, and the initial rendering is generally more vibrant than the Lightroom equivalent. The default settings are also very similar to the jpeg files that the camera produces colour wise (with the Standard setting) but with perhaps a bit more contrast.
Photo Ninja Raw Version
The Original untouched Jpeg version in Aperture
The Original untouched Jpeg version in Aperture
In terms of controls the software gives you the usual fare for the most part with a few twists. The controls for adjusting exposure for example are a little unusual, using “Exposure Offset” and “Illumination” in conjunction with highlights, shadows and blacks. The adjustments for an image are broken down into sections of grouped controls and you must click apply when in a section to get back out of it and go back to the main set of groups. So for example, if I click on “Exposure and Detail” to open up the exposure and detail controls, I can’t do anything else in the application until I click Apply to close the controls and get back out to the main settings. This had me confused a few times when using the software at first, as I was trying to move to another image and nothing was happening. Initially I thought that it had crashed, but it was just waiting for me to apply. You get the hang of it after a while, although I’m still doing it.
One of the cool things that you can do is train each set of adjustments. You can set a combination of settings as the default for a particular camera at a particular ISO. This is especially handy for settings like noise reduction and sharpening, where you may want some defaults that change with the images ISO.
The one thing that seems noticeably lacking is a curves tool. There doesn’t seem to be any curves functionality at all in the application which is a shame. Another oddity of the interface is that you can only seem to get to the batch render option by right clicking on the thumbnails in the browser window. It doesn’t seem to be in any of the menus which is weird.
The software also has the ability to render out 32bit tiffs. I’m not really sure if there’s any real advantage to this, but Lightroom will read 32 bit tiffs. I had hoped this might preserve clipped highlight details in the way that a hdr file does, but it doesn’t seem to unfortunately. When you bring a file back into Lightroom, the entire image data is squeezed into visible range, so brightness levels are all over the place. I’m sure there is some use for this, but I’m jsut not sure what it is yet.
Detail
The most impressive thing I noticed about the way Photo Ninja processes files, was the level of detail you can extract from an image using this software. The ability to extract a high level of information from an X-Trans image is very impressive. I really can’t undersell this. Photo Ninja lets you extract every last ounce of detail from a shot. A very obviously named “detail” slider in the Exposure and Detail section does an incredible job, but you need to be careful as it comes with a price. The more you crank it up the more it exaggerates any noise in the image. I’ve also found that while it does allow you to bring out detail, the edges in the image aren’t as clean as they are from Iridient Developer, but more on that later. The other disadvantage to this detail control is that it’s quite easy to over-do it and if you’re not careful, you’re images will take on a fake, almost HDR like look.
Speaking of noise, the included Noise Ninja processing is also very impressive. Noise Ninja is Picture Code’s stand alone noise reduction technology, and for years it has been industry leading in it’s algorithms. Noise Ninja is fully integrated into Photo Ninja and the results are very impressive. However, I’ve found that it doesn’t clean up the edges and you still get slightly noisy edges, although you generally won’t see this when zoomed out
A Few Issues
One of the things that I noticed is that there is no built in lens correction on Fuji files. There is a lens correction tool in the software but it has to be done manually. You may be thinking that you’ve never needed to add lens correction in Lightroom or Aperture for Fuji files if you use either of those applications, and that’s because it’s added automatically at the raw decoding stage. Photo Ninja doesn’t seem to do this. In the example below, you can see the difference between Photo Ninja and Lightroom. Note that I haven’t added any lens correction in Lightroom, it’s done as part of the raw decoding process.
The Photo Ninja Version, Notice the bowing in the Window
Lightroom Screenshot. No extra Lens Correction Added
For me, the biggest issue with Photo Ninja, is that it does weird things with highlights. Unlike other the other software that I’ve been testing in this series, it does not do a good job with areas that are slightly or significantly over exposed. I’m not sure if this is just with X-Trans files, or with all raw files. The colours on recovered highlights are weird and luminous and there is a degree of banding around the threshold between the two. Even areas which don’t show up as overexposed in Lightroom can appear clipped in this for some reason.I’ve noticed this phenomenon once before in another application and that is the Raw Converter based on Silky Pix that comes with Fuji’s Cameras. That suffers from the same problem, which makes me suspect it’s limited to the Photo Ninja’s decoding of X-Trans files. Here’s an example of a file rendered in Photo Ninja and the same file rendered in Lightroom.
Notice the highlights on the Basket
Same file in Lightroom, note that the highlights are much more natural looking
Here's another example:
Here's the Photo Ninja Version, Notice the Leprechaun's Nose
Here it is in Lightroom
This is a shame really, as it’s one of the few major issues that I have with the software. It doesn’t happen with every image, but when it does, there’s not much you can do about it. I’ve tried everything from reducing the exposure to tweaking just about every slider, all to no avail. I’m sure some aggravated know it all will say that you should get your shots right in the first place, but there are many times that you may need to shoot in a high contrast situation, and the information is there because you can recover it in other software. Incidentally, the shot above is not over exposed, and Lightroom handles the highlights perfectly fine. Again, you wont encounter this issue on every, or even many shots, but when you do, there is no work around. For me personally, this is a deal breaker.
[UPDATE] A reader has pointed out to me that the supported camera notes for Photo Ninja state:
Note: Highlight recovery is not yet implemented for X-Trans models.
So hopefully that will be fixed in a future release
A matter of taste
While Photo Ninja is an admirable and impressive piece of software, and does a fantastic job of extracting detail from X-trans images, whether you like the final result or not depends on your own personal tastes. While I have to say that I’ve really been impressed by some oft he results that I’ve been getting, I still prefer the look of files from Iridient Developer. There’s just something more natural looking about the images that the latter produces. I think Photo Ninja’s files, while technically very good, and sharp, have a certain harsh quality to them that I personally don’t like, but this is really just a matter of personal taste. It’s not a pixel peeping thing either before someone goes there. You can see it even in images zoomed out at screen resolution, but again, this is just my personal preference. I know some people will actually prefer this kind of rendering. Perhaps this is just because I am more used to the other files, but again, it comes down to taste Incidentally, If you are checking your images at 1:1 (You’ve just committed a serious crime against the gods of true photography, apparently) you may notice that edges can have a very slight zipper like pattern to them which is a bit weird. You probably won’t see this in any practical situation but it’s an odd artifact of the demosaicing process that isn’t in other software.
For X-Trans processing, personally I still have to give the edge to Iridient Developer for a number of reasons.
- I prefer the tonality of images
- I think it’s demosaicing and sharpening are more natural. They may not produce as much detail, but the results are more organic looking to my eye.
- I prefer the more mac like interface. I don’t like the having to go in and out of sub-sections of the development controls and having to apply each time.
- Iridient Developer includes Fuji’s in-raw lens correction.
- Iridient Developer has a curves tool.
- Iridient Developer’s highlight recovery is much more natural and works a lot better on X-Trans files
Photo Ninja does have some advantages over Iridient Developer though:
- The Detail Slider can add an incredible amount of detail, albeit at the expense of adding some noise
- The Ability to work as a plug in makes it great for just processing an image now and again when you need to
- The ability to render 32bit floating point Tiffs may be of some advantage (needs more investigation)
- The Noise Ninja noise reduction is really impressive.
Conclusion
If it sounds like I’m being overly negative towards Photo Ninja, I don’t mean to be. Technically, apart form the highlights Issue, there’s nothing wrong with it as such. It has some really nice and powerful features, and the way you can use it as a plug-in is great. Personally, I just prefer the rendering from Iridient Developer, and that is a personal choice rather than anything fundamentally wrong with the software.
Photo Ninja is available directly from Picture Code and they have a trial version available so if you want to try it yourself and see how it works for you.
I'm still working on an improved workflow for getting better results for X-Trans files when just using Lightroom, and by using Lightroom in conjunction with Photoshop. I also have some improved versions of my sharpening presets for Lightroom, and I'll have them up soon, so stay tuned.
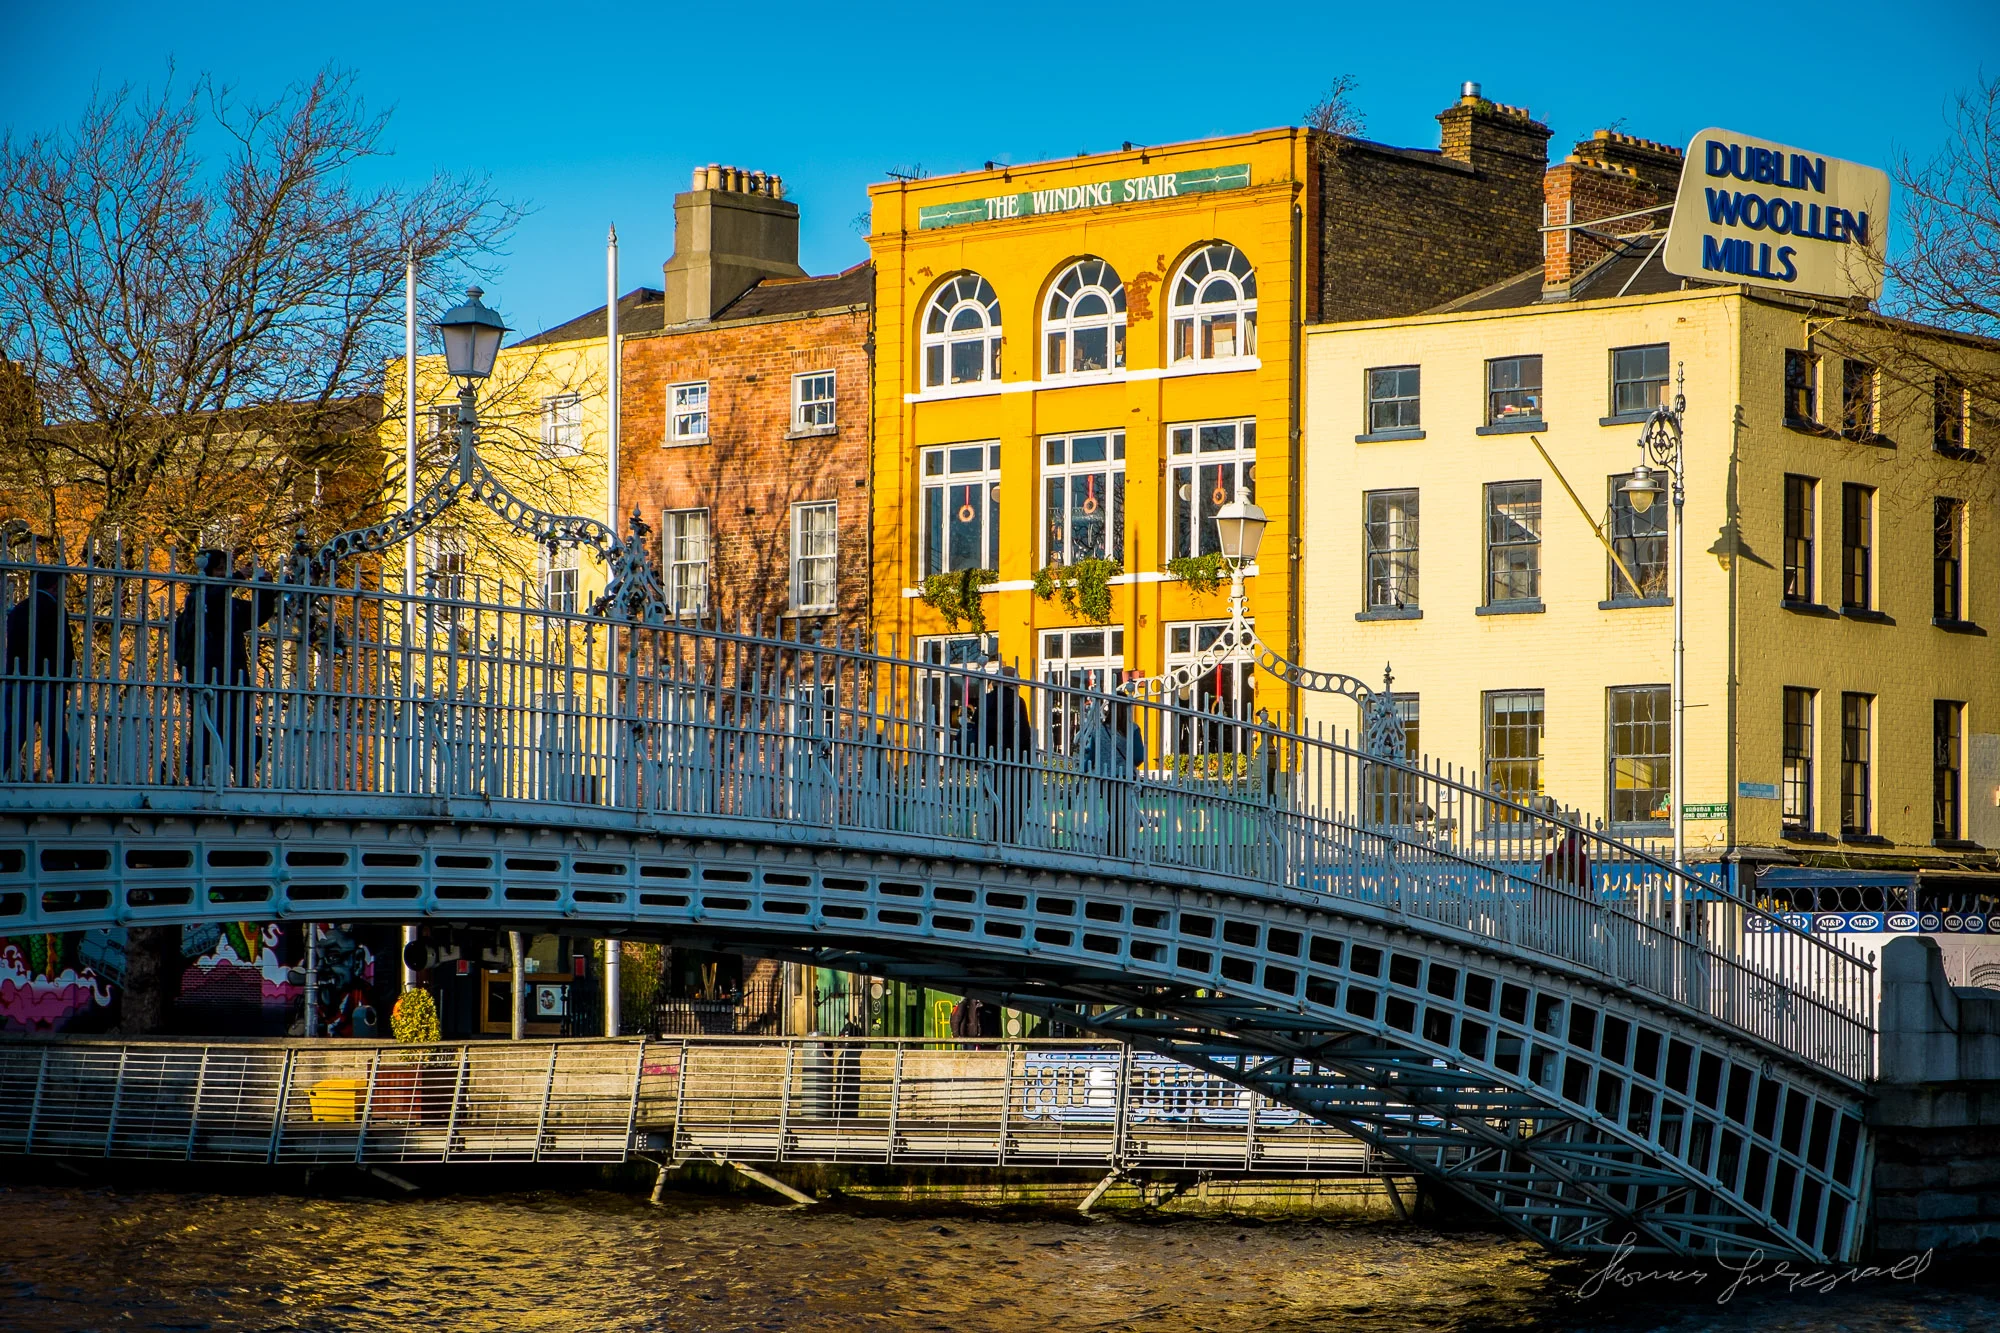
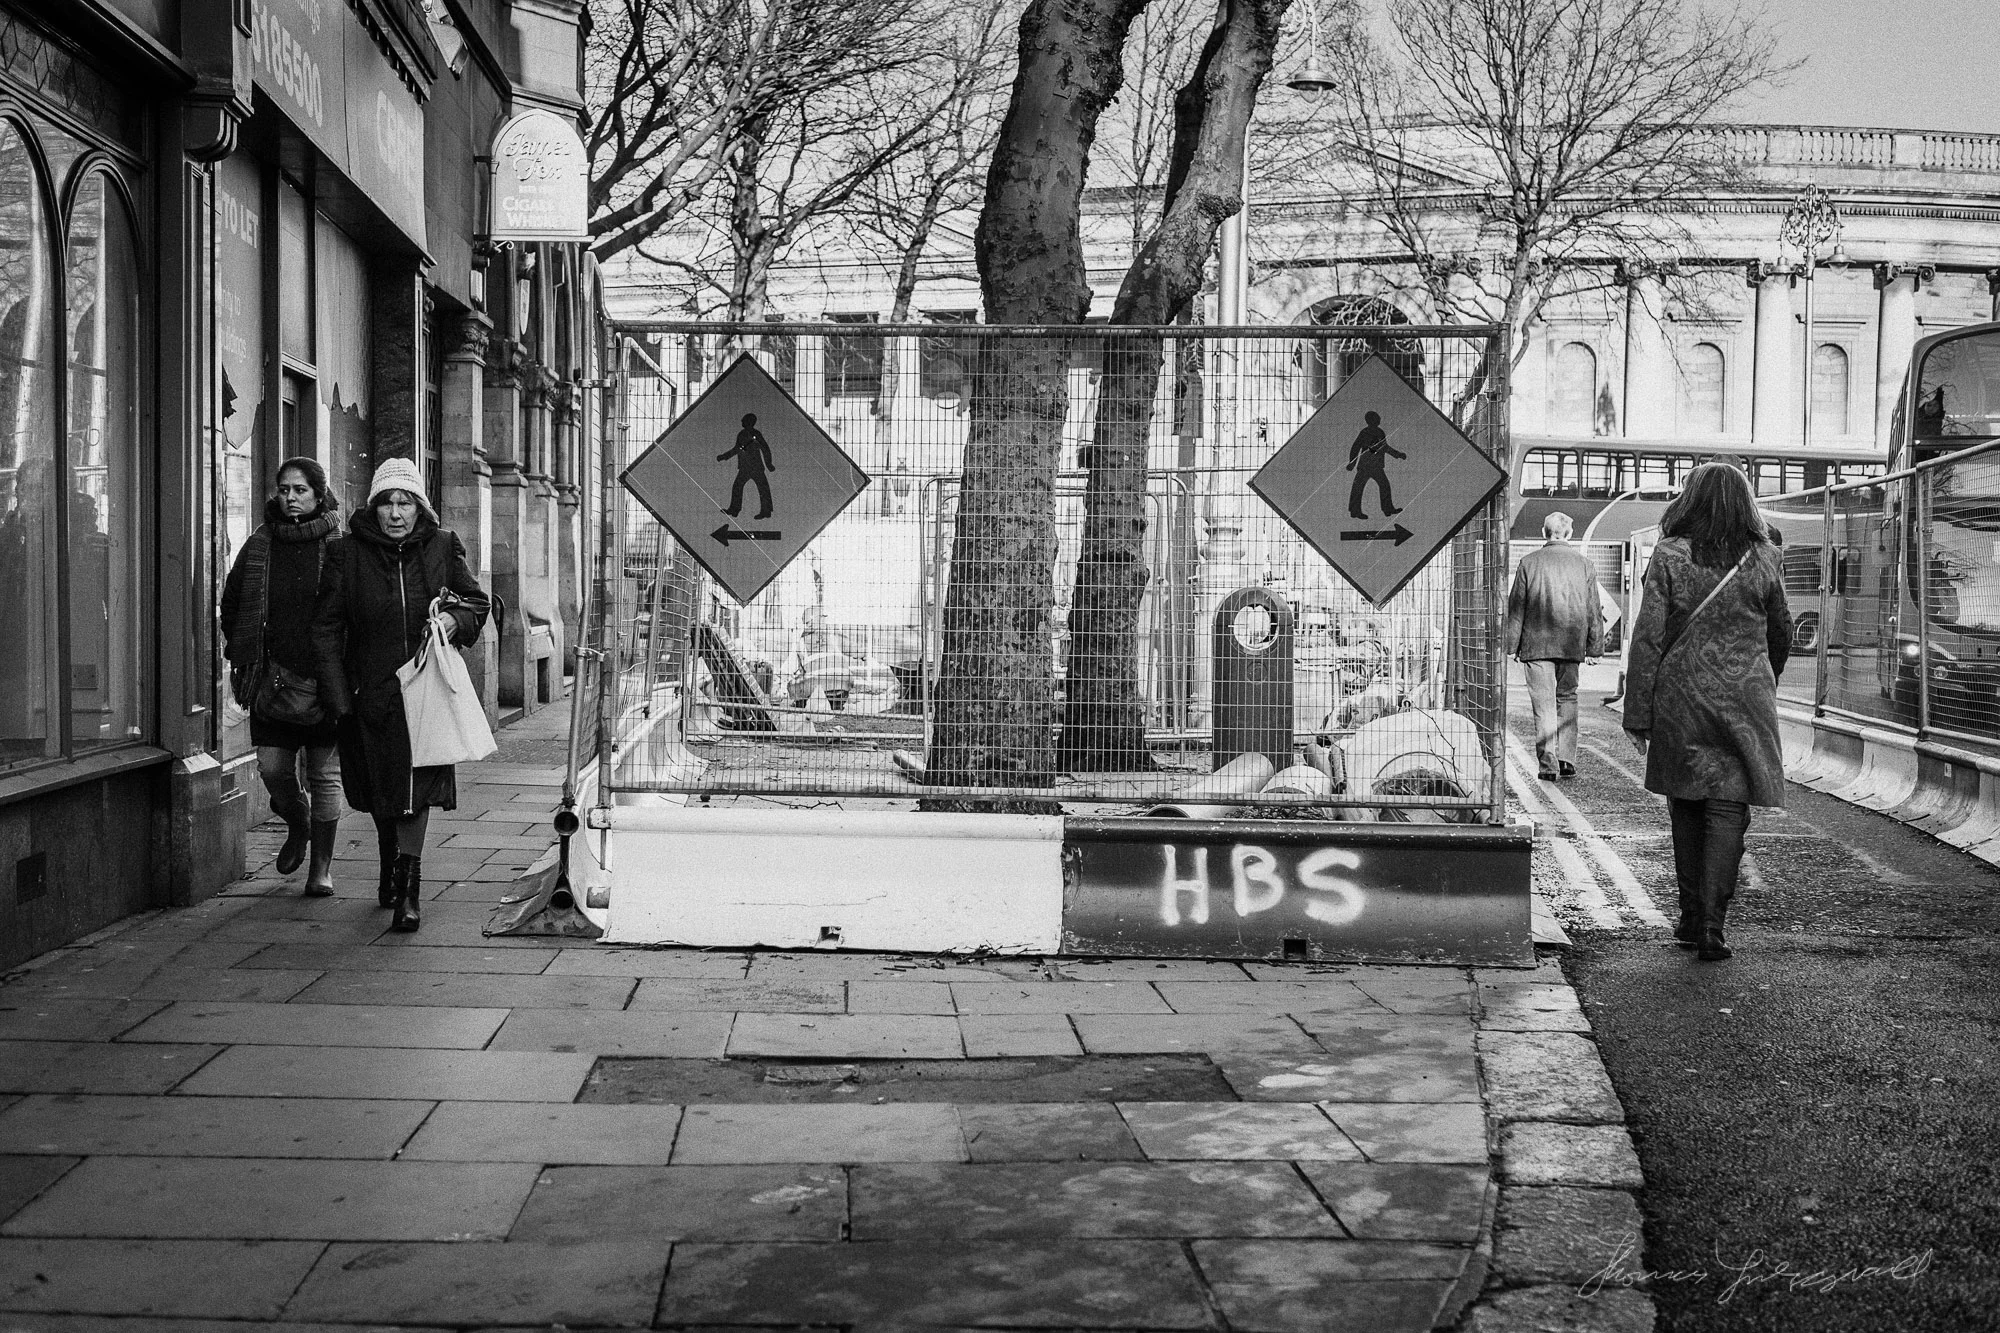
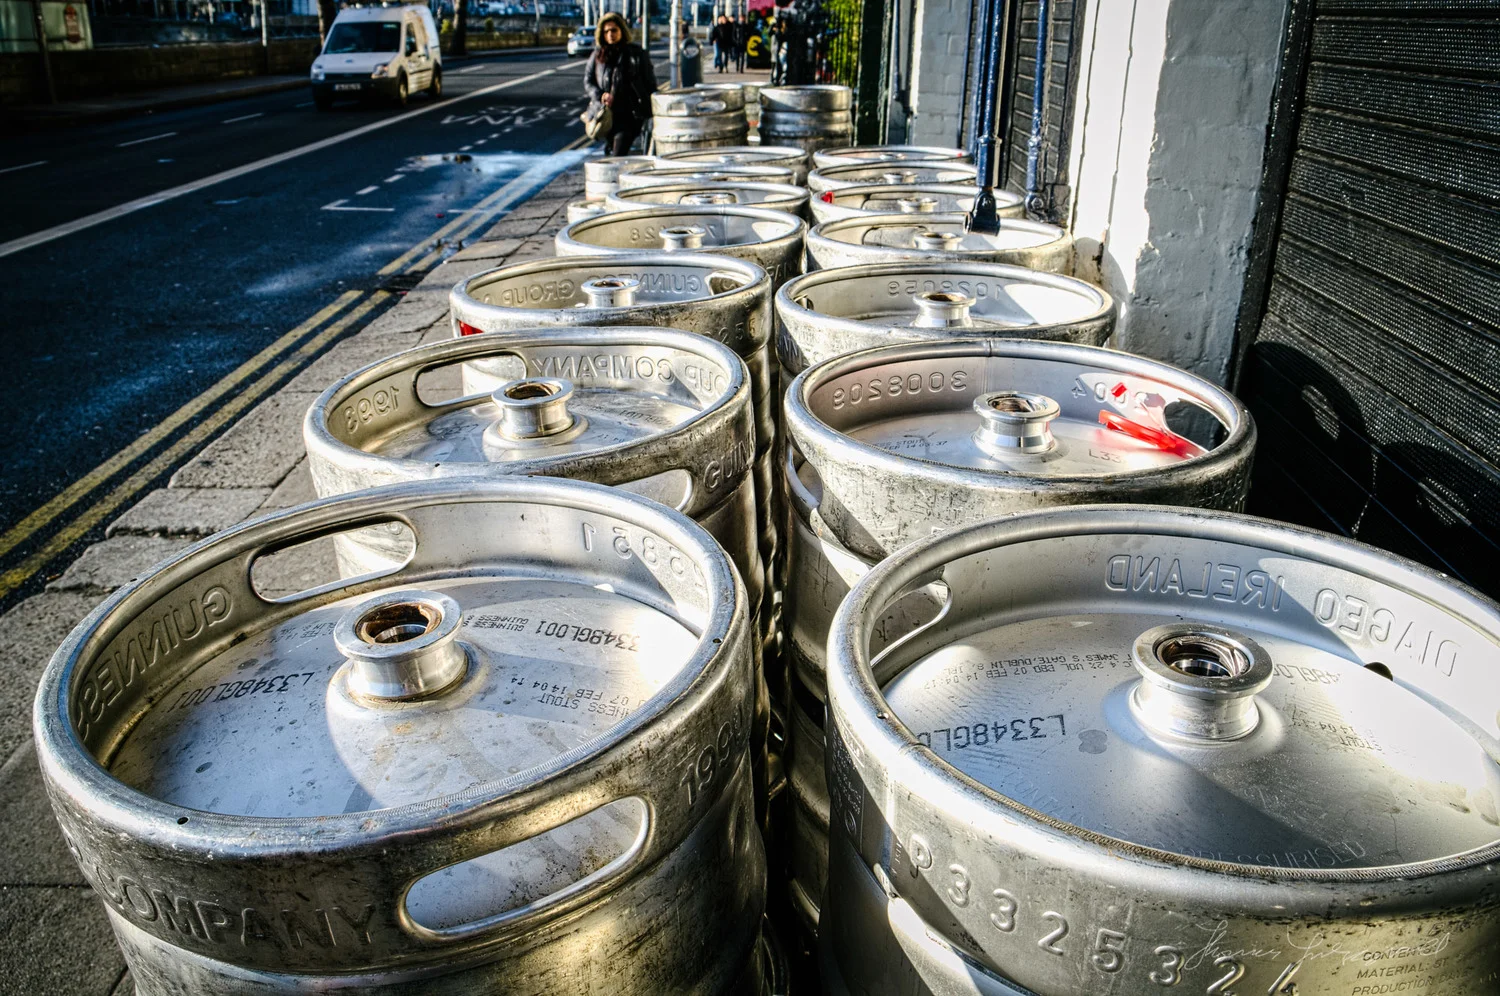
In the mean time, here’s a random selection of images rendered out from Photo Ninja. I’ve taken most of these from my recent Brussels trip. You can see the versions processed with Iridient Developer here. On the original versions of these I had done some additional processing in Lightroom to add some looks with VSCO Film, but for the Photo Ninja ones (below) I’ve kept them “pure” so you will have a good idea of what comes from the software. Just be aware that there will be some differences in colours because of this. Also, you can see the effect of the lack of lens correction in some images.
Please Help Support the Blog
I am a fine art Photographer and do not shoot commercial projects. I do my best to keep this site regularly updated with lots of tips, reviews, news and photography advice, all for free. If you like what you read here and want more, then sign up for our newsletter to get regular site updates and occasional special offers. You can also follow my photographic exploits on Facebook and Twitter
If you're a Lightroom user check out my original Lightroom Presets


