

Photo Editing, Tutorials, Photography News, and More
This blog covers a range of topics from Lightroom, Photoshop, Capture One, Fujifilm, Canon, Nikon, iPhone Photography, and more. If you want to see more of my actual photography work, visit my Portfolio and Photo Journal blog.
Featured Posts


Quick tip: See Previous Metadata Entries in Lightroom
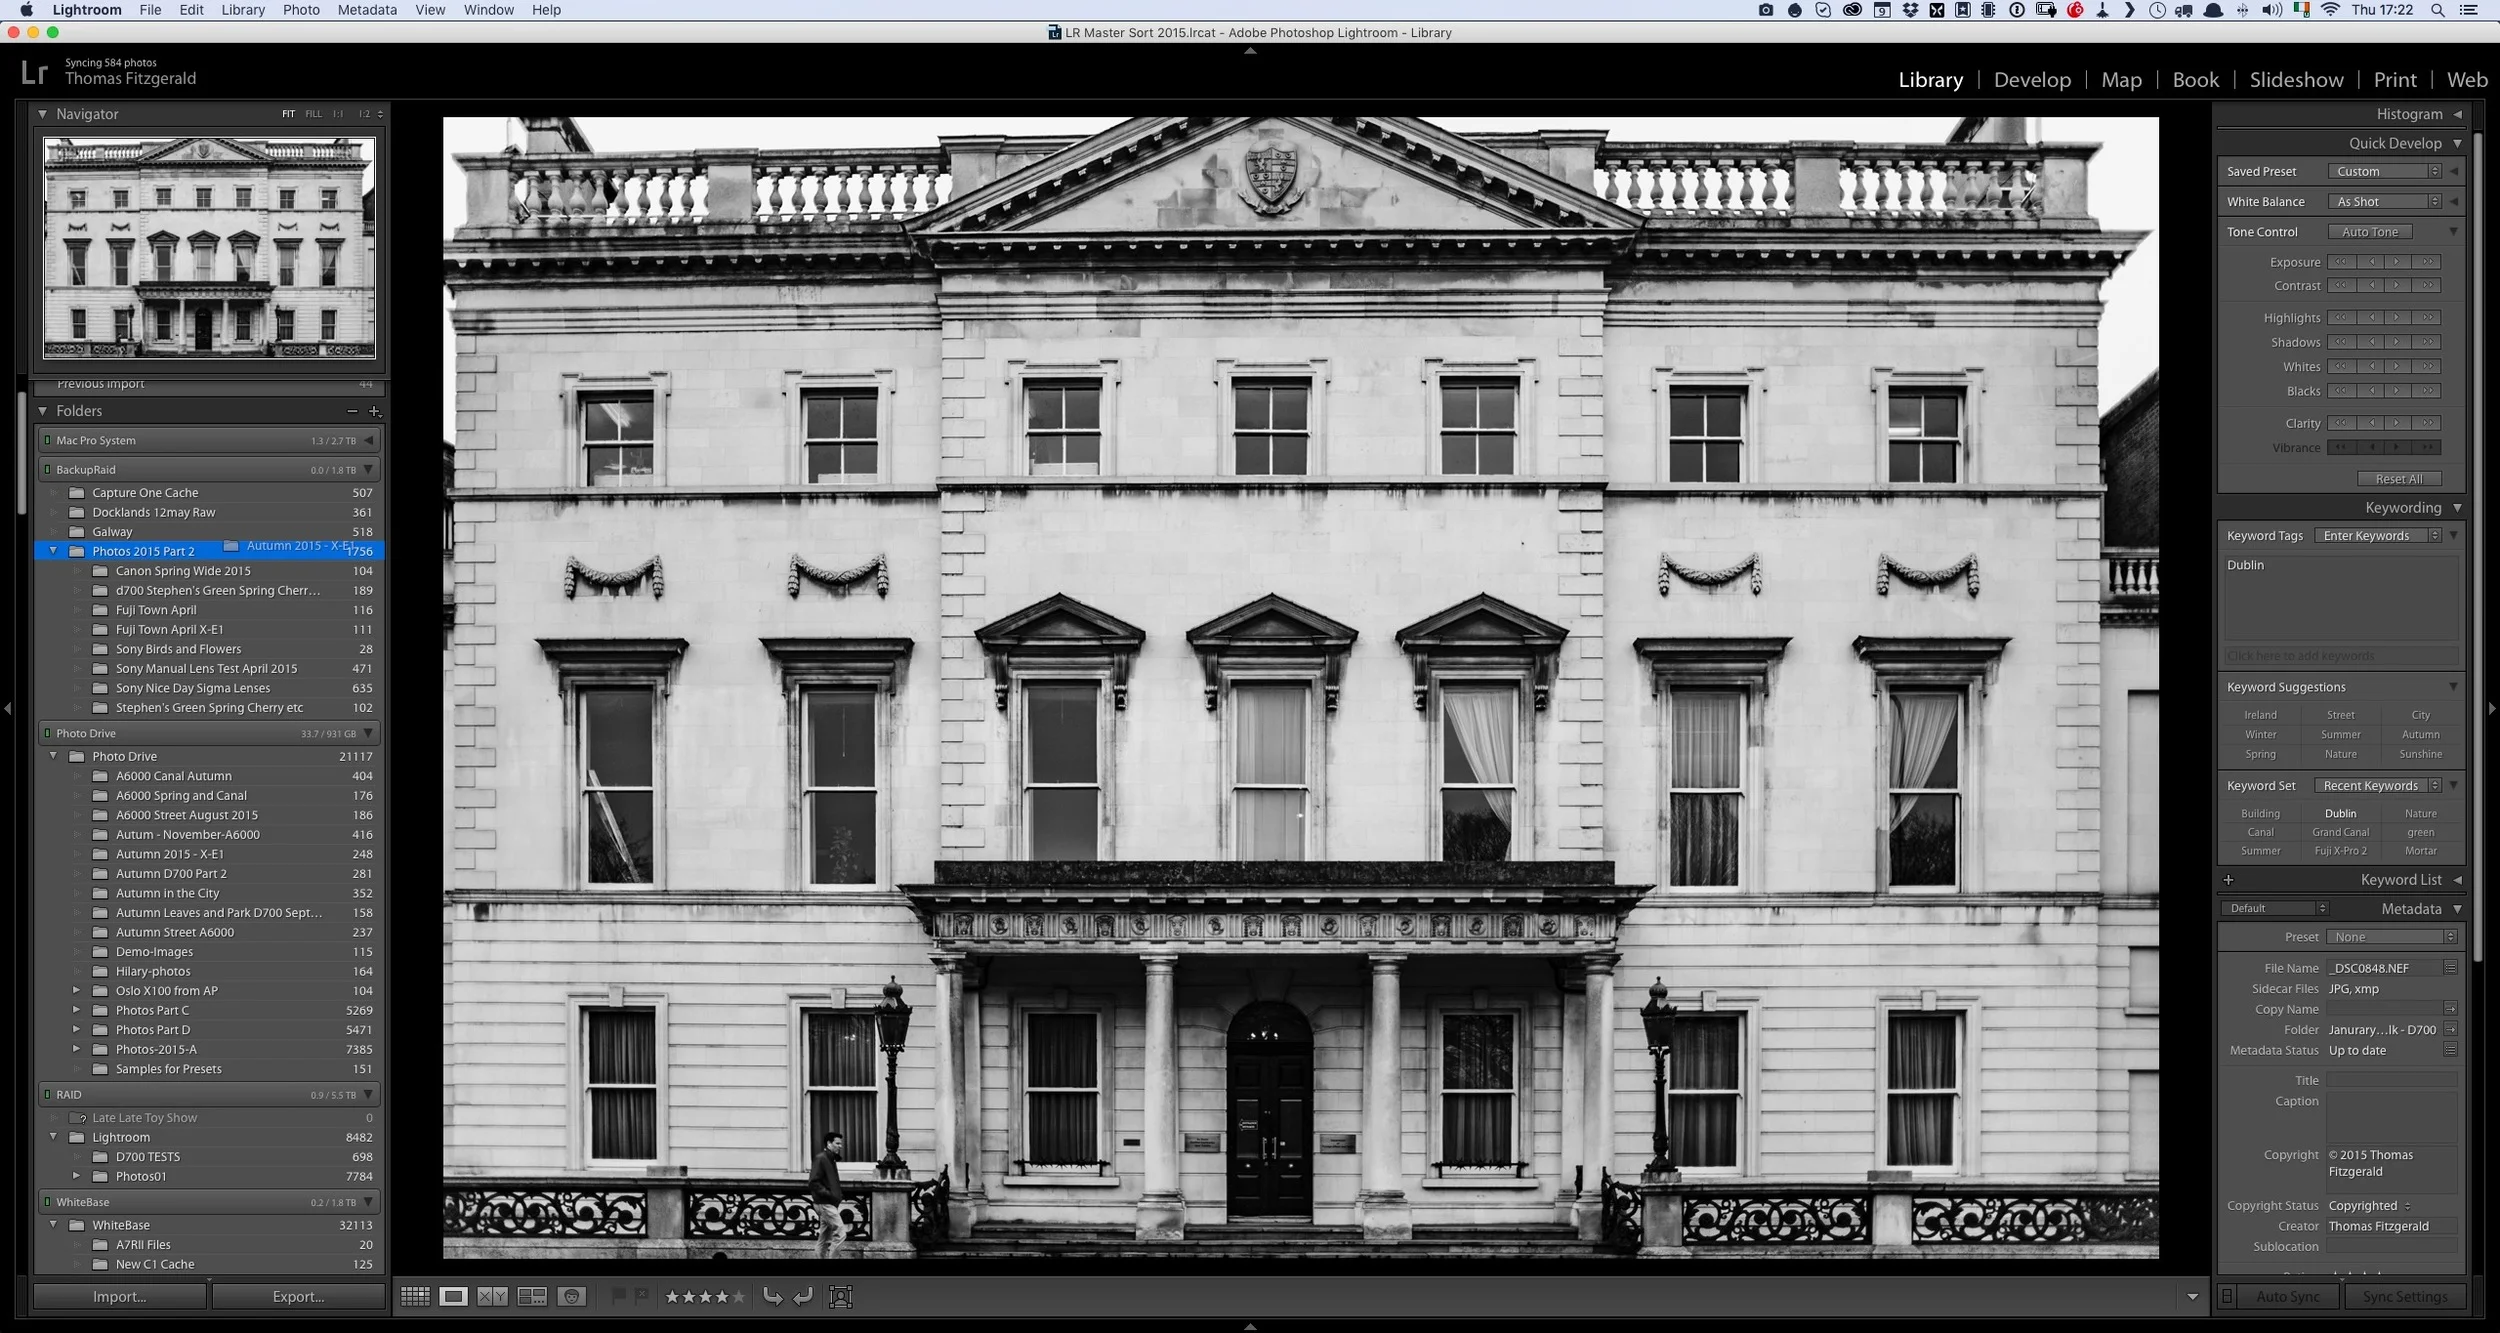
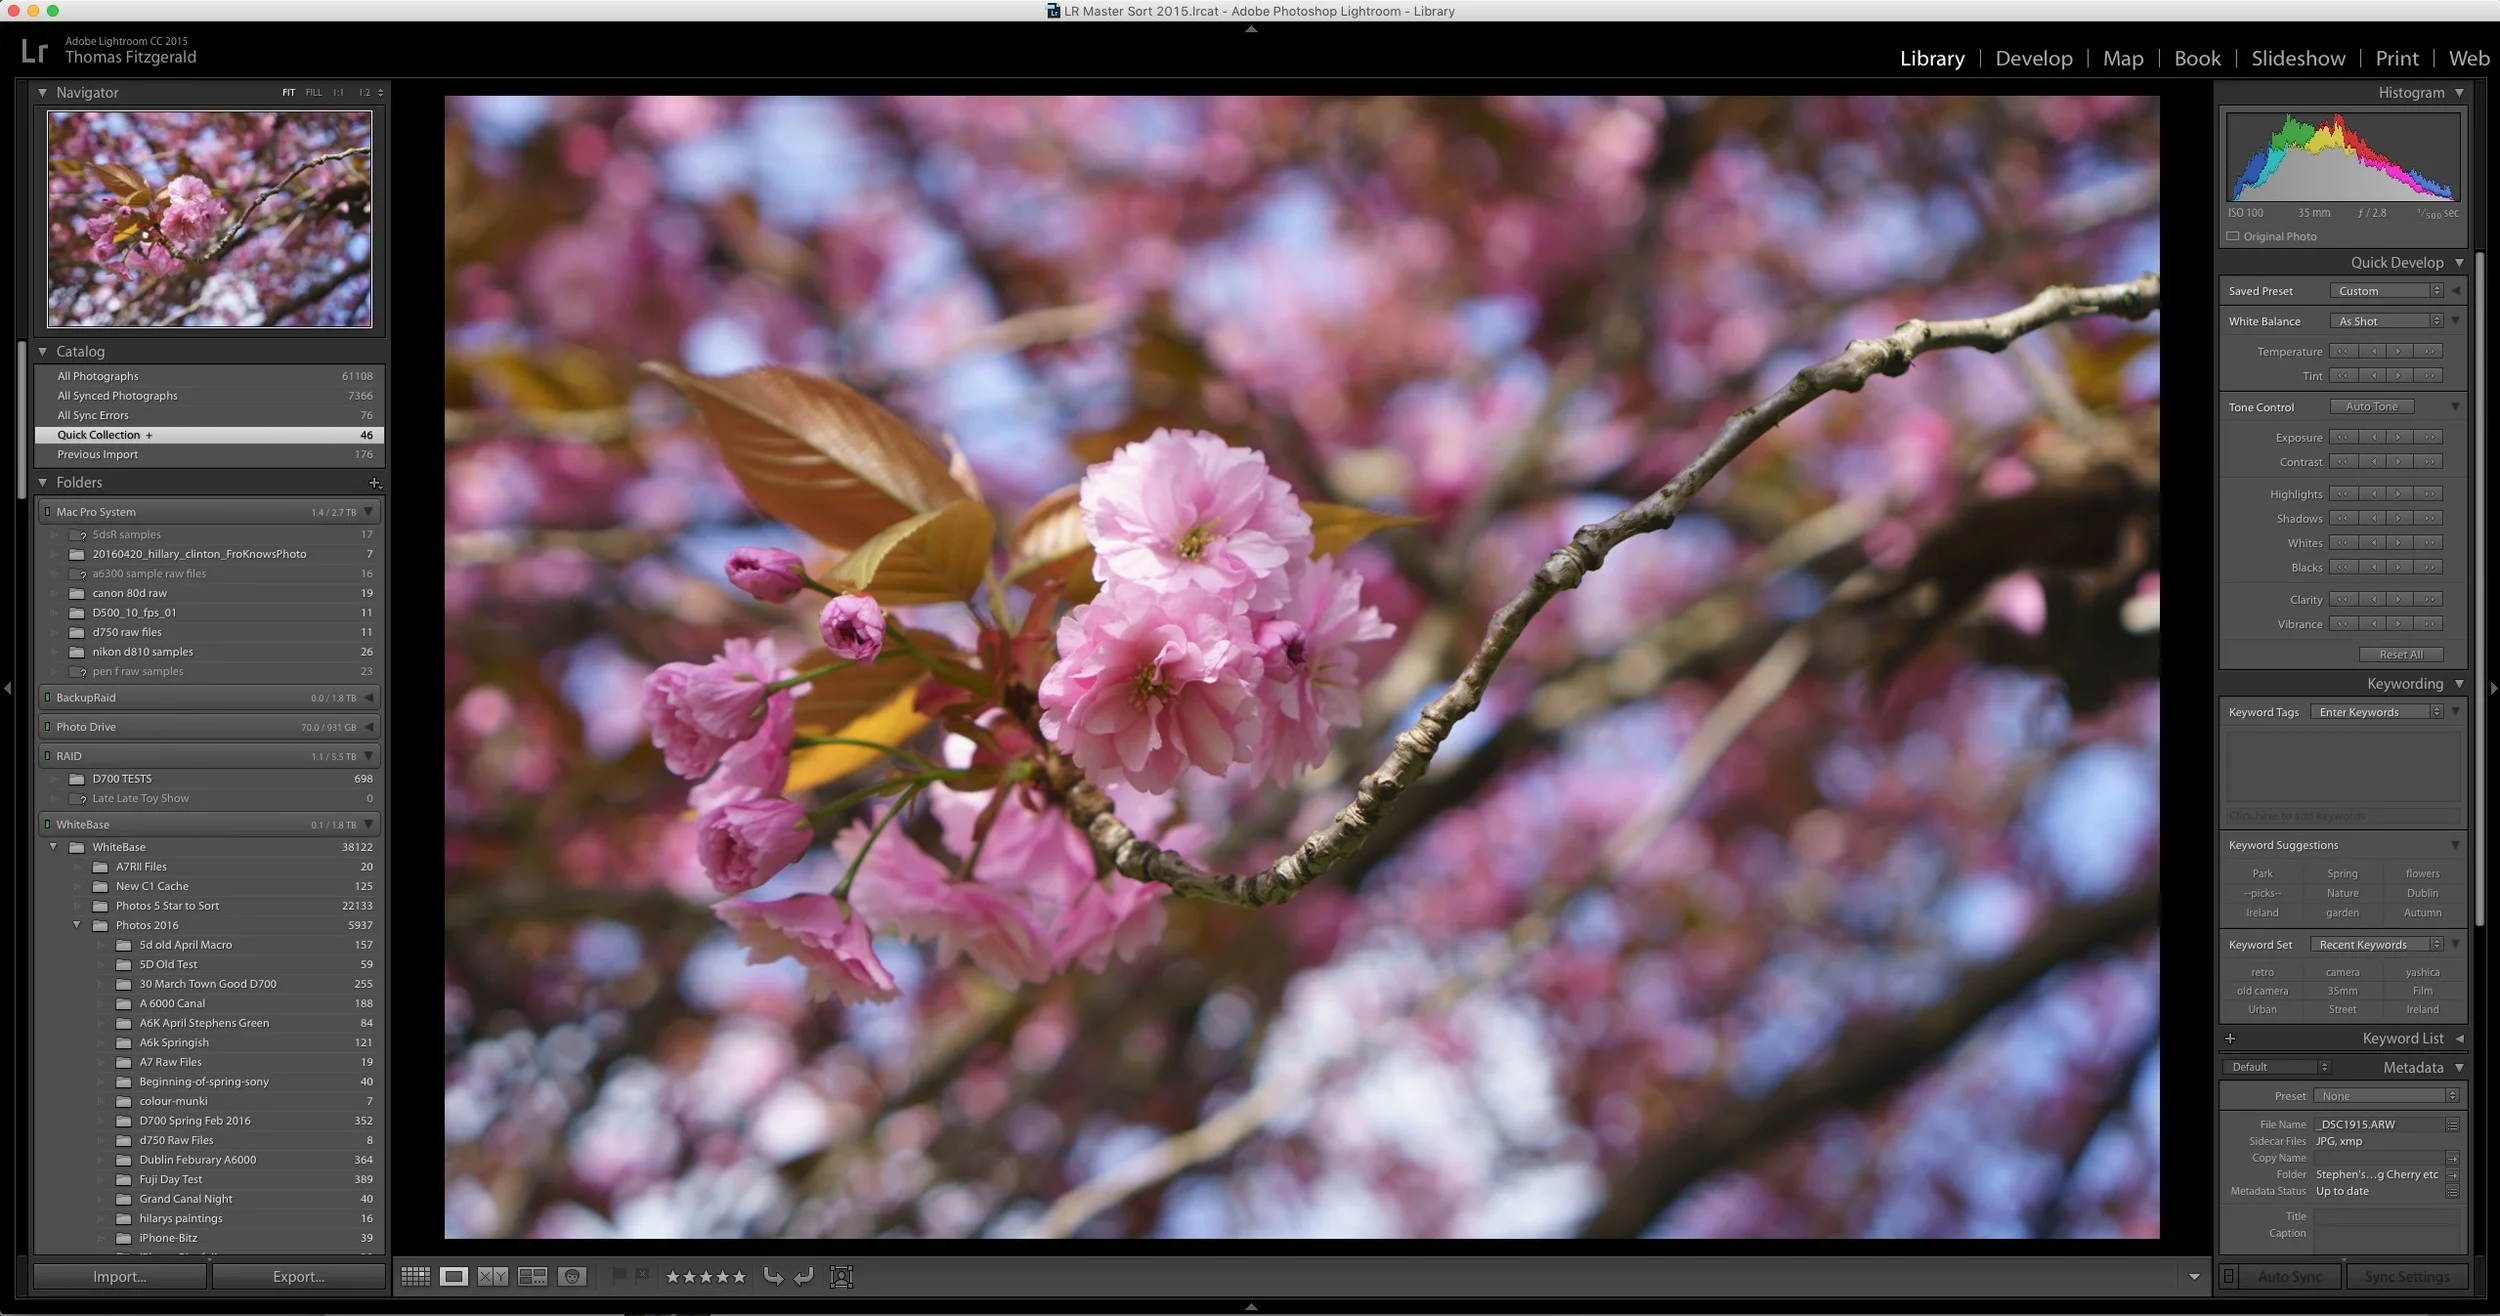
There are a lot of hidden and not so obvious features littered throughout Lightroom. I've previously expressed my dislike of the interface for dealing with metadata in the software, but it does have a few tricks up its sleeve. For example, if you start typing in any of the fields, it will auto fill in the entries based on previous results.
The Proper Way to Move Photos in Lightroom
If you're a Lightroom user and you have a lot of images, the chances are that there will come a time when you need to move some of your photos. Whether it's to another location on the same drive, to an entirely different drive, there is a right way and a wrong way to go about moving your files.

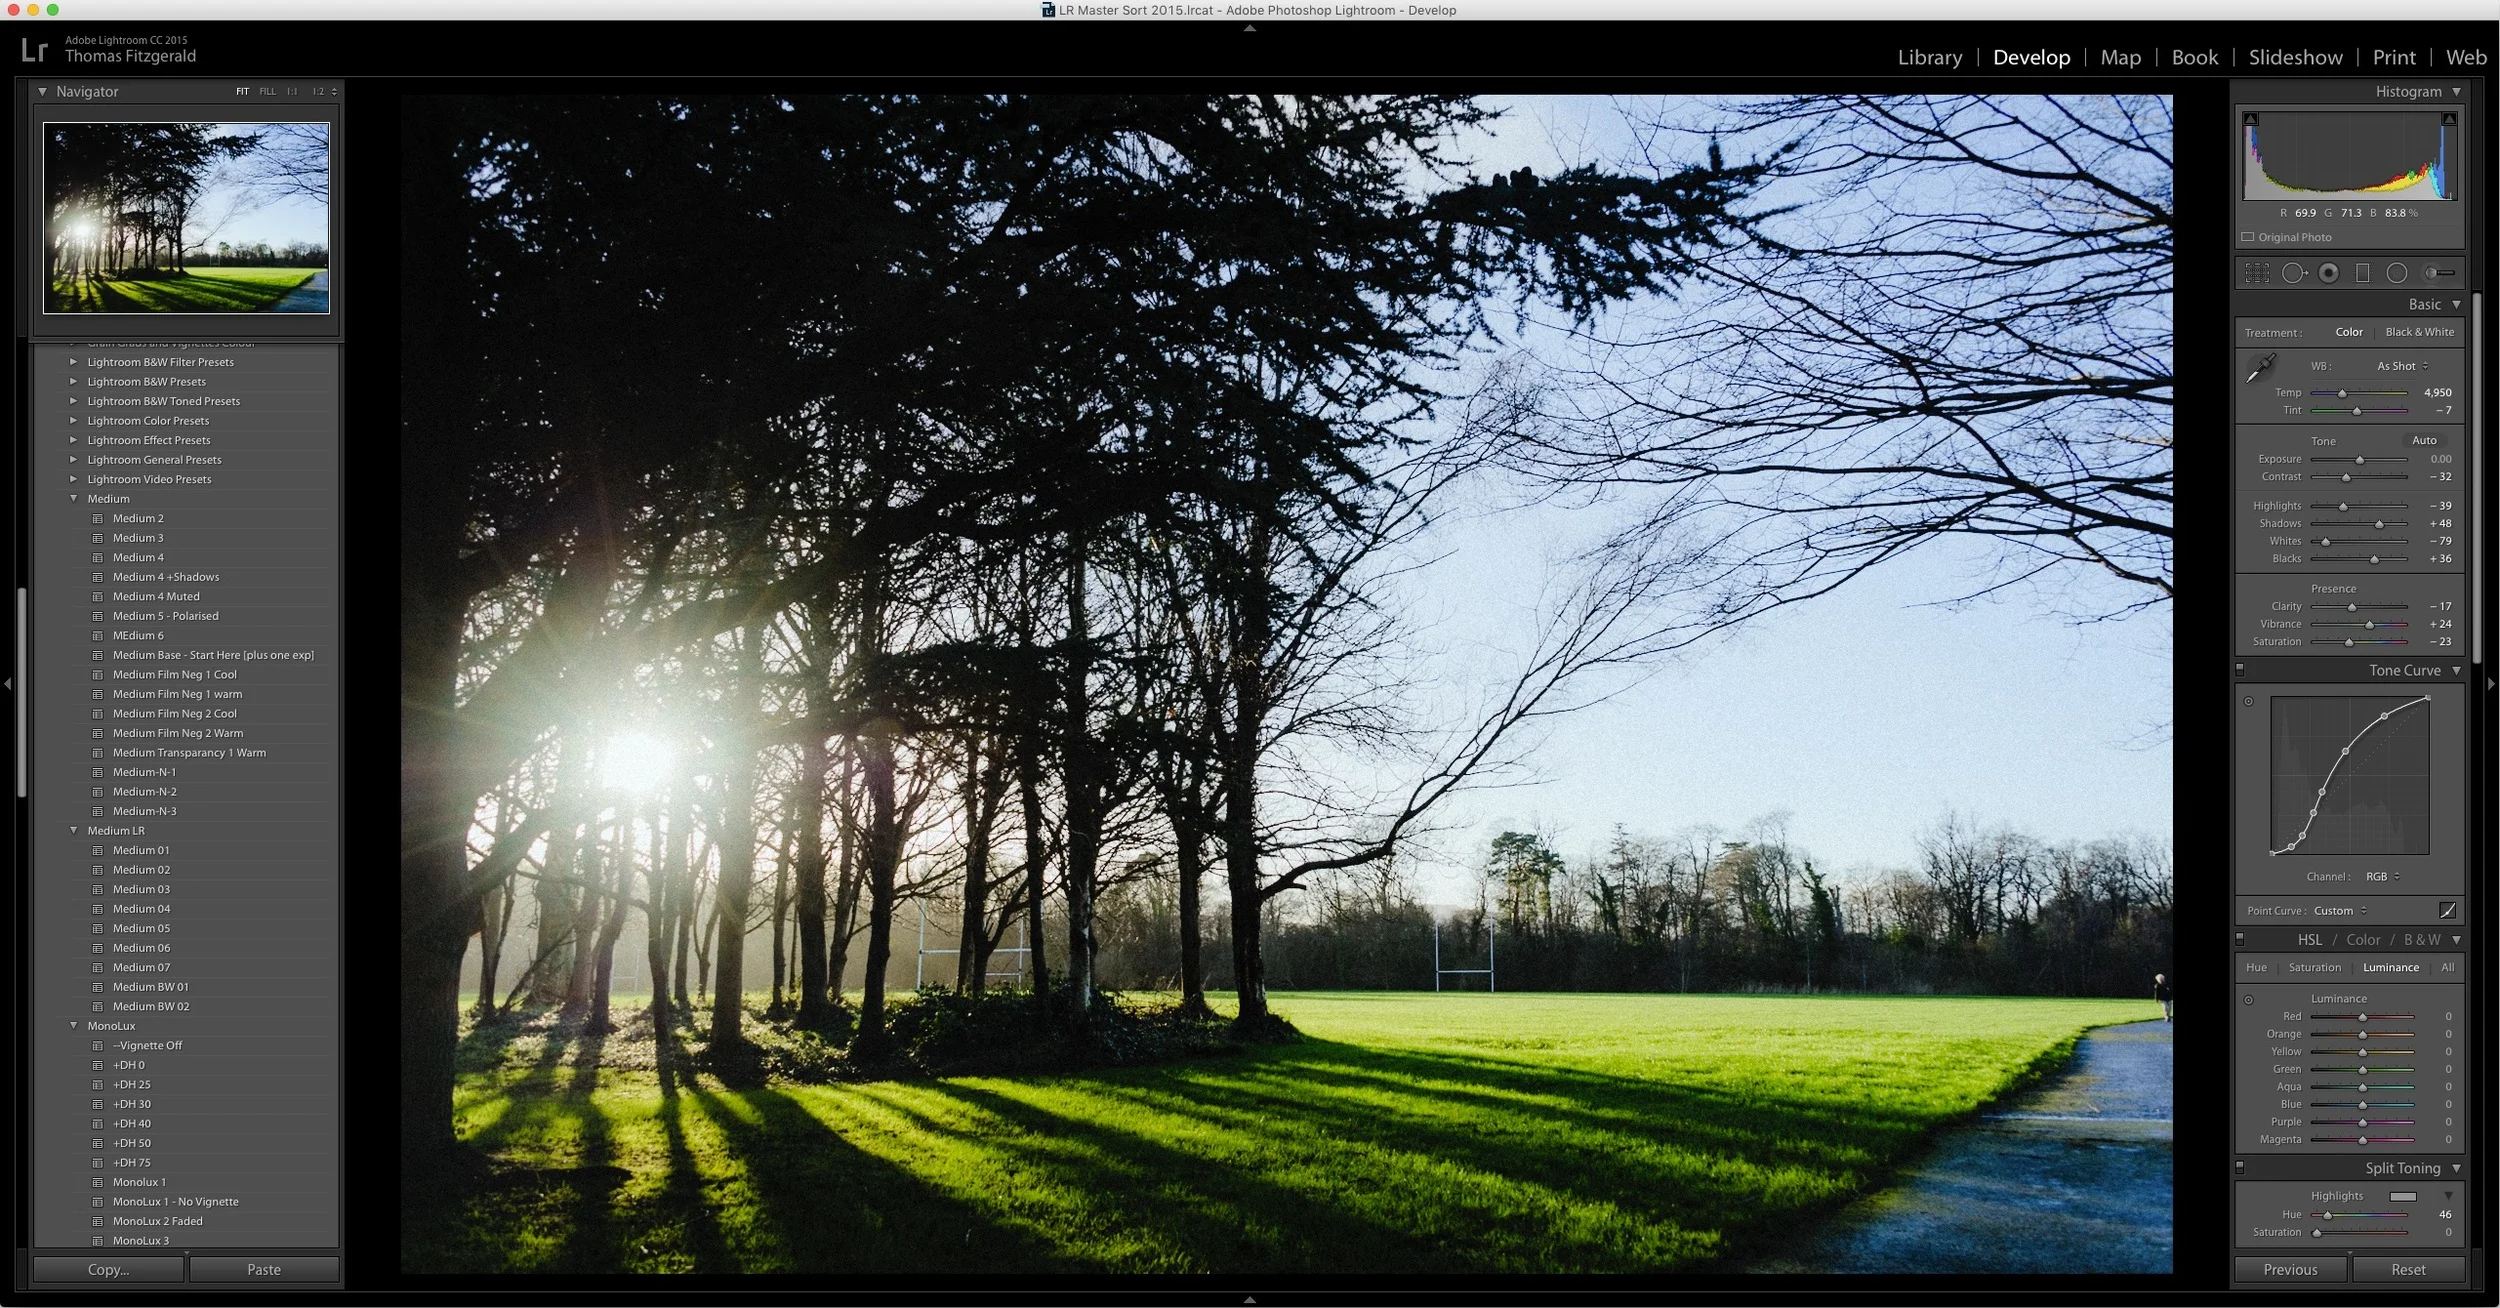
Lightroom's Guided Upright - Video
The headline feature in the latest version of Lightroom CC is the new guided upright feature. This new tool lets you set guidelines when using the "Upright" automatic correction feature. Rather than spend a long time talking about it, I made a quick video to show you the feature in action.

Lightroom CC 2015.6 and Lightroom 6.6 Released
Adobe has released another set of updates to Lightroom. Both feature performance and bug fixes and the CC version has some new features. It's actually a little confusing as to which feature is in which version, but anyway. The big news is the new "Guided Upright" feature, and the re-design of the Lens correction panel into two separate panels.

Sync Your Lightroom Presets to Multiple Macs using ChronoSync and DropBox
One of the things that I often find frustrating when working in Lightroom on both a laptop and a desktop, is keeping my presets in sync. I often have presets on my desktop, which I will use quite often, and then when I switch to my Laptop and I try to find them, I realise I don't have them. I've been thinking for a while about ways to help alleviate this problems, and I've come up with a solution. This won't be for everyone and I'm sure there are lots of other ways to do this, but it should you an idea of at least one way to go about keeping your presets in sync.
Caption and Title your Images using Lightroom on the Web
One of the things that I really don't like about Lightroom is the interface for captioning and titling your images. I don't like the metadata ui in general, but in particular, in my opinion, the captioning interface is a pain to use. The entry fields are small, and the text is small, and the section is stuck down in the bottom right hand corner of the screen. It's difficult to read and it's cramped. While there is a "Large caption" option, it still suffers from some of the same problems. I've always wished there was a better way to enter captions and titles. Well, it turns out there is. Sort of.
Lightroom Updated to CC 2015.5.1 and 6.5.1.
Adobe has issued a series of updates to Lightroom and camera raw. The updates are mainly bug fixes, as well as adding support two new cameras. It's available now from the Adobe update panel.
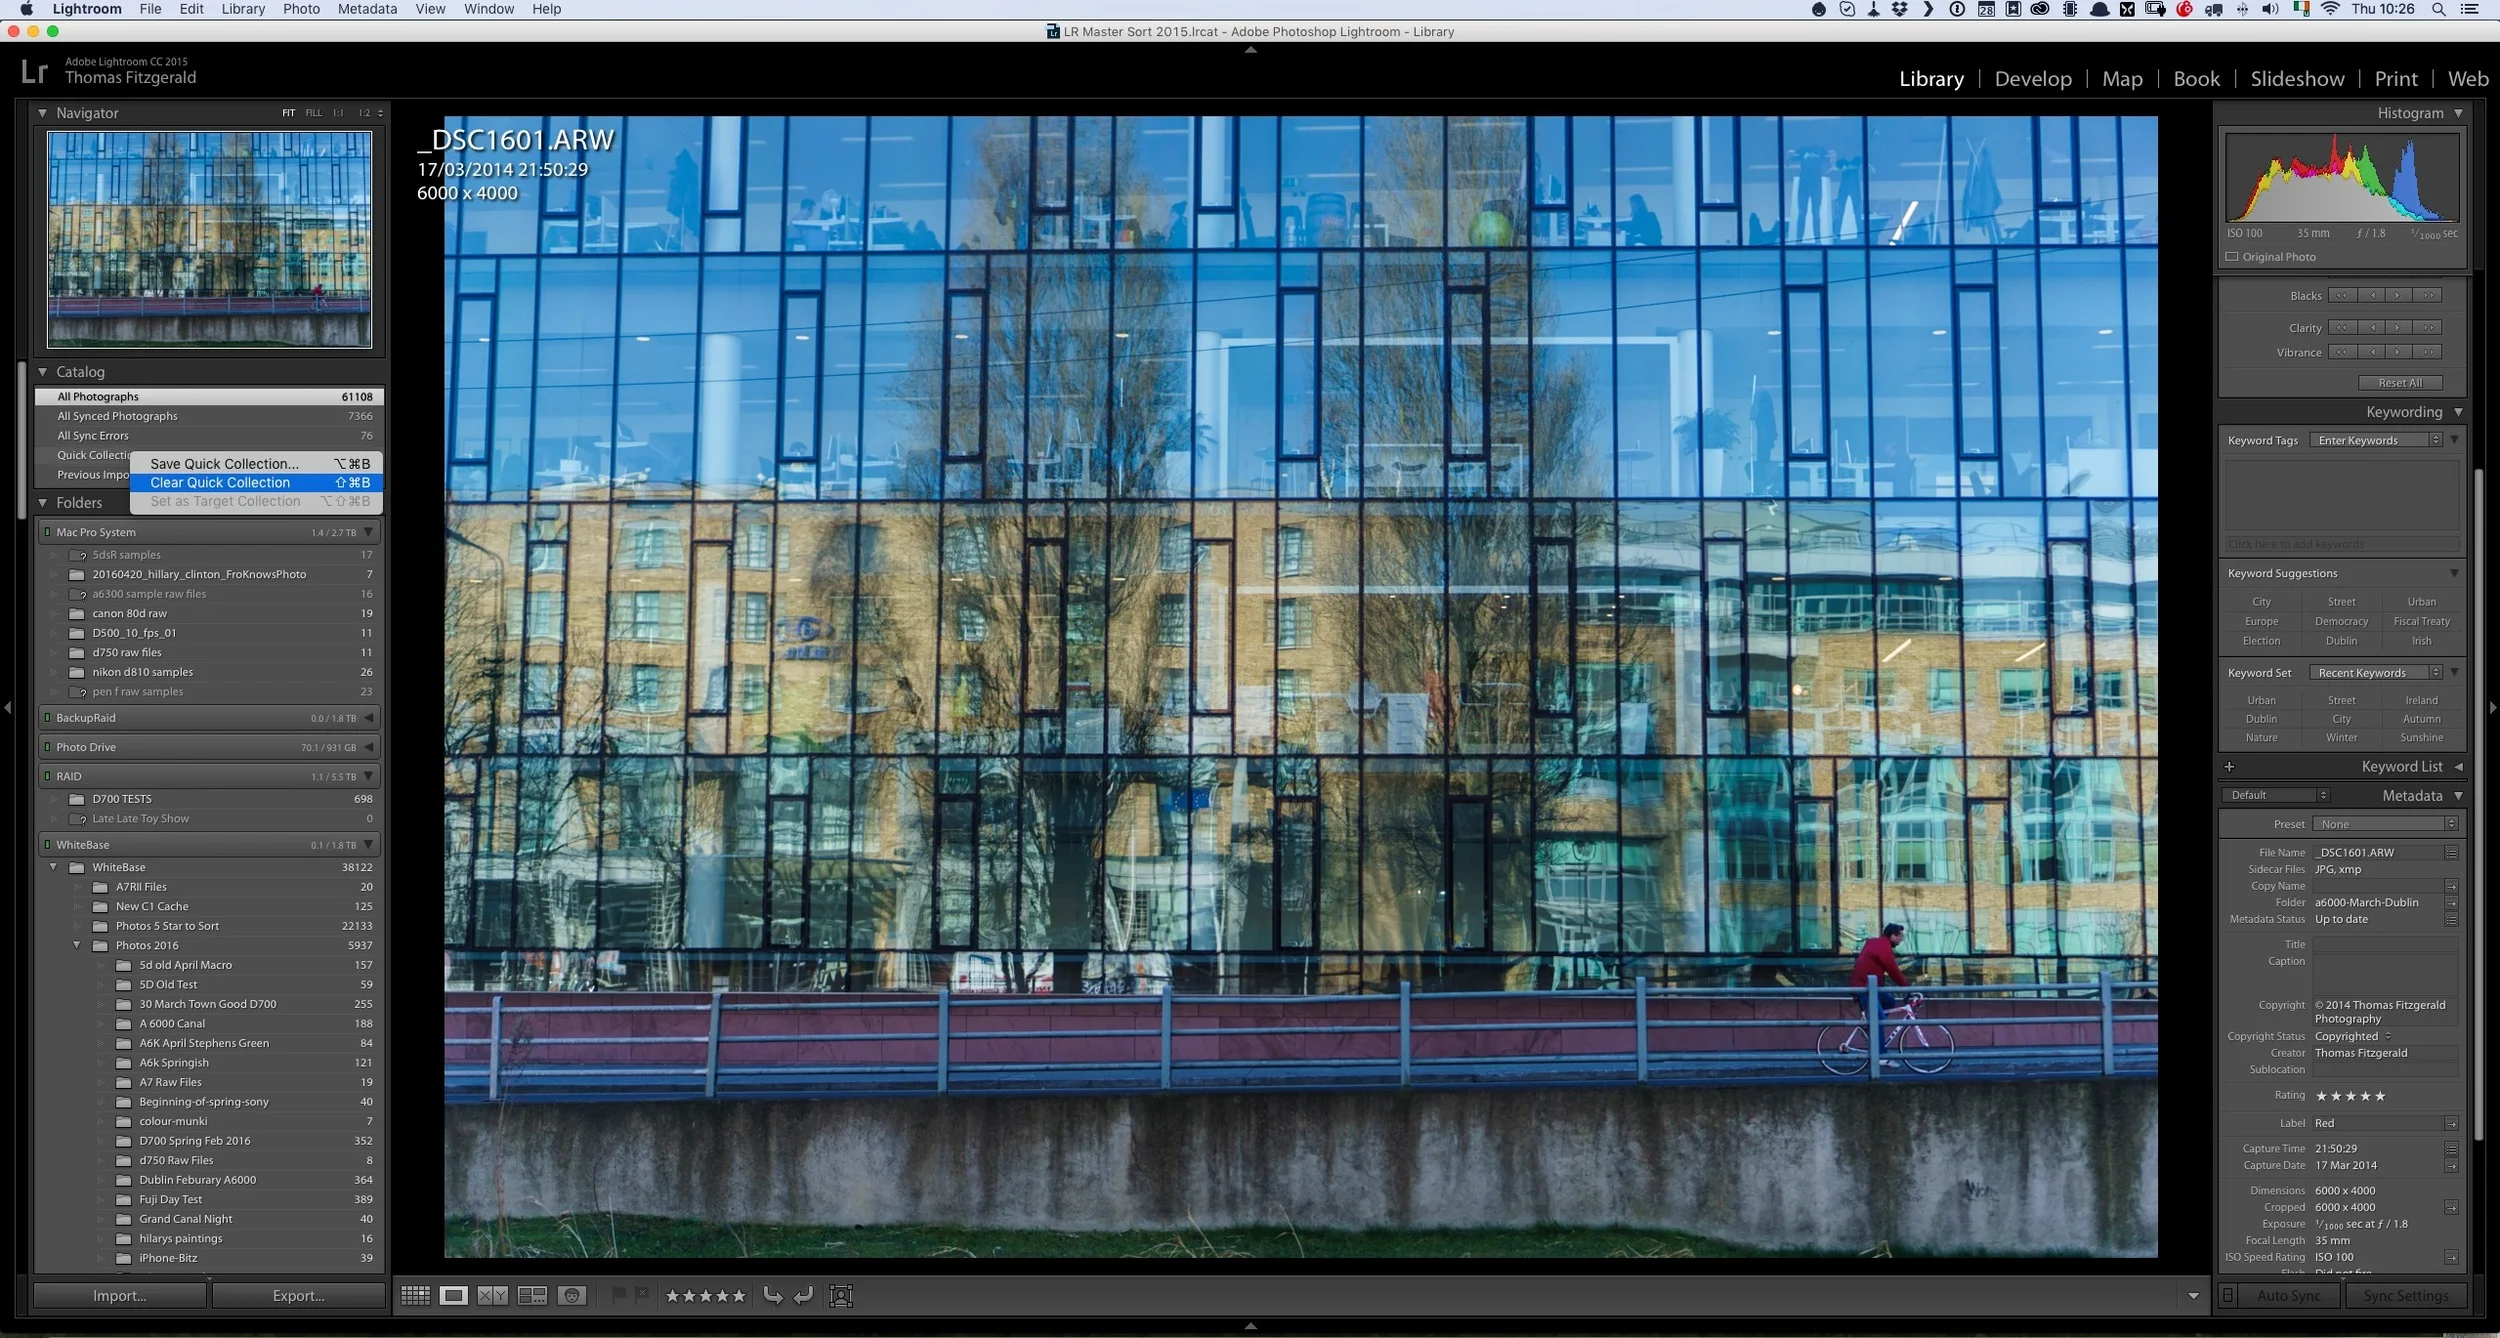
Quick Lightroom Tip: Clear Quick Collection
Here's a very quick Lightroom tip for you. I often use the quick collection in Lightroom as a sort of temporary clip board or place to collect some images that I'm either collecting for a blog post, or for a comparison and so on. Sometimes I will be in the processing of going through images , and I may have set some search filters in the library or something similar, when I decide that I may want to add some images to the quick collection. However, I already have images in it that I no longer want, but I don't want to leave the current view to go to the quick collection.
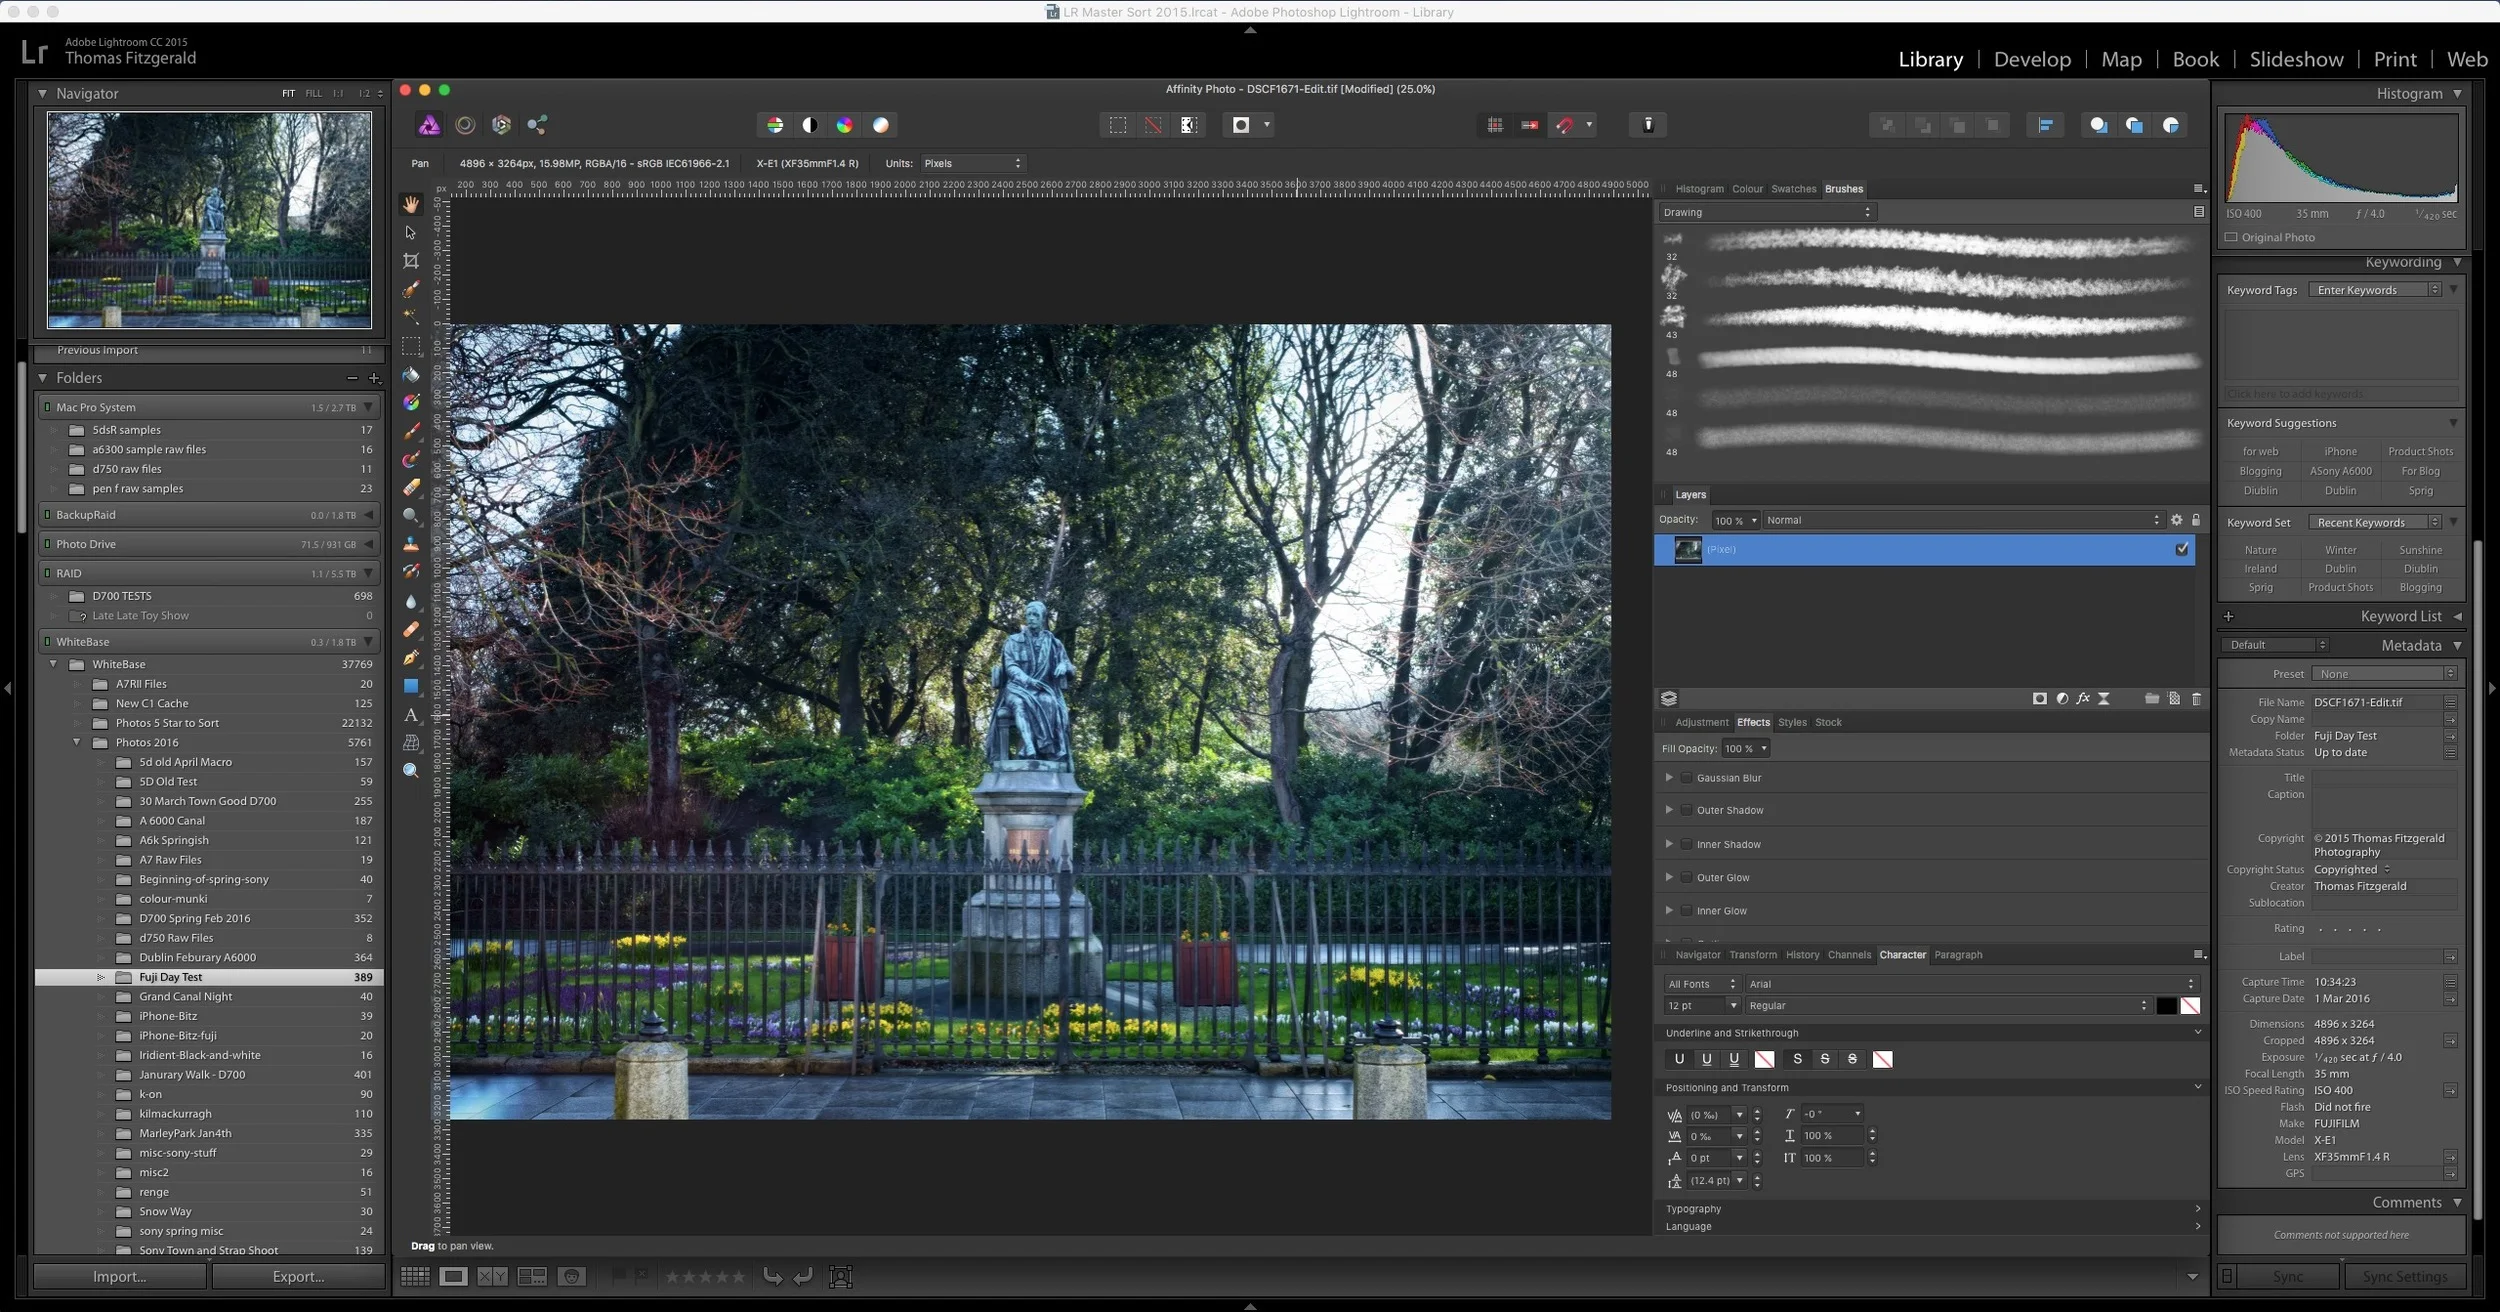
How to use Affinity Photo as an External editor for Lightroom
I briefly covered Affinity Photo in a previous post, and it is an excellent Photoshop alternative. I've been using it more and more lately, and that includes using it in conjunction with Lightroom as an external editor. This is pretty easy to set up but there are a few limitations unfortunately. However, there are significant advantages to using the software in lieu of Photoshop. In this post I'll show you how to set up Affinity Photo to work as an external editor, and I'll discuss some of the limitations and advantages of using Affinity Photo with Lightroom.

Send to Photos from Lightroom Via Automator
I’ve been covering different ways to get Lightroom and photos to work together on the blog for a little while. In one of my previous posts I showed a way to sort of sync between the two applications. A simpler method is to create an export preset to send images straight to Photos from Lightroom. There are two ways to do this and I’ll discuss them both in the following post.

Quick Lightroom Tip: Regenerate Previews after you've finished with a project
Here's a very quick Lightroom tip for you. One of the frustrating things about the way Lightroom's preview system works is that it only generates previews when you tell it to, usually upon import. As soon as you make any changes to an image, the preview for that image is lost. In order to make sure you can keep browsing through your library speedily, it's important to periodically re-build previews.
Speed Up Lightroom By Managing Your Develop Module Presets
I've written a few posts lately about ways to speed up Lightroom, and there's one more that may seem counterintuitive at first. If you have a lot of develop module presets installed, it can slow down Lightroom. It doesn't just slow down Lightroom in the Develop Module either, it slows it down the whole application. Even if you're just in the Library. I had written about this before, and I had thought that this "bug" was fixed ages ago. On an official forum, an Adobe rep said that this was to be fixed in Lightroom 6, but it still seems to be an issue.
How I make Lightroom Presets
Having released quite a few premium Lightroom presets over the last few years, I thought I'd take some time to give you an insight into my process for creating them. It's not as straightforward as it might seem. When I stopped to think about it the other day, I realised that it's actually quite an interesting process, so I decided to write it all down. So what follows is a rough guide to the way I create presets for Lightroom, and the various steps involved.
New Fuji Colour Profile Presets for Lightroom
A while ago I made a set of presets for Fuji users which are based on the Fuji film simulation colour profiles as provided by Adobe. these presets are basically just a quick way to set the colour profile by selecting a preset rather than having to go to the camera calibration panel and select the profile there. They also have the advantage of allowing you to set the profiles on import, or allowing you to quickly apply a profile to multiple images at once.

Lightroom CC2015.5 and Lightroom 6.5 Now Available
Adobe has just released the latest version of Lightroom. Version 2015.1 for CC users, or 6.5 for standalone users brings bug fixes and new camera support. Unfortunately there is still no mention of the improved Fuji X-Trans rendering promised by Adobe last June.